How to resolve Server DNS Address Could Not Be Found error while surfing any website on your Windows, MAC, UBUNTU or on Android. You must have faced many DNS errors such DNS_PROBE_FINISHED and DNS PROBE FINISHED NXDOMAIN while browsing through the internet and before discussing solutions to Server DNS Address Could Not Be Found let’s give some in understanding the concept behind DNS Address.
While surfing the web each and everything has an address, while internet comprises of many things, websites are one of the major fundamental blocks of it. Every website has a name which is called a domain and for each domain, there is a specific DNS(domain name address) unique to it which creates its identity and separates it from the rest.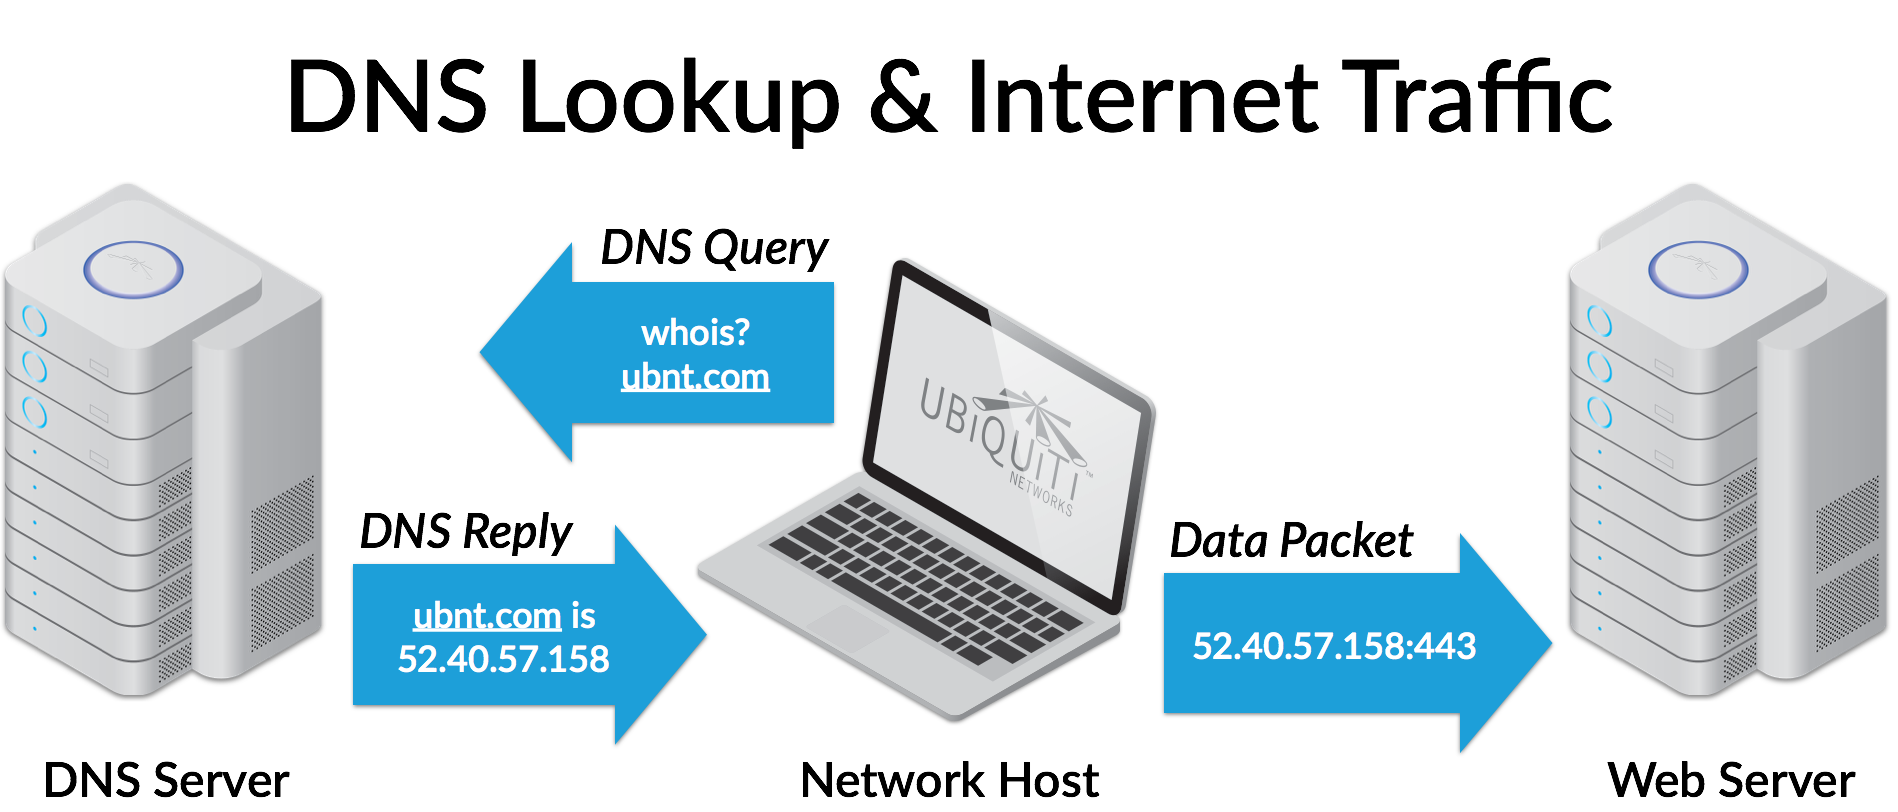
This DNS is where that particular website is stored or rather the further directions to where this website is hosted and more. There are millions and millions of sites on the internet, and in this high-speed trafficking of information, glitches and conflicts are bound to happen.
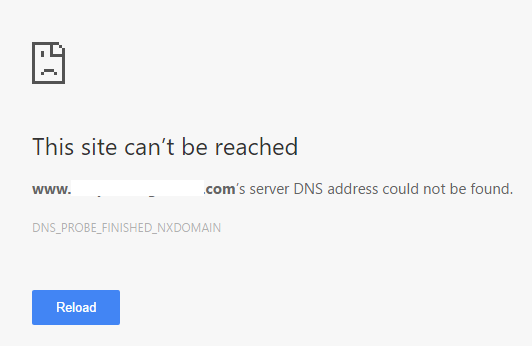
Now, this particular error of ‘server DNS address could not be found‘ can occur due to various reasons starting from some error inside your system to conflict within the network or at the site end. Depending on what has caused this error, you can take steps to repair it yourselves or in the worst case, wait for it to be resolved on its own.
A few primary steps that you need to do in case you have come across Server DNS Address Could Not Be Found error on your Windows, MAC or Android:
Contents
Reset/Reboot your System and Network Devices
Restarting your system or doing a soft reset of your hardware devices often tend to solve many issues, doing the pre-told leads to the default settings and reconfiguration of connections which can automatically solve any conflicts or issues occurring within. There are a few basic steps which you must know in order to properly do the aforementioned:
- Never reboot your system or any other device directly from the power button, it may cause software discrepancies.
- Always first restart your Operating System and then your hardware on which you are running it.
- To reset any hardware there is always a button or some special instructions which must be along with its manual or you can search for it on the internet as well.
- Always wait a minimum of 30 seconds after rebooting or resetting your hardware/system to let the temporary memory cache get wiped.
- Save all your work before doing so and make sure you don’t have any preboot scans scheduled or pending updates to be applied.
Delete files from System Folder named ‘Etc’
The etc folder is a system folder which contains all the internet configuration settings. It contains some system files as default which govern over the way you connect and use the network connections. To reset settings from here, you simply need to delete all the files from this folder by pressing ‘shift+delete‘.
You need to do this with a user account having administrative privileges otherwise you will be asked to provide administrator permission to delete those files as they are an integral part of system processes and only admins have the right to make any changes to them or remove them.
Clear your browser host cache
Next step is to set your browser configuration settings to default and clear the cache as well. Browser extensions can also cause this error at times. To solve this you need to clear the ‘host cache‘ of your browser. We have provided the steps to do so for the chrome browser which is amongst one of the most popular browsers around the world.
- Open a new tab in your chrome browser and type this address correctly- ‘chrome://net-internals/#dns’ without quotes.
- In the window that opens, scroll down to host revolver cache option.
- Select the option ‘Clear host cache‘ from there.
Reconfigure your DNS Settings
Another well-known reason for issues in internet connectivity is the incorrectly configured DNS servers and settings. DNS servers are very often shared by a large number of people and can cause a number of problems due to the heavy intersection of the data they process. You can change your default DNS servers to others such as Google DNS servers or others.
Follow these steps to go to the network settings and from there within make changes to your DNS configurations.
- First access the control panel via the charms bar in your windows using “Win+C” or via the run window command “Win+R“.
- Sort the component within control panel via small icons and then open Network and Sharing Center.
- In the left side options of the window that opens now, select Change adapter settings.
- Now from the window that opens, access the properties of the applicable network type that you are using whether it is local area network or wireless connections by right-clicking on it.
- In the properties window that opens, go to Networking tab and then select Internet Protocol Version(TCP/IPv4) and click on properties.
- Now in the properties tab of IPv4, see if the automatic configuration of DNS server is enabled, if not then enable them and save the changes.
- If however automatic configuration is enabled, in that case, deselect them and manually configure the DNS address with the one given below or other of your choice.
Preferred DNS Server: 8.8.8.8
Alternate DNS Server: 8.8.4.4
- Repeat the same above procedure with Internet Protocol Version(TCP/IPv6) too with the below details.
Prefered DNS Server: 2001:4860:4860::8888
Alternate DNS Server: 2001:4860:4860::8844
Flush and Renew your DNS
To make your browsing experience better, windows at its own stores’ data of the websites that you visit and uses it to access and open them every time you visit them. It’s crucial that this data remains error-free or it can cause a problem in accessing internet even. You can solve this by simply flushing your DNS and renewing it.
You can do this via command prompt in your windows. Open the command prompt with admin privileges by selecting the option ‘Run as an administrator’ from the drop-down menu that comes when you right click on it. You can find command prompt in the search bar or can access it from the ‘Run’ panel.
Once you have opened it like said above, follow the below steps:
- Type “ipconfig/flushdns” in the command prompt and press enter.
- Next type “ipconfig/renew” and press enter.
- Now type “inconfig/registerdns” and press enter.
- You have to enter the above commands exactly as they are given(without quotes).
Server DNS addresss could not be found is an error that can come across any individual while surfing or using the internet, whether its an user or a developer of a site. Not only just windows, this error can present itself on any number of operating systems such as android, mac, ubuntu etc as well. Very often website users on wordpress often encounter this error, in which case you must refer to your domain name provider knowledgebase and your hosting support to seek resolution of this error. Root cause of the problem remains the same, just the steps taken to repair it change depending on where you are encountering it and on which platform.
Read, How to fix following Chrome Errors:
- Rats WebGL Hit a Snag
- ERR_CACHE_MISS
- ERR_EMPTY_RESPONSE
- ERR_SPDY_PROTOCOL_ERROR
- Your Connection is Not Private
If even after taking all the above steps, your problem isn’t solved or if you know something else that worked for you and is not mentioned above then do let us know in comments. Check the other comments as well, you may find a solution in there which may work for you.