Well, to run any OS one need an account, no matter it is a Microsoft Account or a Local Account. There are users who actually don’t know What is the difference between these two accounts? and How to set up a Local and Microsoft Account on Windows 11?. If you are one of the users then this article is for you because here in this guide, you will get all the information about both the account types, advantages, and disadvantages with their differences.
Contents
Difference between Microsoft and Local Account on Windows 11
Both accounts have their own identity and use. Microsoft strongly recommends using Microsoft Account. The Microsoft Account has few benefits. After having a Microsoft account a user can have control over Personalization and Settings on Windows 11. A user will have Microsoft Store access so he can download different apps. Apart from this, a user will also get access to services such as Onedrive and Xbox Game Pass without log-in information. After all, all these are only available if you share all the data with Microsoft and you should have a strong internet connection so that data sync.
Moreover, if we talk about Local Accounts then there is no need for an internet connection. The account-related information is stored in a hard drive by a local account. The local account is secure as compared to Microsoft account because if a person wants your PC or Laptop you just have to create a local account for him so that he won’t get into your personal files. The local account is used in many places such as colleges, schools, laboratories, and many more places where Microsoft Account is not needed. However, local accounts are for secondary users and for privacy.
Now once you are clear about the difference between Microsoft and Local Account on Windows 11 then go ahead in this blog for creating Local and Microsoft Accounts on Windows 11.
Read Also: Difference between Windows 11 Home and Pro
Create New Local or Microsoft Account on Windows 11
After installing Windows 11 there are three ways to set up a local or Microsoft account but the easiest one is discussed below. The three ways are using Windows 11 Settings, Command Prompt, and PowerShell. The easiest and most simple is by using the Settings App.
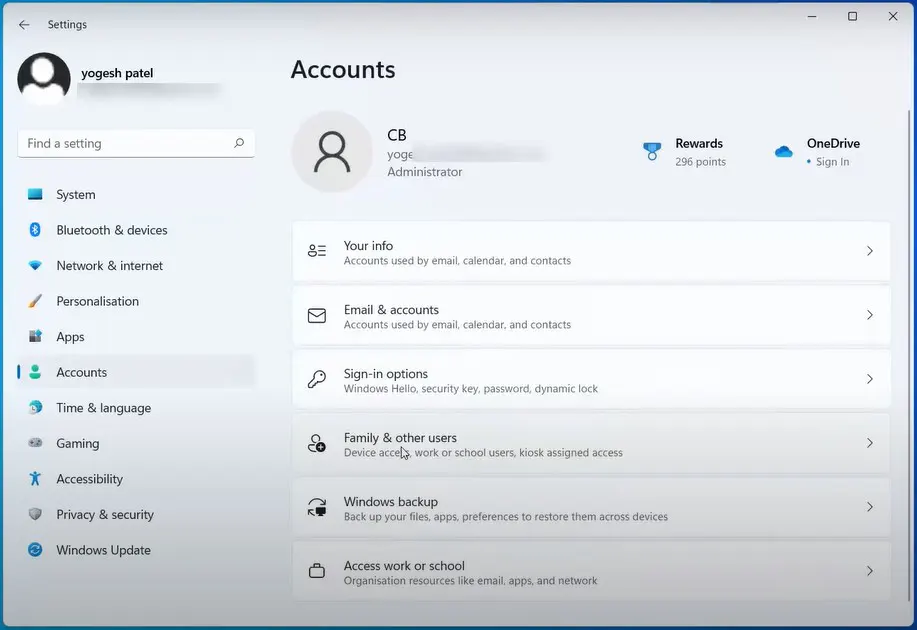
Hold Windows + I keys to open Settings App. Tap on the Accounts tab from the left side menu. Choose Family & other users option from the right side Accounts pane.
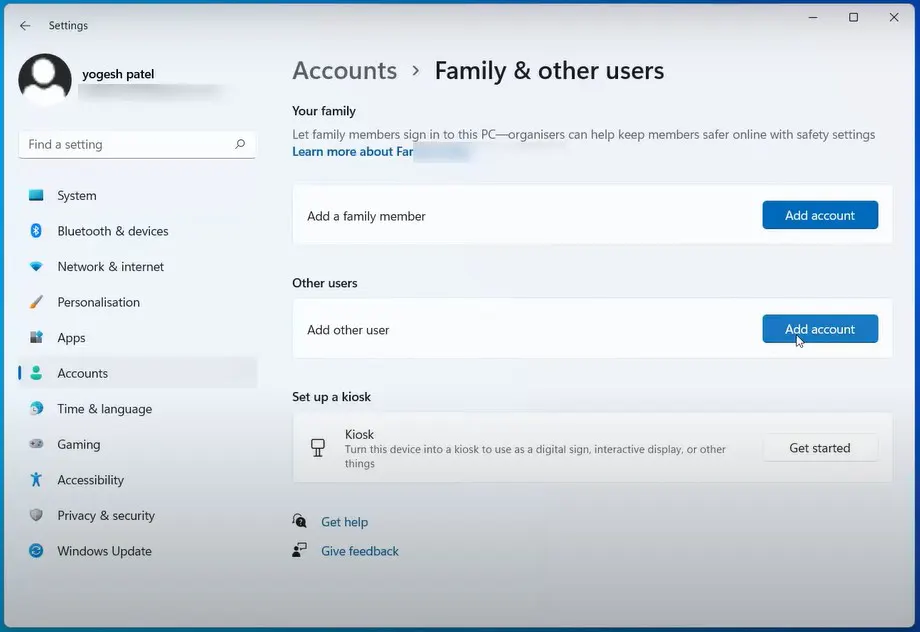
Then hit on Add account button under the Other users.
Local Account
- Select I don’t have this person’s sign-in information link on the next Microsoft account window.
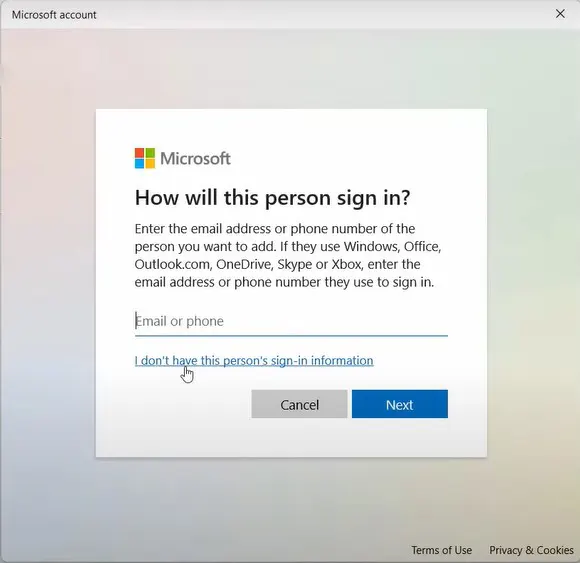
- Add a user without a Microsoft account.
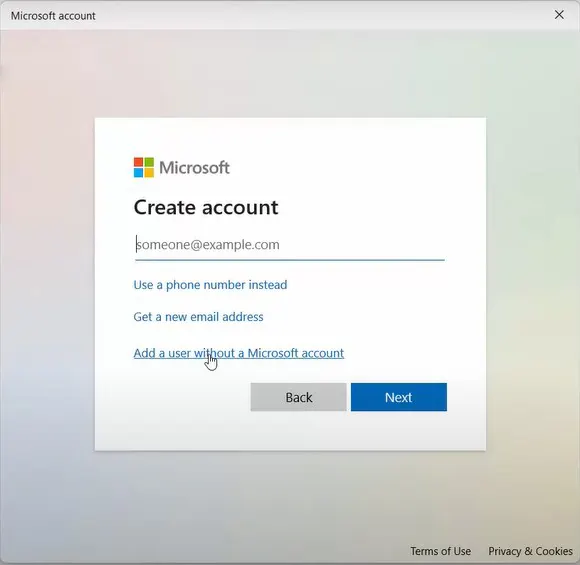
- Enter the username and passwords for your local account.
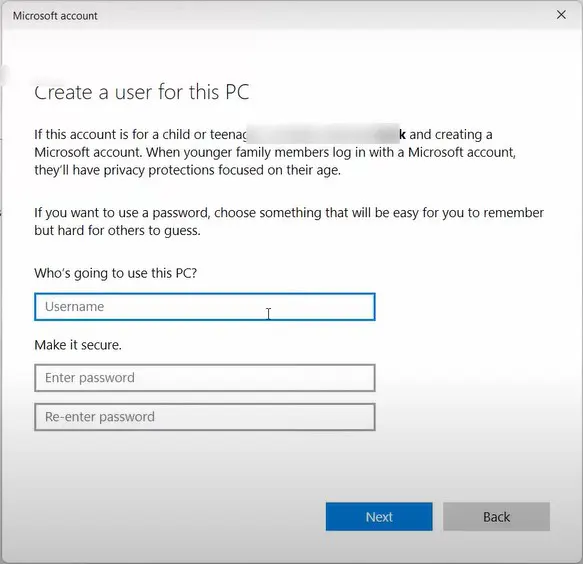
- Also, create security questions to restore accounts without passwords in the future.
- Click on the Next button to save new local account settings.
- Once you are done with this then hit on the Next option.
Microsoft Account
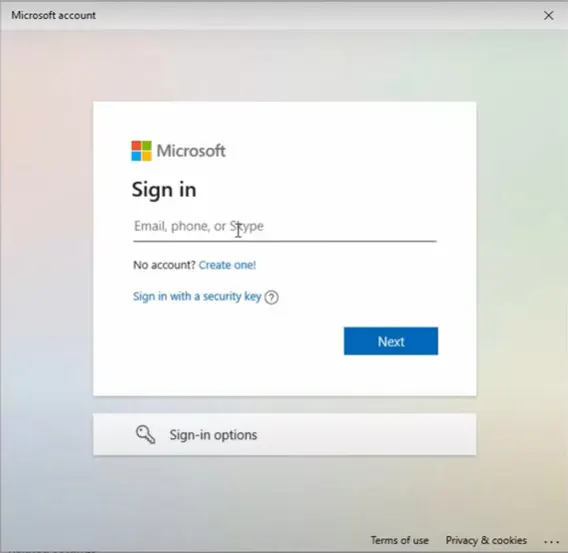
- Link the Email Address with the new Microsoft Account and click on the Next button. You can create a new one if you don’t have one. Then enter your Microsoft Account password to sign in.
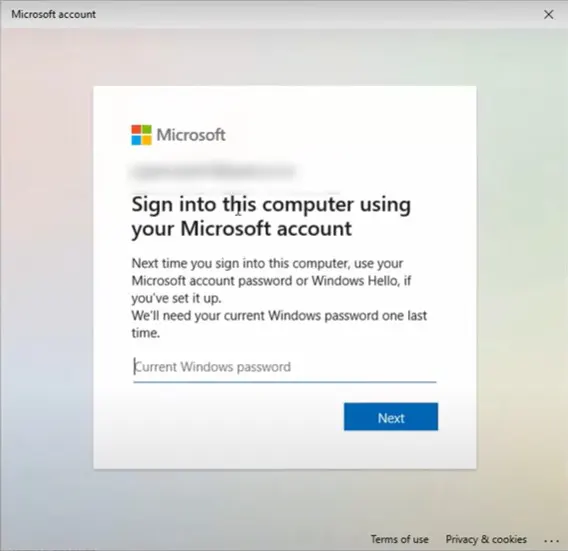
- Then type the Current Windows password and tap on Next.
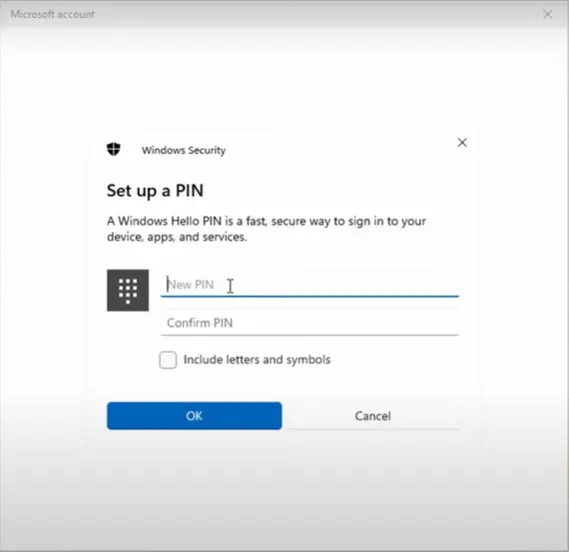
- Also, set up a new pin of an account for the faster sign-in process.
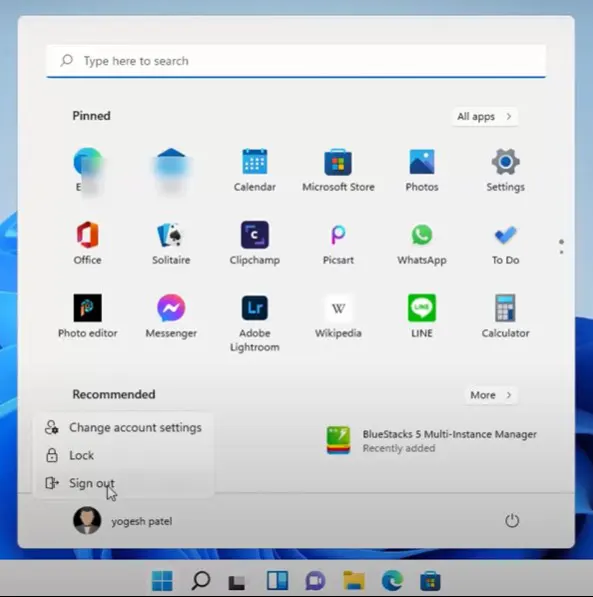
Sign out with your current account from the Start Menu Power option to sign in with your new account.
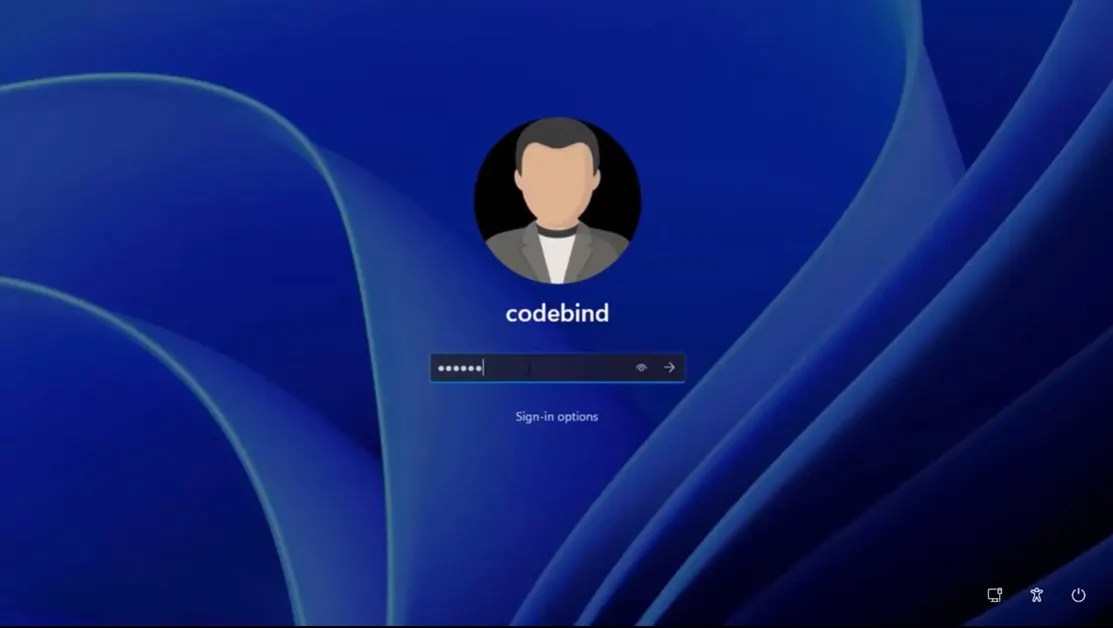
Choose the new Microsoft or Local account from the lock screen and enter its password to get started. Windows 11 will take a few minutes to set up a new account for the first time.
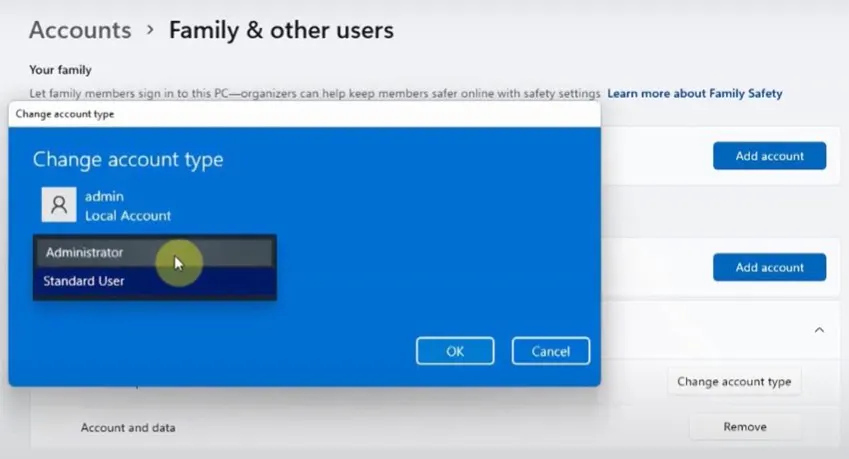
You may give all the privileges to the local or Microsoft account by changing its account type to the Administrator from the Family & other users.
So, this is how you can set up a local account on Windows 11 after the installation process.
Install Windows 11 Home and Pro without Microsoft Account & Internet
We have showcased the steps to create a local account on both Windows 11 Home and Pro versions. Windows 11 Pro simply gives the choice to create a local account but there is a twist for the Home users.
Now, let’s install Windows 11 without Microsoft Account by setting up the Local Account.
Windows 11 Home
Follow the below steps to install Windows 11 Home with a local account, Windows 11 Pro users may simply skip to the next method.
- Boot your device with the Windows 11 USB Flash Drive to start the Windows 11 installation.

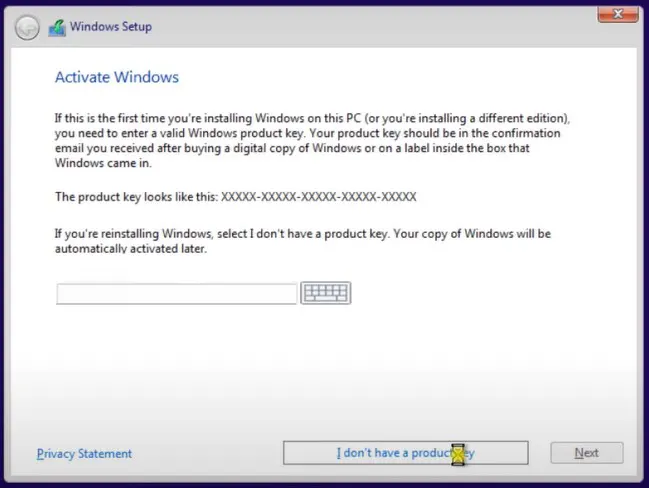
- Tap on the link which says “I don’t have a product key“.
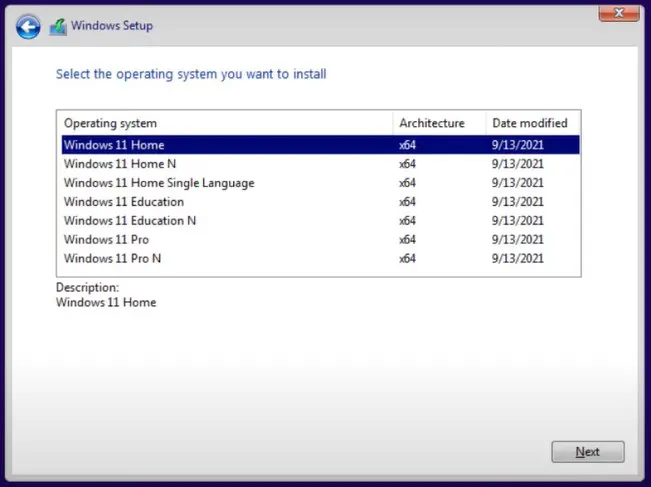
- Select your desired Windows 11 edition and accept its license terms.
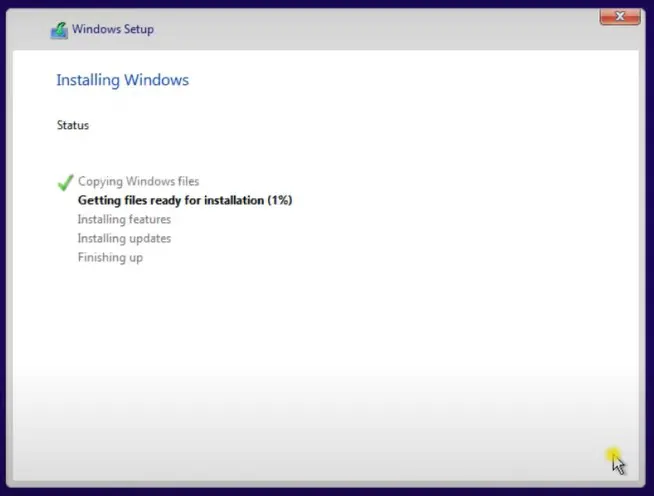
- After this, tap on Custom: Install Windows to select the hard drive and wait until Windows copies files.
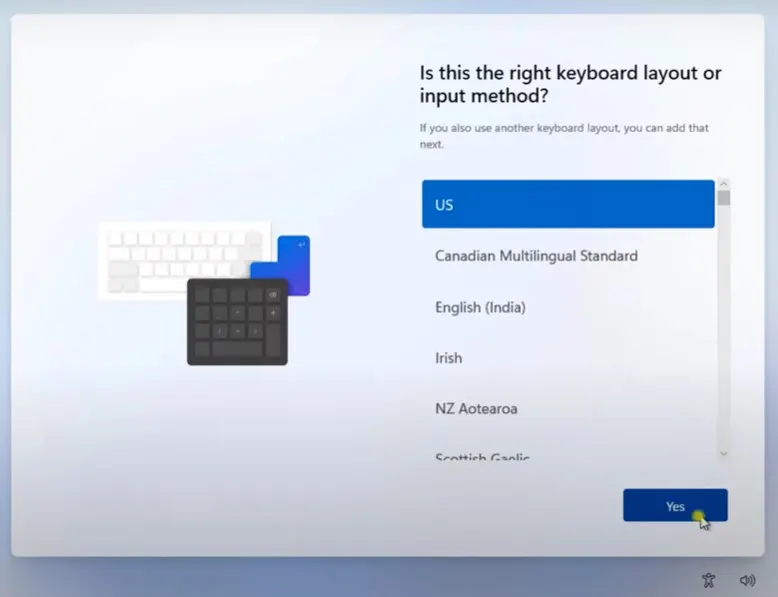
- Windows 11 customization will begin after the restart. Select the region and keyboard layout and hit on Yes button from the bottom.
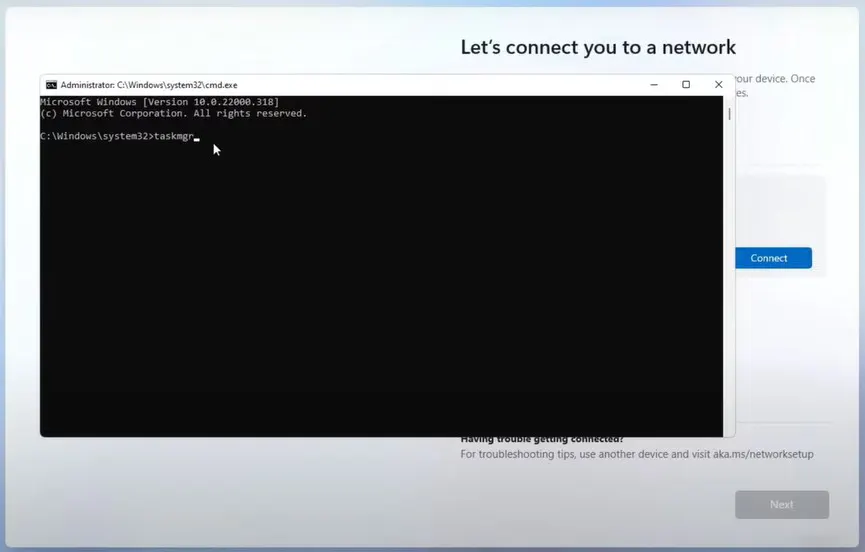
- Press the Shift + F10 key to launch the Command Prompt with Administrator permissions and enter the taskmgr command. No need to connect to the WiFi or Internet else you will have to sign in with the Microsoft Account.
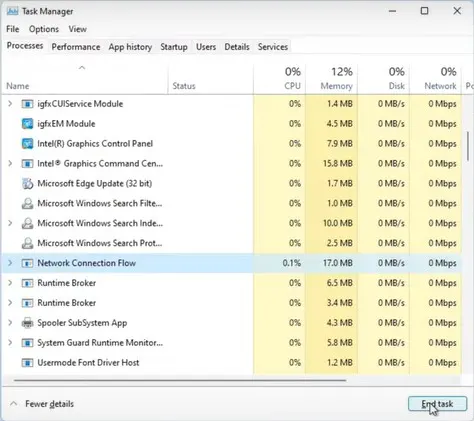
- Scroll down to select and End task of the Network Connection Flow.
- The Windows 11 installation will take you to the Enter your PC Name screen.
- Then confirm the passwords and security questions.
- Also, configure the privacy settings and accept the terms and conditions to start using Windows 11.
Windows 11 Pro
Windows 11 Pro provides an easy option to skip the internet connection and sign in with the local account.
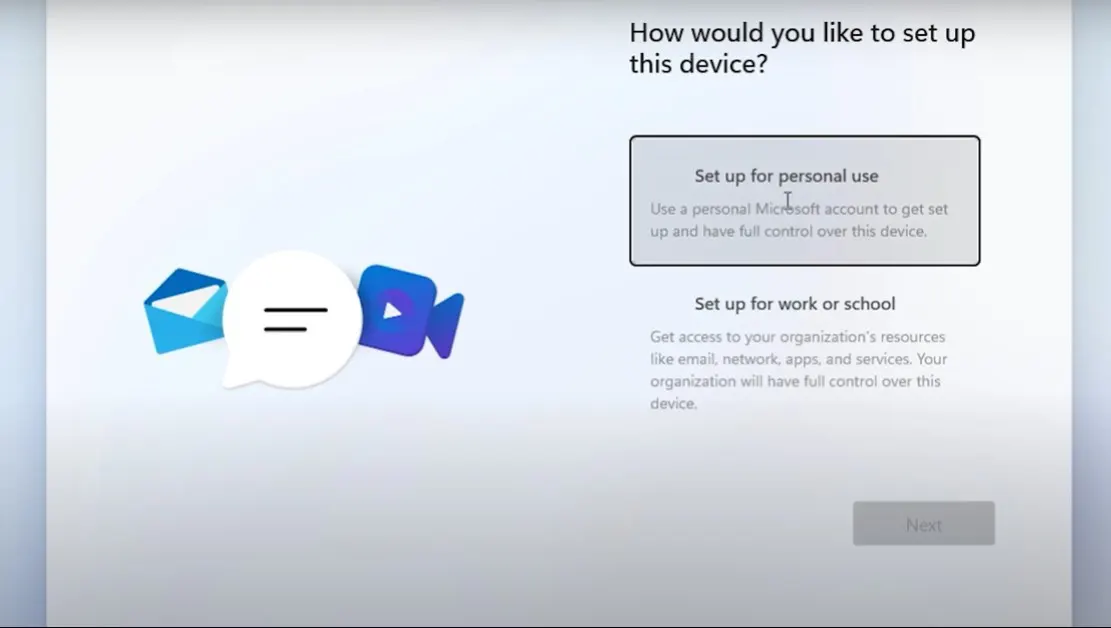
- Enter a new PC Name after choosing your region and keyboard layout. Then select the “Set up for personal use” option.
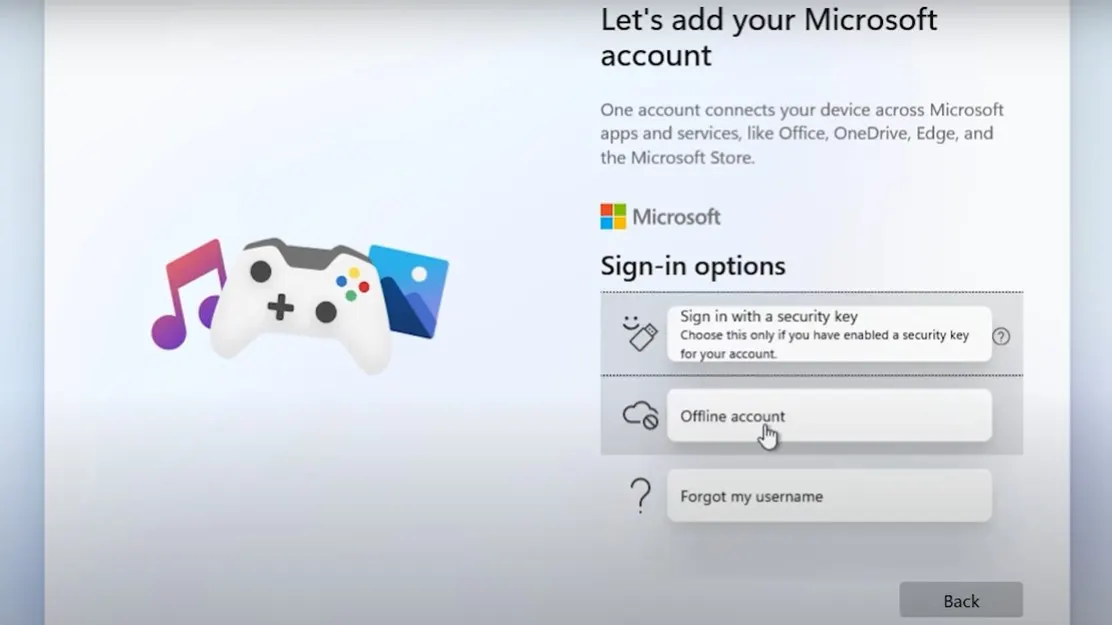
- Now tap on Sign in options and then hit on Offline account option.
- On the screen, you will have all the information related Microsoft account. You don’t have to read it so hit on Limited experience link.
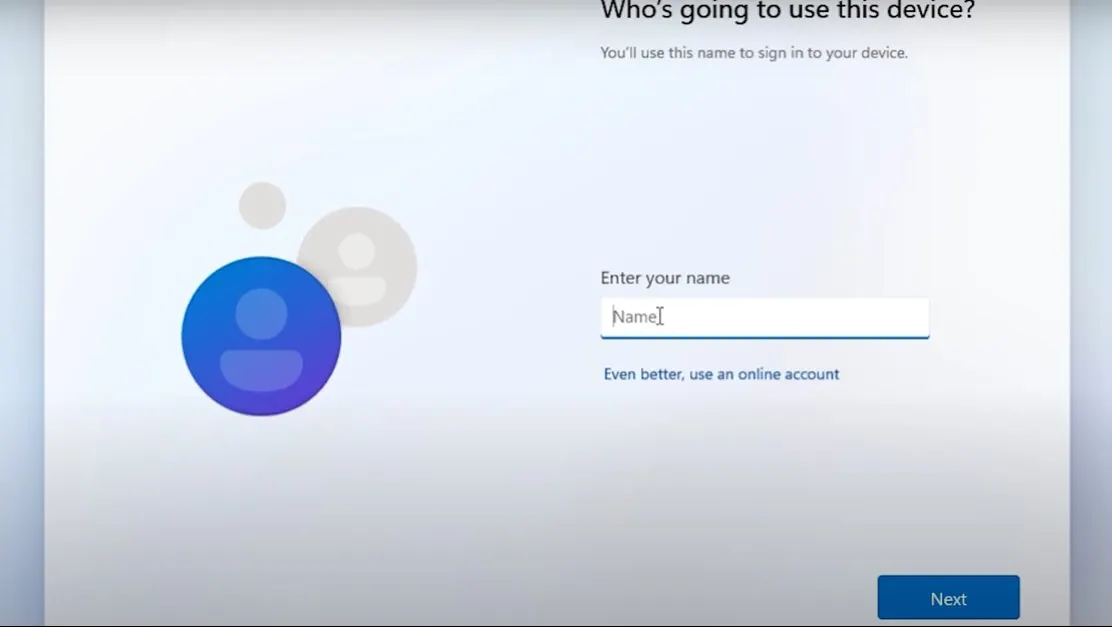
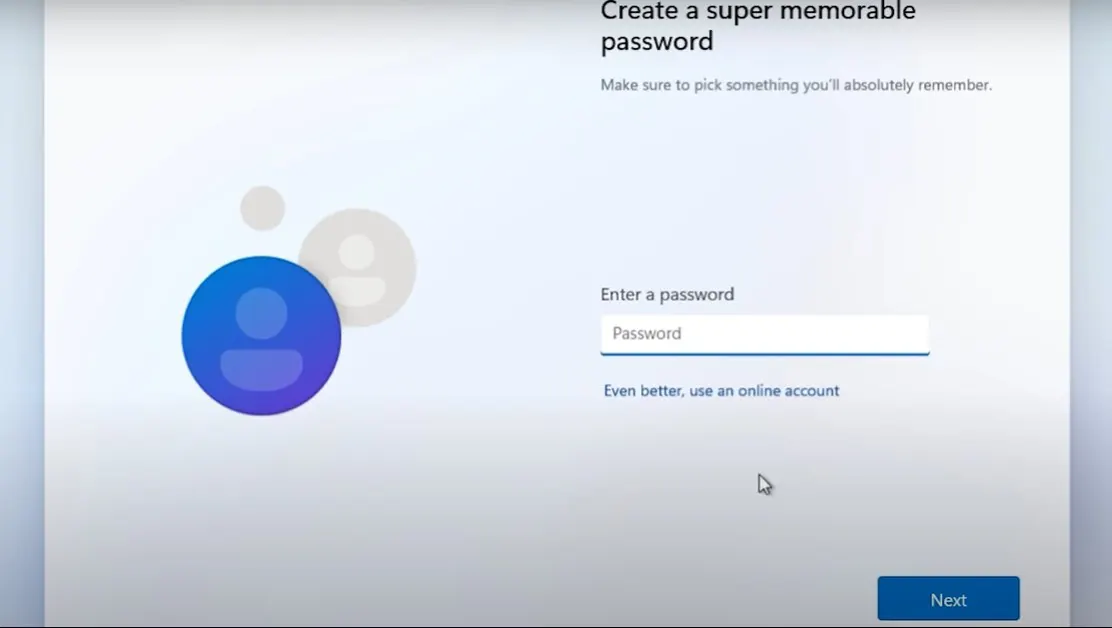
- Now to create a local account you have to allot one name. So enter the name and password and then hit on Next.
- Once again enter a password for confirmation and hit on the Next option.
- After this, attain three security questions and hit on Next.
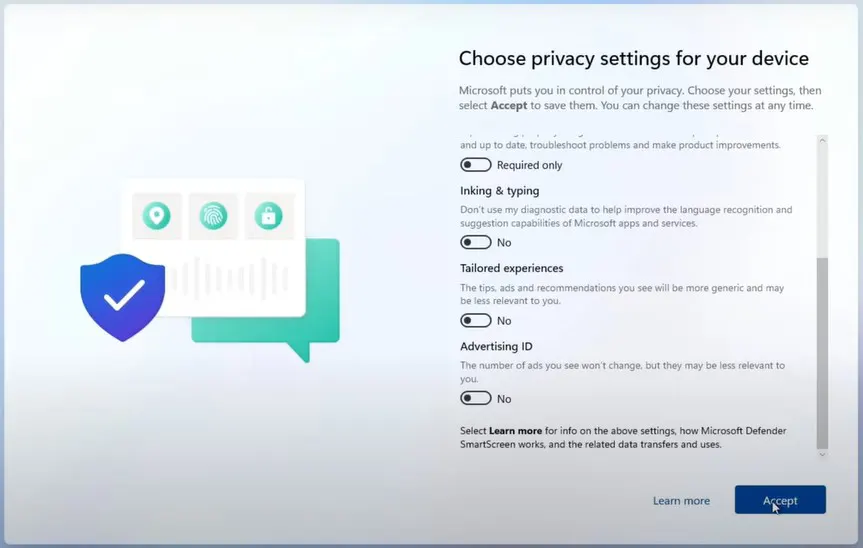
- Now you have to choose privacy settings for your Windows OS. Once you are done with this then hit on the Next and Accept option.
Finally, now you have created a local account while installing Windows 11 OS.
Create a New Microsoft Account
Microsoft account is highly recommended on Windows 11. It is because it is an online account that syncs the data so that users can access the same data on another device using the Microsoft Account. It also offers high security. Users can recover passwords if they lose or forgot. Here below are simple steps to set up Microsoft Account on Windows 11.
- Launch any browser on your Windows 11. In it go on the account.microsoft.com.
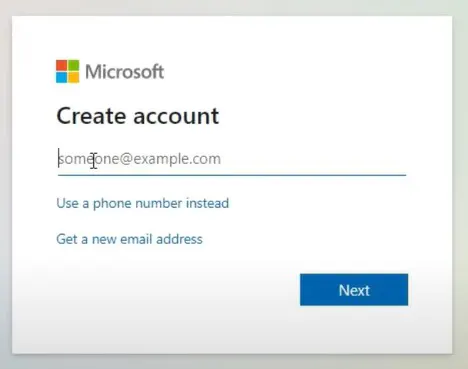
- After this tap on a link that says “Create a Microsoft account“.
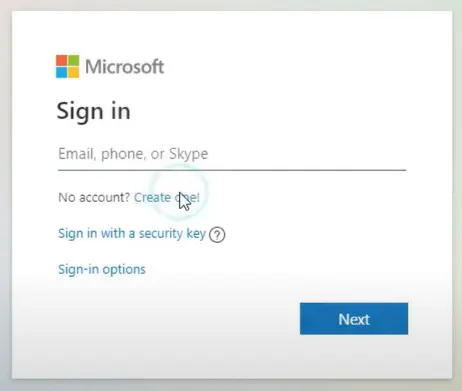
- Now enter the email address and hit on Next button.
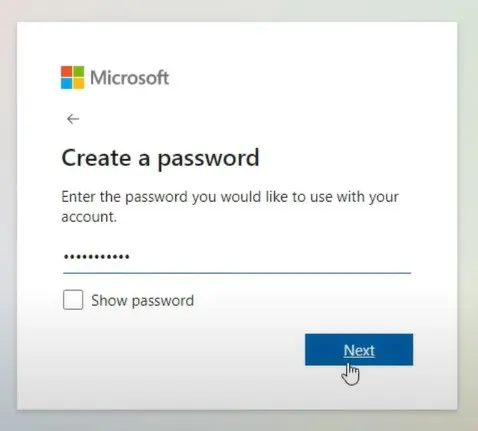
- After this, create the password and click on the Next button.
- Now you have to follow on-screen instructions.
You may link the same Microsoft Account to Windows 11 by following our first method.
I hope that the above article steps helped you to set up a Local or Microsoft Account on Windows 11.