Well, every user wants to increase performance on their Windows 11 PC. The slow performance of the PC creates multiple issues with Windows 11. Many users reported that after updating to Windows 11 the efficiency of their PC is down. On all Windows versions, this happens but there are Power Settings which is one of the ideal solutions for Higher Efficiency. In the previous version, this Power option is under the battery icon in the taskbar. It was easy to launch the Power settings option on Windows 10. In Windows 11 there is no direct way to launch the Power settings option.
Read Also: Hibernate Mode on Windows 11
Contents
Windows 11 Power Mode Settings Options
The Power Mode on Windows 11 is used to increase the performance or to save the battery life of Windows 11 PC. There are 2 methods or we can say ways to launch the Power Settings option on Windows 11. The first is using Windows 11 Settings and the second is by using Windows 11 Control Panel.
In Power Mode settings you will have three options named Best power efficiency, Balanced, and Best performance. By default, Power Mode is set to Balanced. These settings will optimize performance with the battery consumption. You can set it to Best power efficiency or Best performance to have the higher efficiency on Windows 11. This will consume a high level of battery life. There are two methods to launch Power Mode Settings on Windows 11.
Using Windows 11 Settings App
The easiest way to play with Power Mode settings is by using the Windows 11 Settings app. Below are detailed steps to set Power Mode Settings for higher efficiency.
- At first, launch the Settings app by holding the Windows key and I key.
- Once you have it then tap on the System option from the left pane.
- Now from the right side under the System section click on the Power & battery option.
- Look for Power mode on the screen. Once you get it then tap it to open the drop-down menu.
- You will have 3 modes named the Best power efficiency, Balanced, and Best performance. By default, it is set to Balanced. If you want higher efficiency then set it to Best power efficiency. By doing this on the other hand the battery consumption will also be high. The best is you set it to default which is Balanced because here both performance and battery will be balanced.

The changes you will make will be saved automatically. You don’t need to save it manually. If you want both performances as well as battery then choose to stick on Balanced. Now you have changed Power Mode settings through Windows 11 Settings app.
Using Windows 11 Control Panel
As we know that on Windows there are multiple ways to launch one option. To launch Power mode settings on Windows 11 you have more than one way. You can also launch Power mode settings on Windows 11 using Control Panel. Here below are the complete steps to use Control Panel to launch Power mode settings.
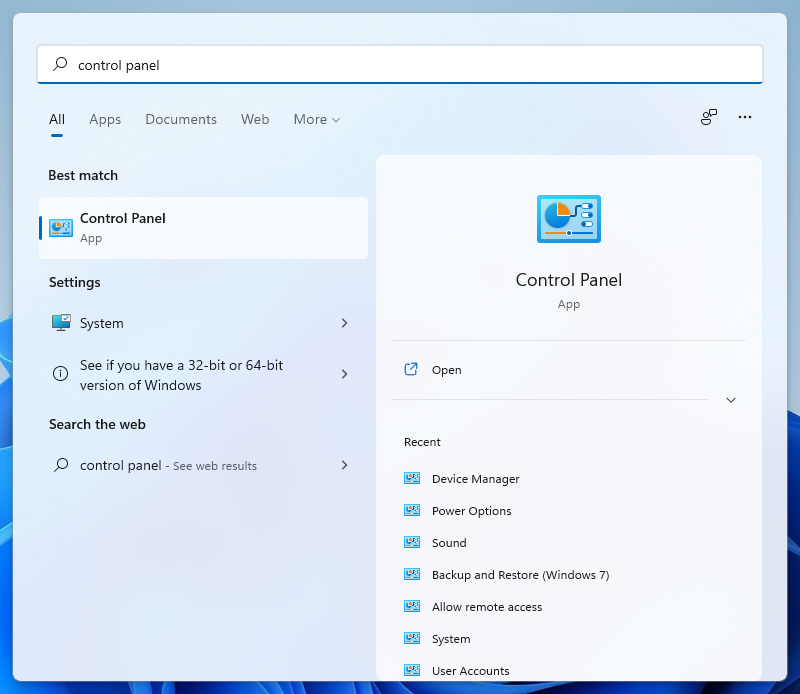
- Launch Control Panel on your Windows 11. To launch it go on the Search from the taskbar and search for Control panel. From the right side screen tap on the Open option.
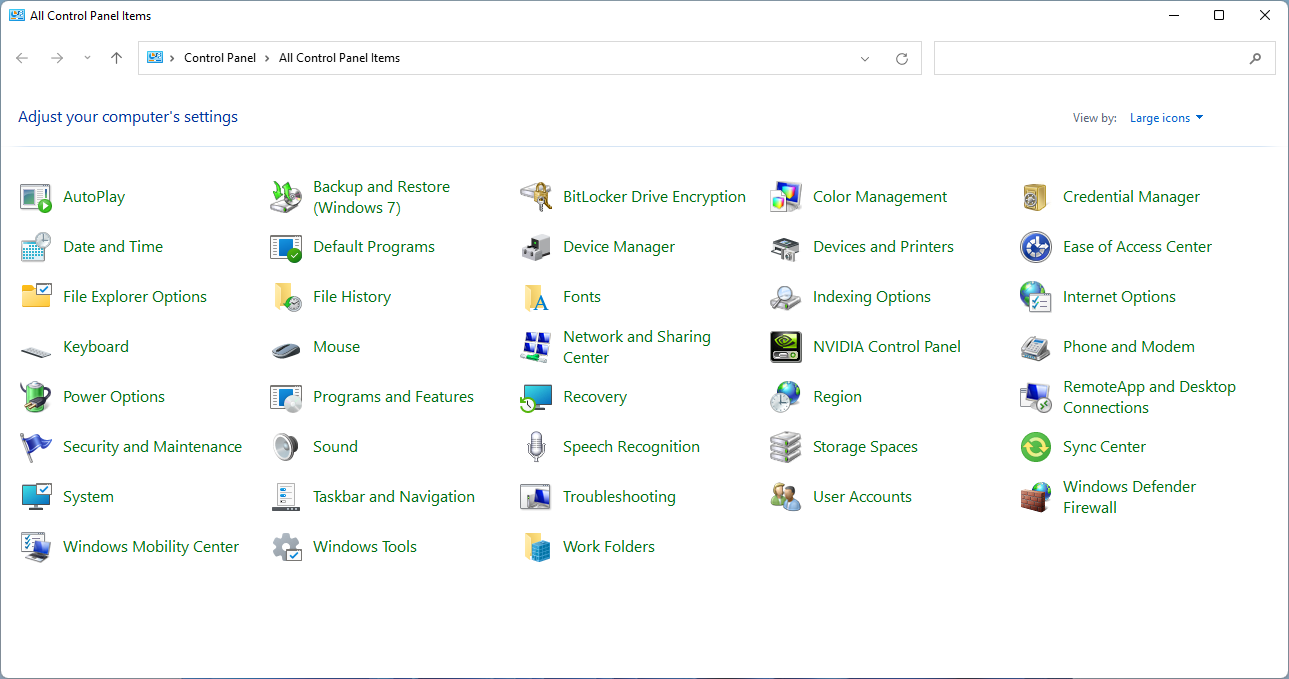
- In the Control Panel look and tap on the Power Options.
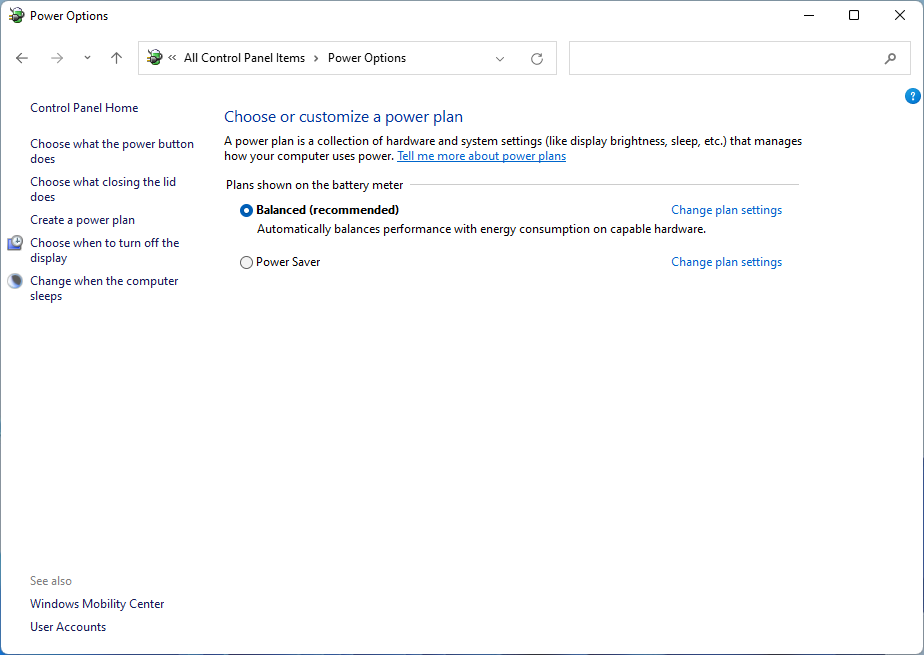
- Then Create a power plan from the left side menu.
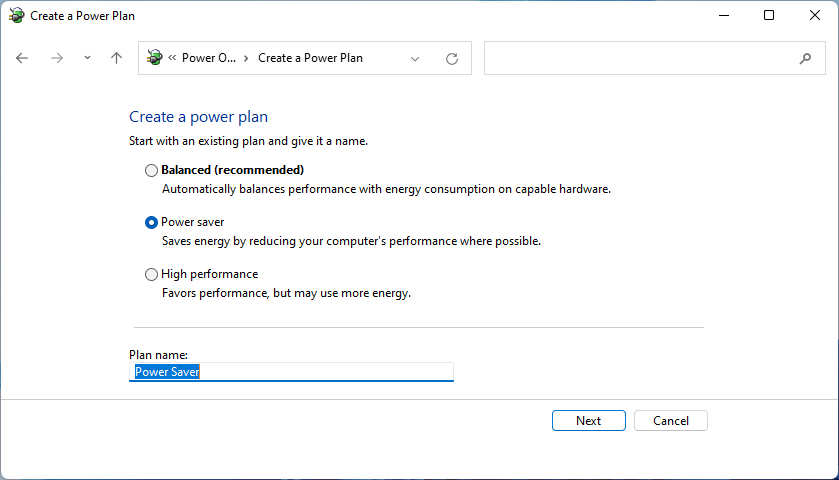
- Choose one from the three Balanced (recommended), High performance, and Power Saver plans. Also, name it accordingly and tap on the Next button.
- Choose the battery and plug-in timers for Turning off the display and Putting the computer to sleep. Then tap on the Create button.
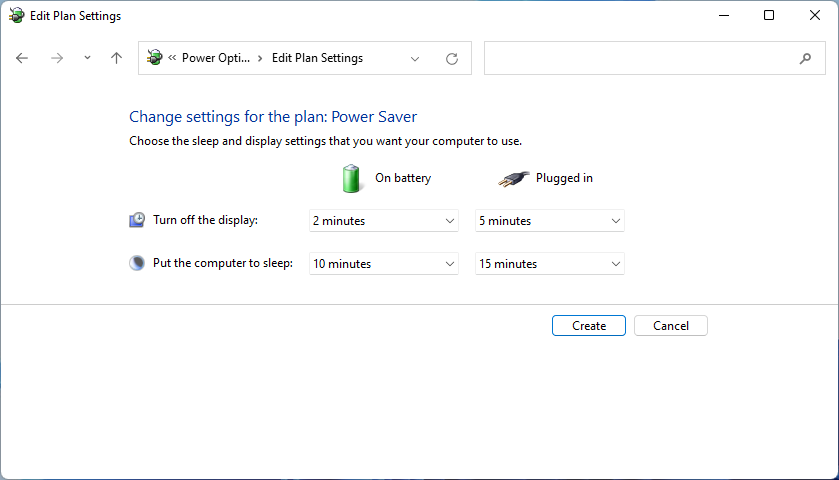
In case, if you want to change the plan as per your need then select the plan and then tap on the Change plan settings. That’s all about Power Plan Settings in Windows 11 Control Panel. Make sure you apply the exact steps given above.
Enable Battery Saver Mode on Windows 11
On Windows 11 there is an option to save battery. Enabling Battery Saver mode you can save the battery of your Windows 11 laptop and tablet. In Windows 11 Microsoft has placed the Battery Saver option in Action Center instead of the Battery tray icon. As you are a user of Windows 11 you know that clicking on WiFi, Sound, and Battery tray icon launches the same menu. In this same menu, you will find your Battery Save mode option on Windows 11. Get to the below steps to do so.
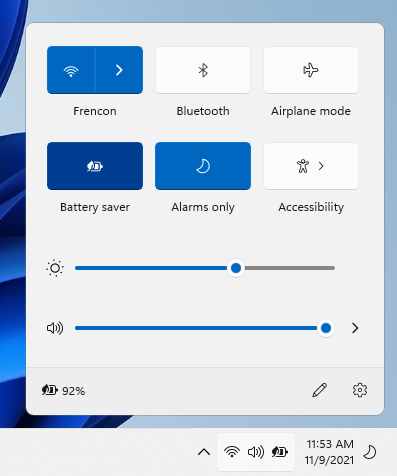
- Launch Action Center by clicking on the Wifi/Sound/Battery icon from the taskbar. You can also hold a Windows key and A key to launch Action Center.
- From the screen tap on the Battery Saver option. By doing this it will be enabled. You will see a battery with a leaf icon when it is enabled.
- If your Windows 11 laptop or tablet is in charge then you will not able to click on the Battery Saver option. To enable Battery saver mode you have to unplug the charging. After unplugging your Windows 11 from charging you will be able to click on the Battery saver mode option.
You have enabled the Battery Saver Mode on Windows 11.
Fix: WiFi No Internet, Secured
I hope that after reading this blog you are aware of Best Windows 11 Power Settings option for Higher Efficiency and Battery saving.