Well, Windows 11 is rolling out from October 5, 2021, for Windows 10 eligible users. In case, if a user won’t get Windows 11 update on day 1 then it does not mean that he can’t get the experience of Windows 11. After deep research, Microsoft has come up with Windows 11 Installation Assistant download. Using this tool a user can update their Windows 10 successor to Windows 11 without any kind of inconvenience.
Many users reported that upgrading to Windows 11 from Windows 10 using the Installation Assistant shows the error message saying “Something went wrong, Select try again, and if that doesn’t work, contact Microsoft support for help. Error code 0x8007007f”.
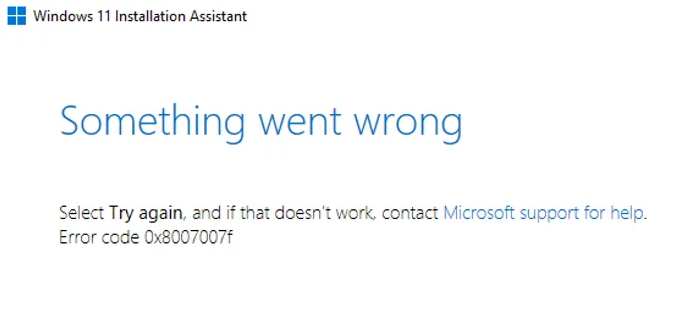
This error message will prevent your Windows 10 to upgrade to Windows 11. If you are one of them then you are landed on the right platform because here you will be able to know the exact causes and fixes of error code 0x8007007f.
Contents
Windows 11 0x8007007f Causes
At first, go through the causes so you can have a clear idea of implementing fixes as per the reason behind the error message.
- N0 TPM 2.0 chip or supported processor due to which you have to bypass Windows 11 requirements.
- Lack of enough storage in your system drive. Check out Windows 11 install size which it will require. It means that it should have enough storage space.
- Lack of Permission causes error message with error code 0x8007007f. To fix it you have to run Windows 11 Installation Assistant with administrative privilege.
- There are cases in which the problem arises due to the outdated or corrupted graphics driver. In this, you have to update the graphics card driver.
- On your Windows 10 if you have corrupted system files then it causes problems.
- If you have third-party antivirus software on your PC.
So, these were all the most common causes of Windows 11 0x8007007f Error Code.
Error Code 0x8007007f Quick Fixes
Now it’s high time to apply fixes to fix this error message. Before going on the advanced fixes make sure you apply the common fixes stated below:
- Do restart your Windows 10 properly.
- Unplug all extra peripherals such as headphones, scanner, printer, or USB Flash.
- Free up the space in the system drive on your PC.
- Disable or uninstall all third-party antivirus software from your computer.
- Run SFC Scanner to fix and restore system files.
- Update graphics card driver. You can do it manually or automatically. If you want to do it automatically then use Driver Easy software. It will automatically update all the outdated drivers.
After applying all the above common fixes if the error is not solved then apply the below-advanced fixes.
Enable TPM 2.0 and Secure Boot
Well, TPM 2.0 and Secure Boot features are compulsory for Windows 11 Upgrade. You can get problems in upgrading Windows 10 to Windows 11 when both features are disabled. Here in this guide, we will show you a way to check or enable TPM 2.0 and Secure Boot features on Windows 10.
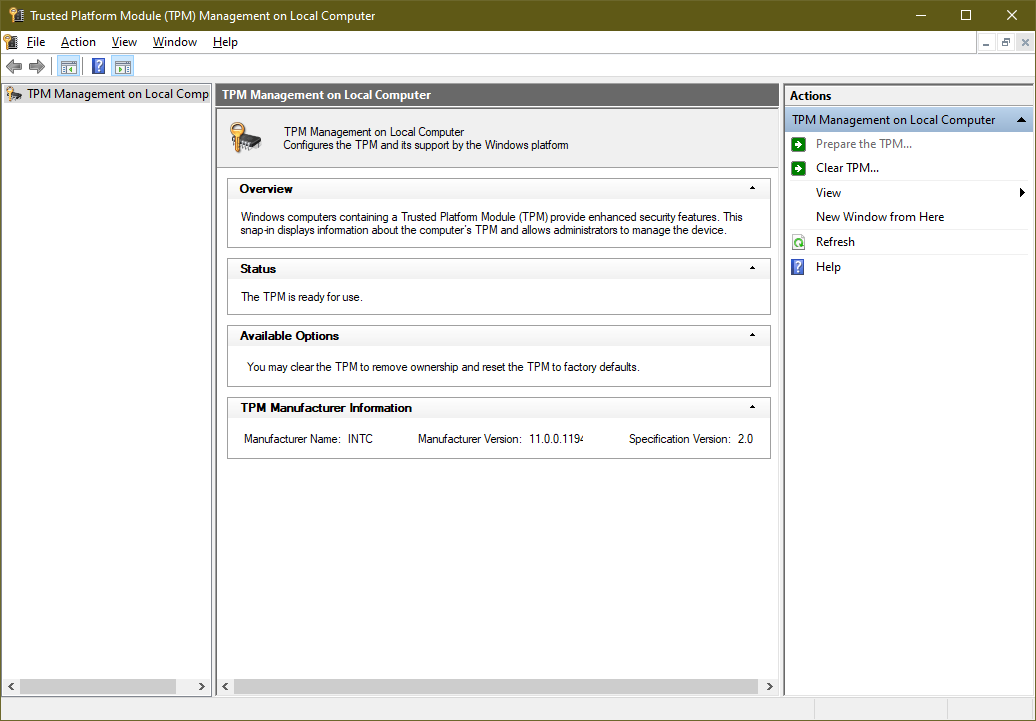
Enabling or checking TPM 2.0 is an easy task. At first to check it launch the Run dialog box by pressing the Windows key and R key. Once you get it then in it type tpm.msc and then hit on OK button. Now you will have a Trusted Platform Module Management window. In it look for the Status section, once you get it then see it shows “The TPM is ready for use”. If it shows then it means that TPM 2.0 is enabled. If it won’t show then you have to enable it from your computer’s BIOS Settings.
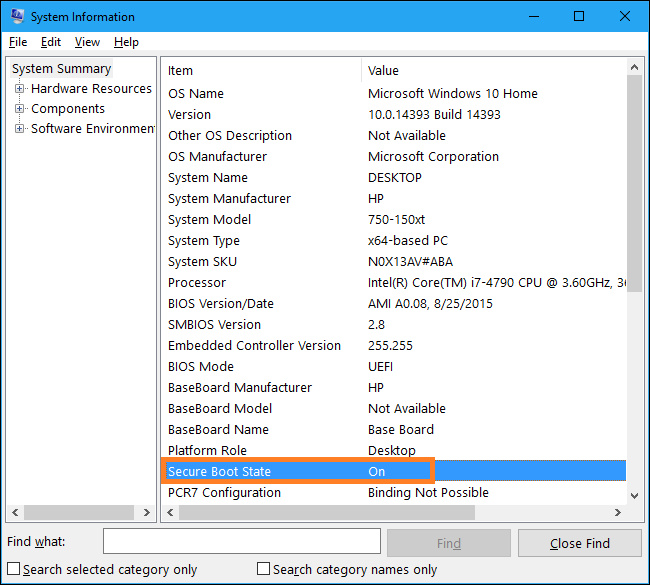
Once you are done with TPM 2.0 then it’s time to enable or check Secure Boot. To check it launch the System Information app. In Windows, the search panel searches for System Information to launch it. On the screen look for the item name as Secure Boot State. If it shows “On” then it means it is enabled. If it is disabled then go to the BIOS settings to enable it.
So, this is how you can check for TPM 2.0 and Secure Boot status on Windows 10 Operating System.
Run Windows 11 Installation Assistant with Administrator
As we have mentioned above that disable all antivirus software because it intervenes with the Windows 11 Installation Assistant. When you run Installation Assistant the antivirus services run in the background and it prevents the installation process. As you have disabled antivirus programs then follow the below steps to run Windows 11 Installation Assistant with the Administrator.
- At first do right tap on the Windows 11 Installation Assistant icon.
- From the open menu tap on the Run as administrator option.
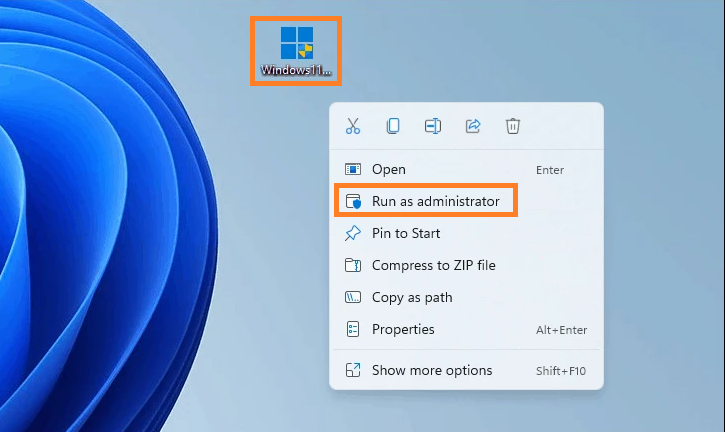
- In case if the dialog box is prompted on the screen then tap on Yes.
After all, use Installation Assistant to upgrade Windows 10 to Windows 11. Now you will not have an error message with error code 0x8007007f.
Ultimately Install the OS through Bootable Windows 11 USB Drive
If all the above fixes fail then you need to change the installation process. Here in this guide, we will show you detailed steps to use Media Creational Tool to create a Bootable USB.
- First of all, go to the official Microsoft site and download Windows 11 Media Creational Tool by clicking on the Download Now button.
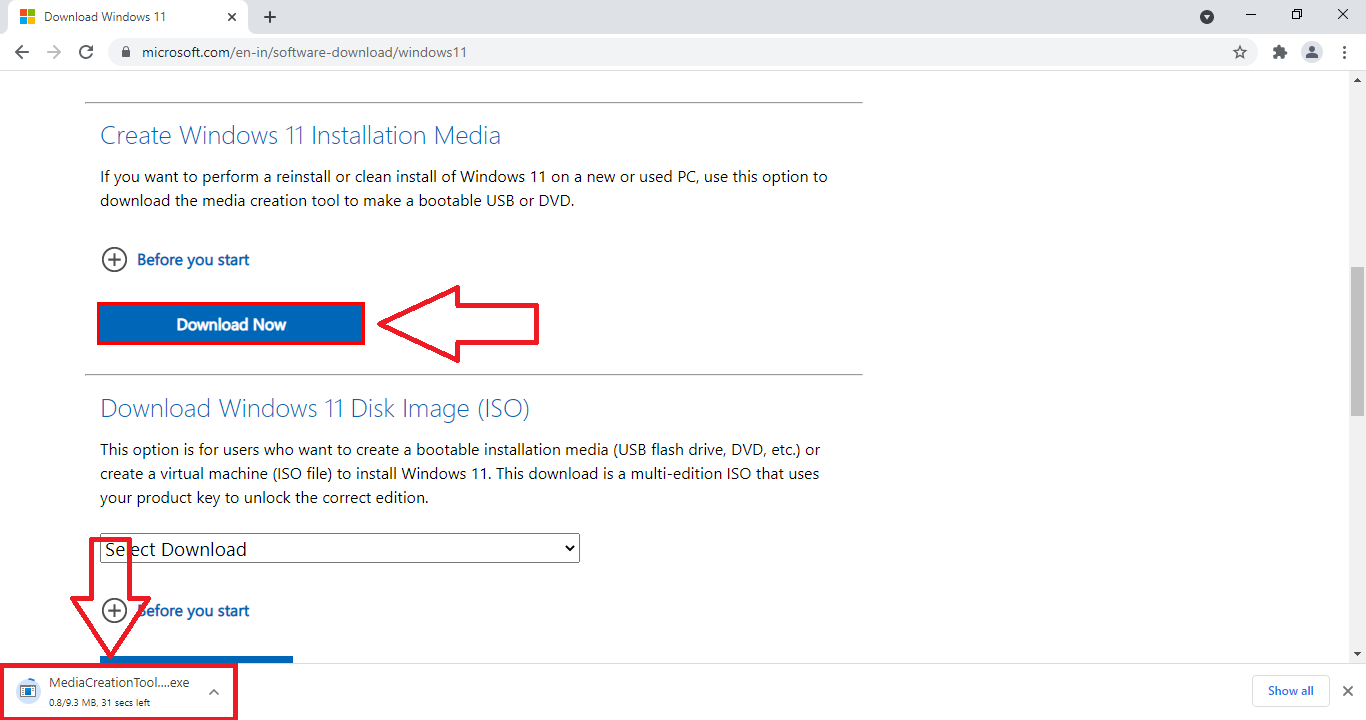
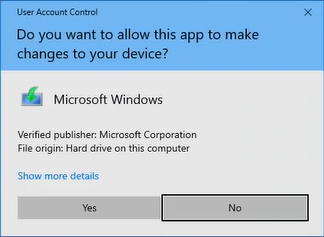
- Once it is downloaded then launch the MediaCreationalToolW11.exe. If it asks for permission then tap on the Yes option.
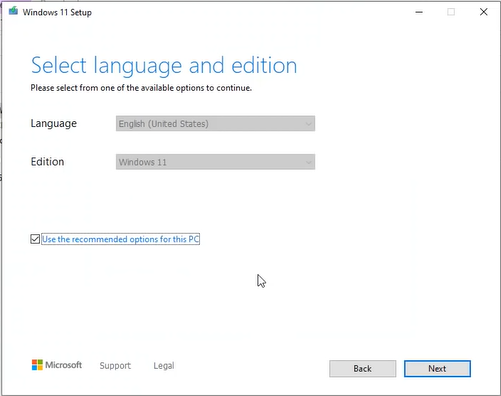
- After this Accept the license terms for the further process. Now from the prompted screen select the language and Windows 11 Edition. If you are confused then you can also do tick on “Use the recommended options for this PC”.
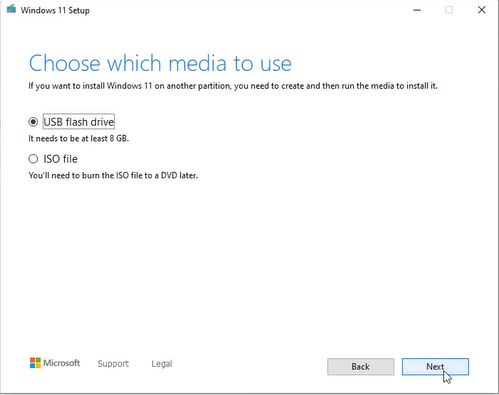
- The screen will give you two options name as USB flash drive and ISO file. You have to choose the option. As you want to create a Bootable USB then select USB flash drive and choose inserted drive.
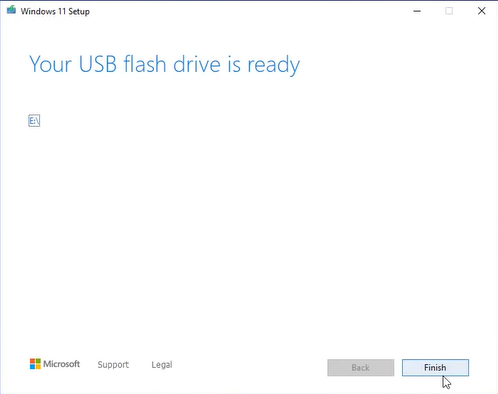
- Now installation media will be automatically downloaded and created. The tool will also notify you when the USB flash drive will be ready.
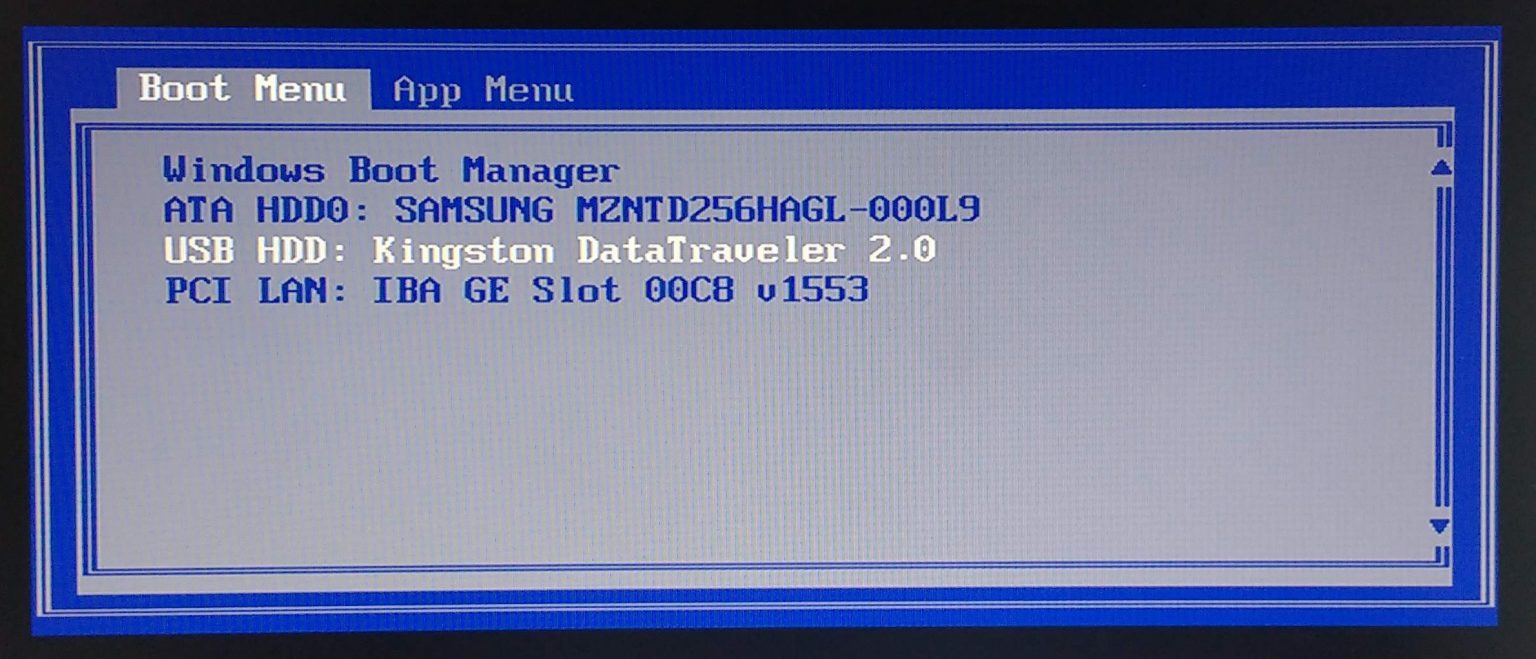
- After this unplug the Windows 11 USB and plug it into the targetted PC and then turn on your computer. Make sure you select to boot with USB.
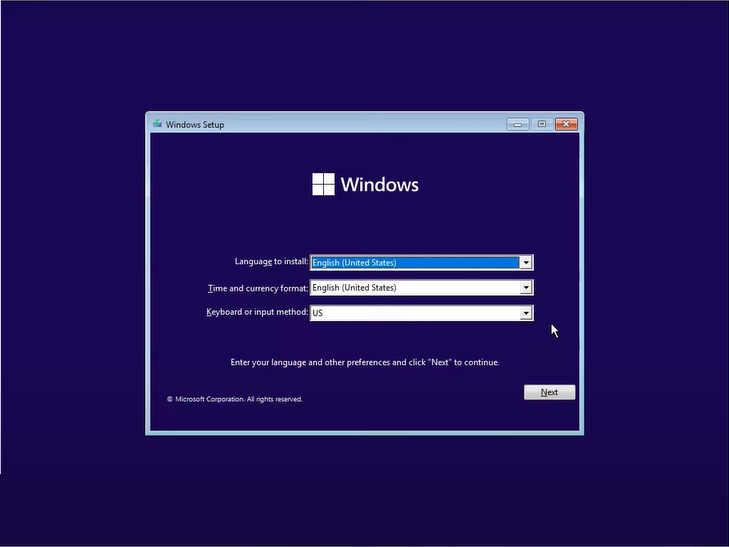
- Now choose language, time, and keyboard layout from the prompted screen.
- Do tap on the “I don’t have a product key” to install. After this, you have to select the operating system that you want to install.

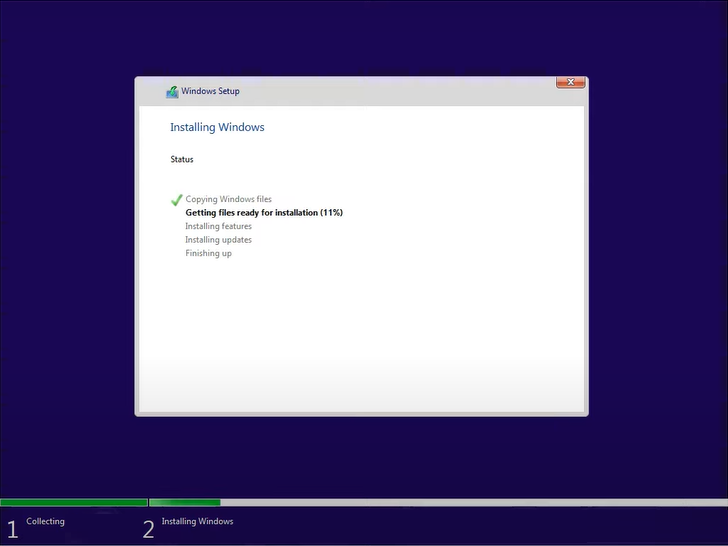
- Select the second option for the further process. After this, the installation media will copy files, install features, updates and will look after the whole process.
- Make sure you set up Windows 11 settings as per your thinking and choose a password or pin for your Windows 11.
- After few minutes you will have Windows 11 Start Menu.

You have successfully installed Windows 11 on your PC. Now you can enjoy all the great and interesting features of Windows 11.
I hope that after reading this article you have either fixed the error code 0x8007007f or installed Windows 11 using Media Creational Tool.