If you recently upgraded to the Windows 11 Insider Preview 22000.51 and it didn’t suit you then there is an option to uninstall and go back to Windows 10.
Microsoft released the first official Windows 11 Preview to Insiders on the 28th of June 2021. It’s a beta release with quite of bugs, errors, and unstable features. Well, a preview is intended for testing purposes and they come up with the new features with minor to major glitches.
You might miss out support for some Windows 10 apps and stable features. Windows 11 will of course support Windows 10 compatible apps but things might not work out with this preview.
Some might not like the centered taskbar with the minimal start menu or the rounded corners. Microsoft has given the option to roll back to stable Windows 10.
Contents
Go back to Windows 10
Windows 11 appeared as a major feature update to the Insiders and Microsoft used to keep the 10 days timeframe to uninstall Windows 10 feature updates. Well, it has changed with the new Windows 11. Microsoft has brought the option to Go back to the previous version of Windows in the Recovery Settings.
Windows 10 will be the only previous version for Windows 11 and it will change with the next release. Until then use this option to go back to Windows 10.
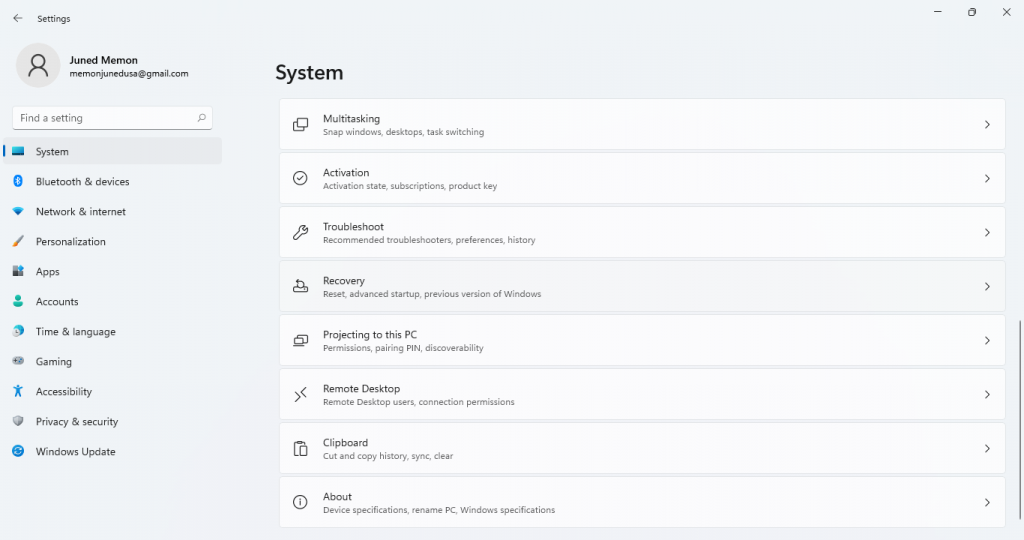
Step 1: Open Microsoft Start Menu and tap on the Settings Gear icon.

Step 2: It will take you to the System Settings, scroll to the Recovery option.
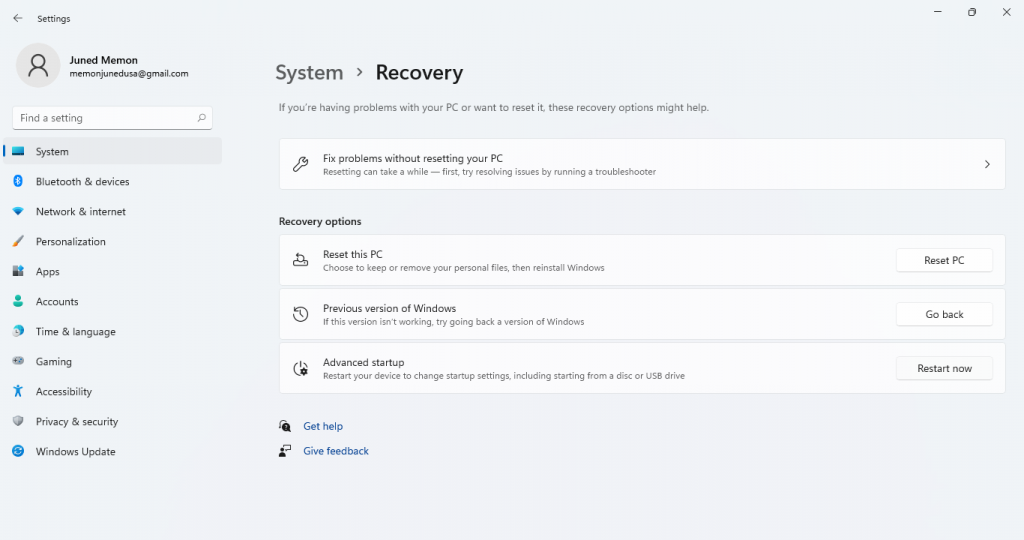
Step 3: Further Recovery option will comprise fixing problems, resetting pc, going back to the previous version, and the advanced startup. Click on the Go back to the previous version of Windows.
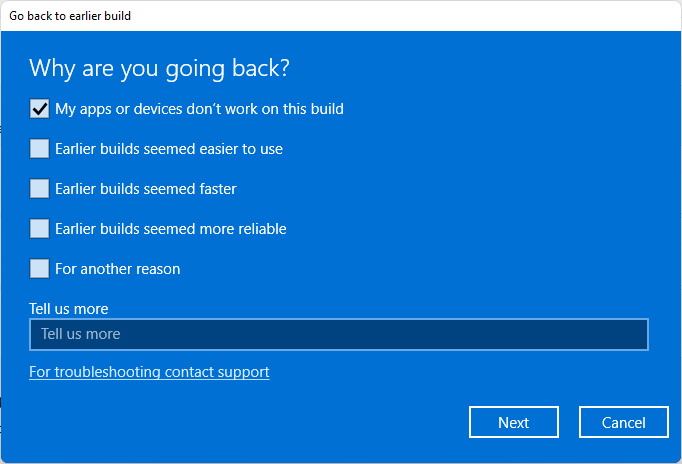
Step 4: It will ask you the reasons for going back, select or describe an appropriate reason and go to the Next screen.
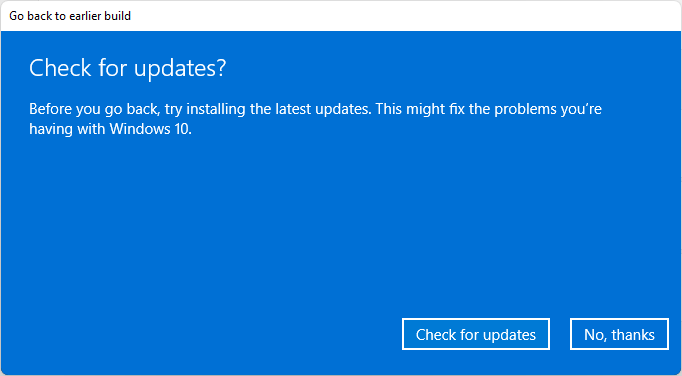
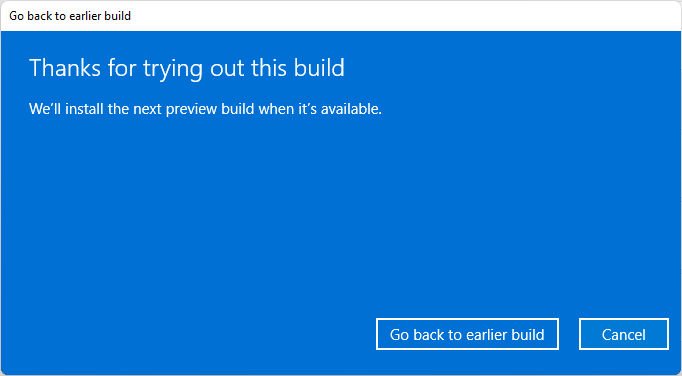
Step 5: Again it will ask to reconsider by checking for updates, select the No thanks button.
Step 6: Proceed to the Next screens by going through all the instructions. You might lose some apps and settings
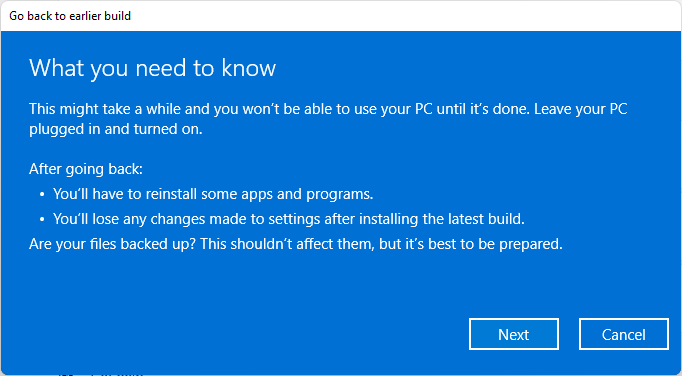
Step 7: It will prompt the final confirmation to Go back to earlier build.
Step 8: It will start the Windows 11 uninstallation and it will be time-consuming just like installation, so be patients and do not turn off your laptop or computer until it completely finishes the process.
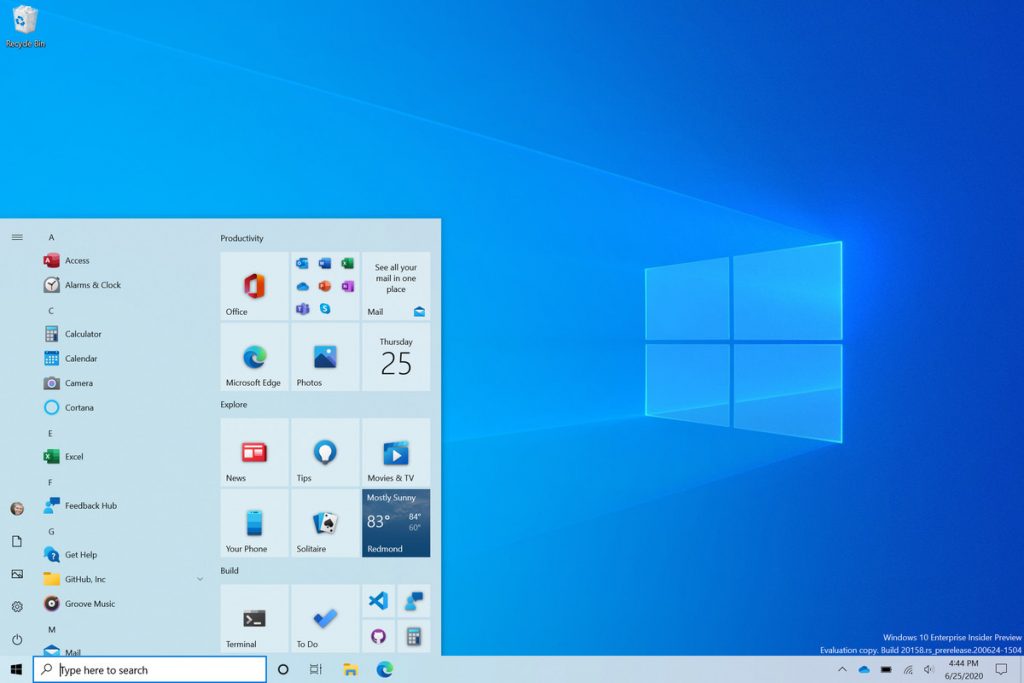
Step 9: Soon you will move to Windows 10 within half an hour and few restarts.
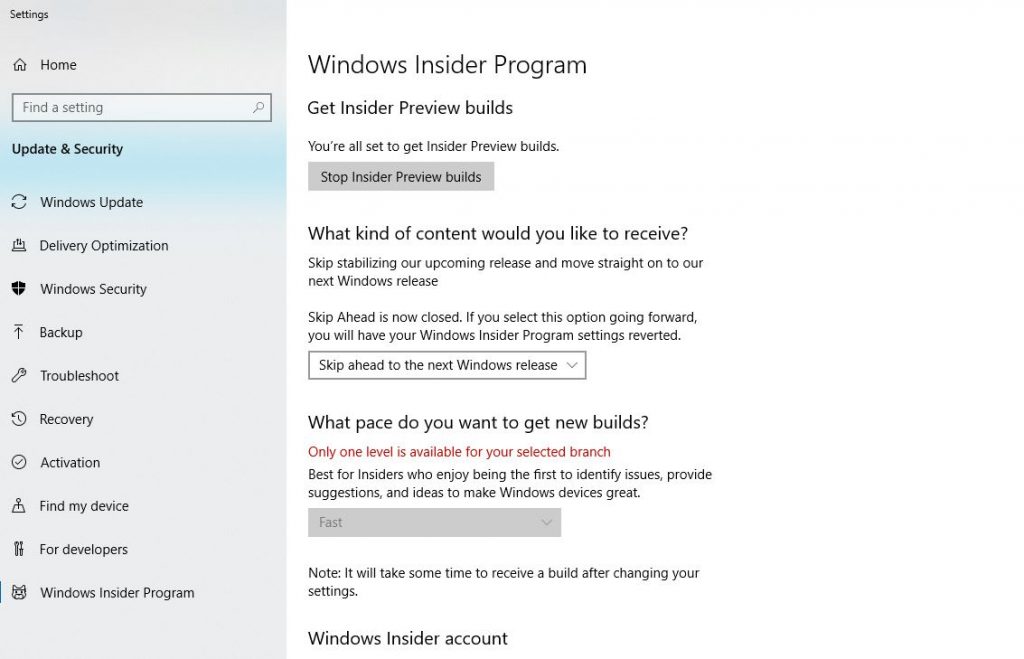
Step 10: Also, leave the Windows Insider Program to stop receiving previews.
Uninstall Windows 11 Feature Update
Microsoft has also kept the option to uninstall Windows 11 feature updates from the Recovery Environment. Windows Recovery Environment is for dealing with system problems. If you aren’t able to boot the Windows or facing errors on startup then straight away launch the Windows Recovery Environment.
It has also got an option to boot to Safe Mode on Windows 11, repair startup, restore system, and uninstall updates. You can remove the recently installed quality and feature updates from Windows. Follow this guide to uninstall Windows 11 feature update and move back to Windows 10.
Launch the Windows 11 Recovery Environment by Restarting while holding the Shift key. If you are not able to boot to Windows then launch the Recovery by forcefully shutting down three times in a row. Hold the power button for 5 seconds until your laptop or computer shuts down. Then it will automatically launch the recovery after performing the startup repair.
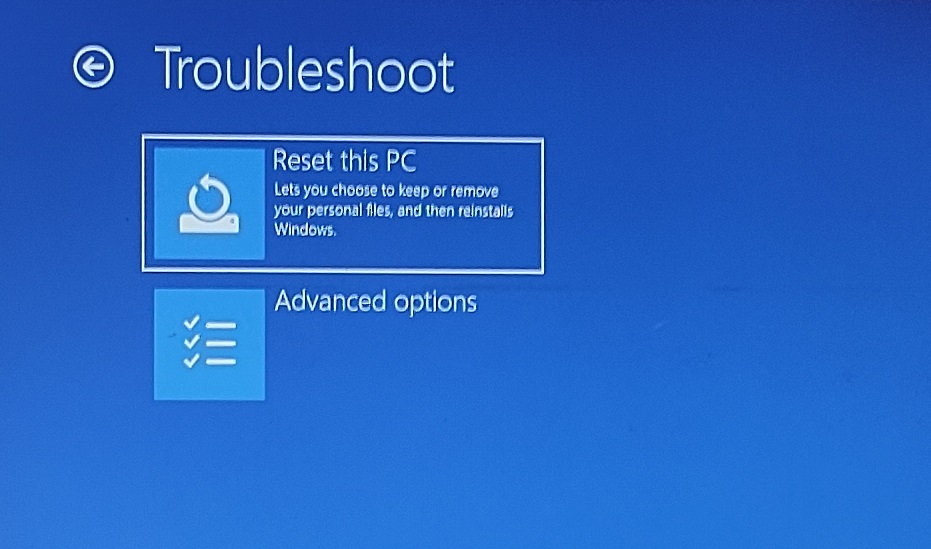
Well, the Recovery will appear blue with Choose an option screen. Choose to Troubleshoot then to the Advanced options.
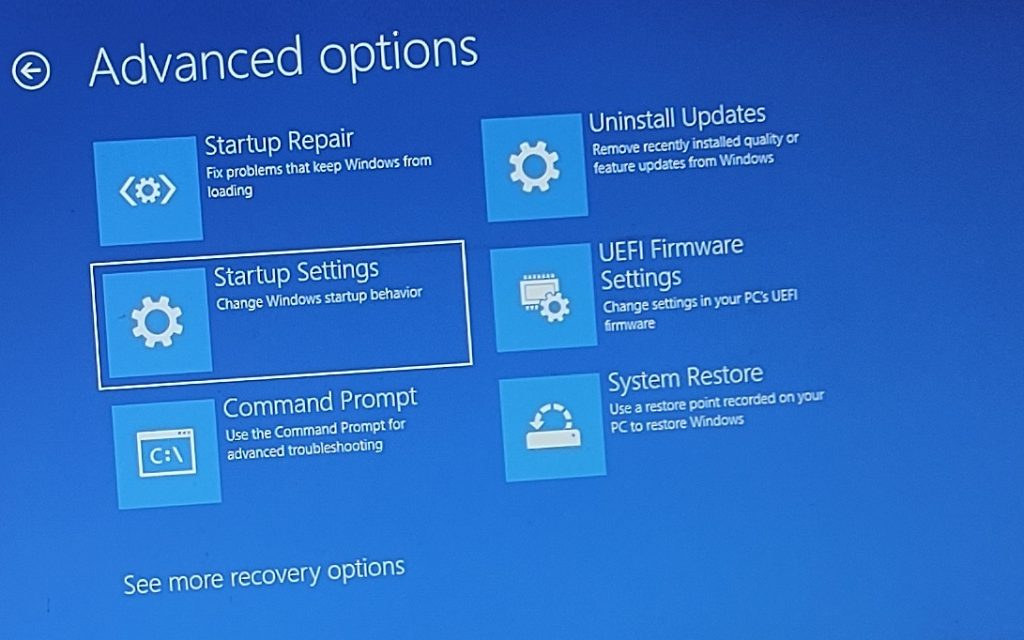
Uninstall Updates under the Advanced options.
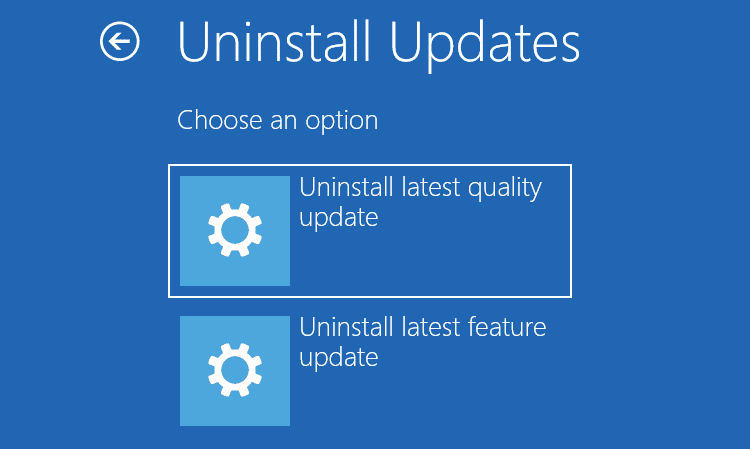
Further, it will give you two options to Uninstall quality or feature updates. Uninstall Windows 11 feature update to move back to Windows 10.
It will take quite some time to settle back, be patients, and stay connected with the power supply.
Do not forget to sign out of Windows 10 Insider program.
Remove Windows 11 10.0.22000.51 build using DISM Tool
Windows DISM is a command-line tool to repair and modify the Windows Image. You can even use it to identify the currently installed feature and quality packages. Further repair or remove them from your system.
Go to the Windows Recovery options in the Settings and Restart with the Advanced options.
Then navigate to the Command Prompt from Troubleshoot > Advanced options > Command Prompt.
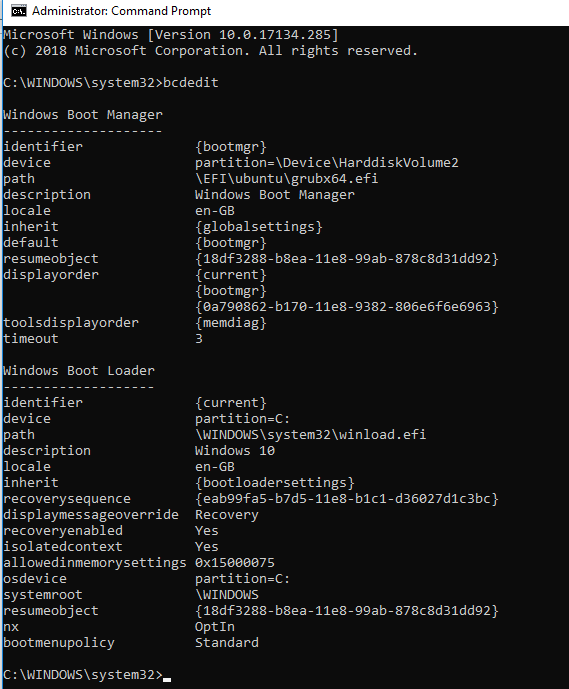
Find out the system drive letter where the Windows Installation file exists. Mostly it’s C:\ drive but it may be different from the WinRE. Type bcdedit to check the System Drive, Windows Boot Loader osdevice partition will give you the system drive information.
Suppose C:\ drive is the system drive, enter the following command to get all the installed packages information. For an example, see the image below the command.
dism /Image:C:\ /get-packages /format:list
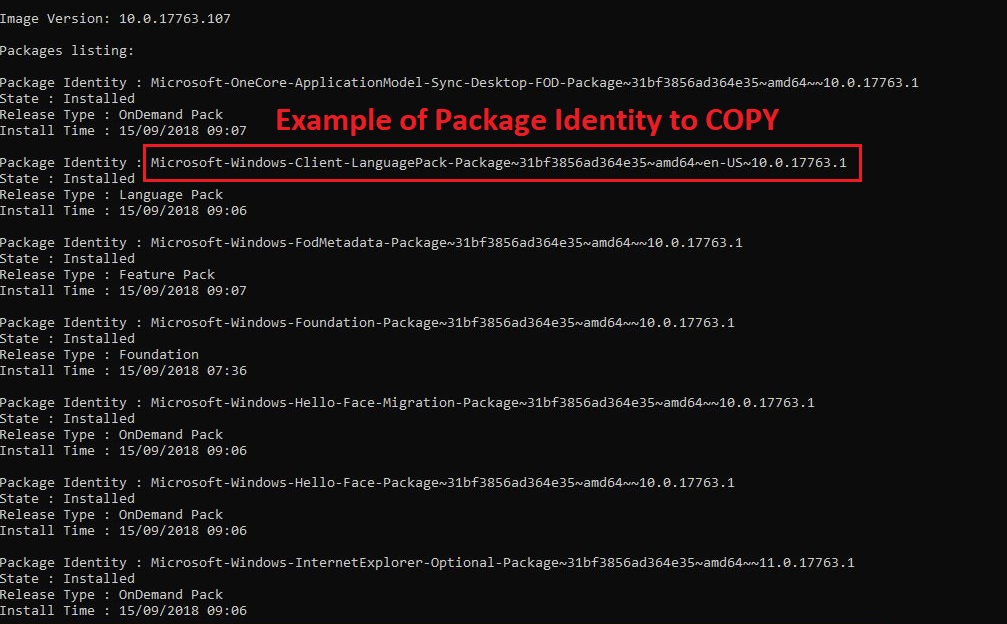
Now copy the Package Identity for Image Version 10.0.22000.51 and enter in the following command. For an example, see the image after the command.
dism /online /Remove-Package /PackageName:PASTE_HERE
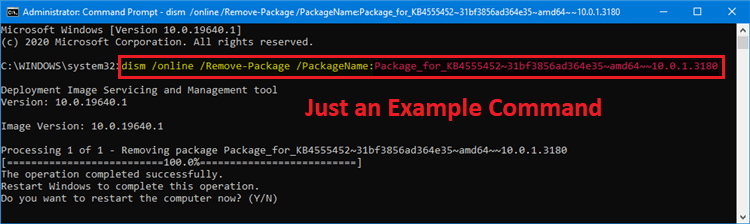
You might be asked to Restart the computer, type Y, and hit enter. It will remove the Windows 11 10.0.22000.51 package and take you back to Windows 10.