Microsoft Runtime Broker is a legitimate Windows process that is essential to keep a Windows 10 computer running. But because it tends to use too much memory and increase CPU load sporadically, the Runtime Broker process has gained a bad reputation and even become attached to being a virus. Are you facing problems such as these right now on your computer and are unsure what to do about it? Well, don’t worry because we have the perfect set of solutions for you, along with all you need to know about the Runtime Broker process.
Contents
What is Runtime Broker?
Runtime Broker is an authentic Windows 10 system process in Task Manager. It looks after Universal Windows app permissions on your PC. It is linked with Universal Windows Apps, and sometimes, it consumes most of the high CPU usage, leading to hogging and a slow system. This scenario does not take place all the time. Normally, the CPU usage of the process is in a few megabytes.
If you observe your RAM usage is through the roof and your computer is functioning slow, it may be due to this process. Check your Task Manager from time to time and keep your eye on the CPU usage.
Read Also: What is WSAPPX
Runtime Broker in Task Manager, Is it a virus?
No, Runtime Broker in Task Manager is not a virus. It is a genuine and vital system process that manages application permissions between Windows apps(native apps) and Windows Store apps (installed from Microsoft Store). Due to its bad reputation of using too much RAM or CPU, some people detect it as a virus, but that is an incorrect description.
The most bona fide way to verify whether or not this process in Task Manager is a virus or not is by checking its location.
- Open Task Manager in Windows 10 and locate Runtime Broker under processes.
- Next, you may select the open file location by clicking right and selecting the correct menu item.
- The file location of the process must be c:\windows\system32\
This way, you can also check the authenticity of the process.
Fix Runtime Broker in Windows 10 From High CPU Usage
Fixing Runtime Broker in Windows 10 task manager from high CPU usage is easy to do if you follow the mentioned solutions step by step. These fixes are credible, and they resolve your problems within seconds. Here are some ways you can solve the issue and reduce CPU usage to megabytes.
End Runtime Broker Task Temporarily
Ending the Runtime Broker task from the Task Manager is just a quick fix like a Modern Setup Host but a temporary fix. Suppose you are doing some important work on your computer, and you start facing some problems due to high CPU usage. In most instances, it would mean a slow computer system. To fix this problem, perform the following steps;

- Press Ctrl-Shift-Esc on your keyboard to open the Task Manager.
- Right-click when you locate the Runtime Broker, mentioned in the processes list.
- Choose to End Task from the context menu that opens up.
Restart the Windows 10 PC and observe if the issue has disappeared or not. This solution does not guarantee a permanent fixture. Next time you run a Universal Windows app, you will see the issue reappearing.
Turn off ‘get tips, tricks, and suggestions’ about Windows
If there are any features linked to Universal Windows Apps working, Runtime Broker is functioning. To turn off tips, tricks, and suggestions about Windows, follow these steps;
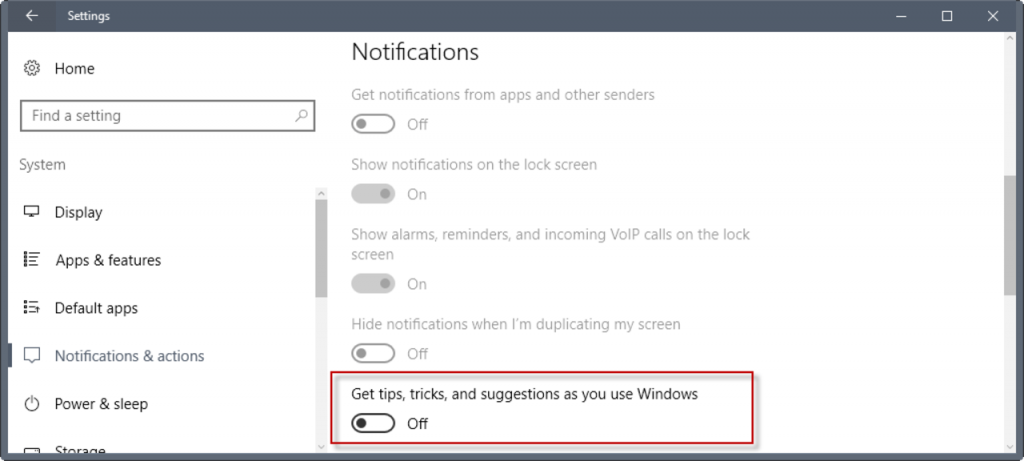
- Press Windows Key + I on your keyboard to open the Settings application on your Windows 10 computer.
- Head on over to the System section and then navigate through the Notifications & Actions tab.
- Locate “Get tips, tricks, and suggestions as you use Windows” on the right pane and switch the preference to off.
The above steps will disable the tips about Windows and resolve your high CPU and memory usage issue too.
Registry Hacking
Registry hacking or disabling RuntimeBroker.exe via Registry Editor is not unethical. Here are the steps to do the same and lower CPU usage due to Runtime Broker in Windows 10;
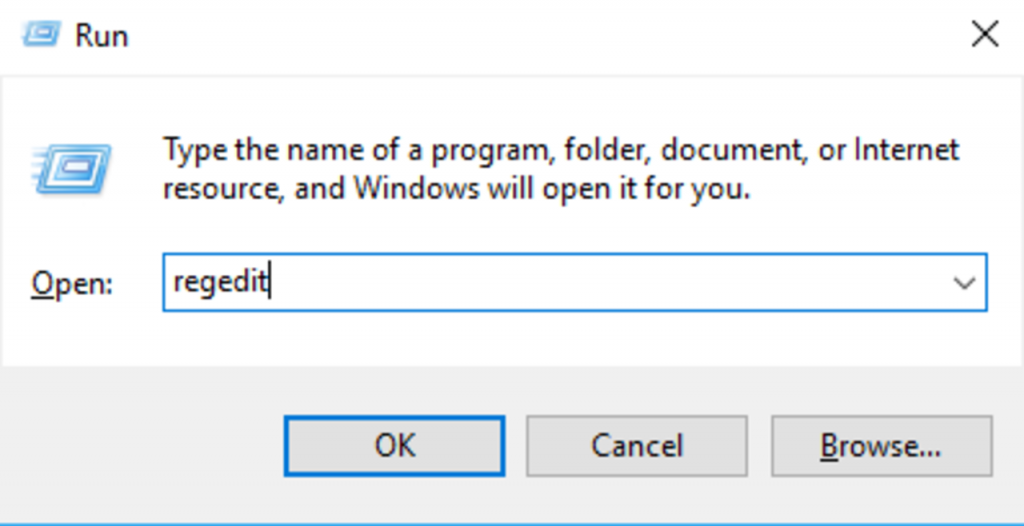
- Enter regedit by pressing Windows Key + R. Hit Enter on your keyboard.
- Proceed to HKEY_Local_MACHINE\SYSTEM\CurrentControlSet\Services, where you will find “TimeBrokerSvc.”
- Double click on the Start option and change the value to 4 from 3.
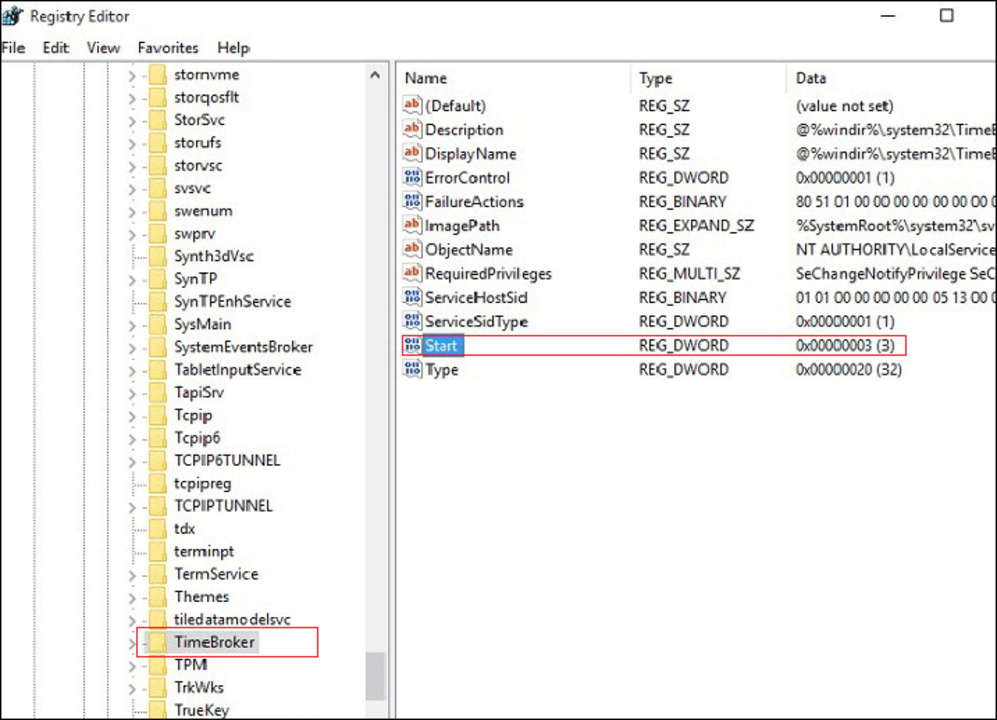
Later on, check if the high CPU usage continues to persist.
Disable Background Applications
Issues with Runtime Broker and high CPU usage get resolved by disabling background applications sometimes. You can also do the same by following these steps;
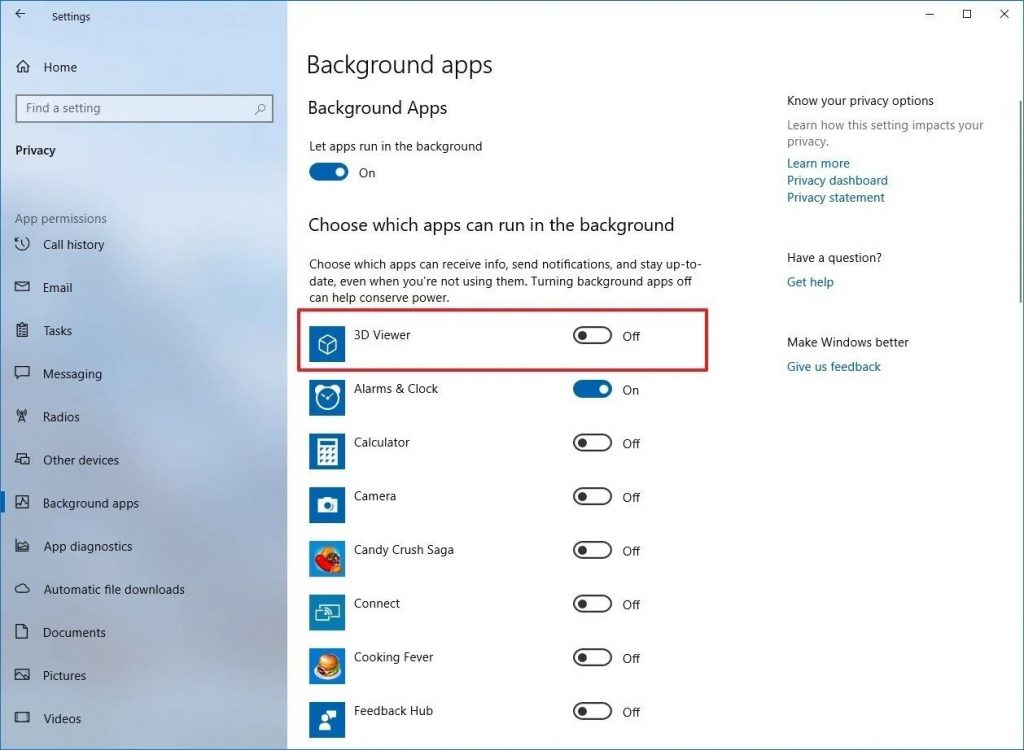
- Go to the Privacy section inside your Settings app.
- Select the Background Apps options on the left pane. Then Turn Off the Let apps run in the background option if it is On.
After performing these steps, you should keep in mind that you will not receive notifications from your Universal apps, which you received prior, because these apps used to run in the background all the time. It would be best if you also considered removing/uninstalling any misbehaving applications that you do not necessarily require.
When computers have become such an integral part of our daily life, we can not afford to have a day without them. If our workflow is hindered due to some malfunction or hindrance, you may lose valuable time. Knowing the solutions to fix the Runtime broker in Windows 10 Task Manager from high CPU usage comes as a blessing. Even if you are not facing this problem right now, this article will help you identify when a runtime broker occurs and resolve it without hassle or worry.