Is your Windows 10 computer running very sluggish even though you are not using any demanding software, files, or video games? To find the solution to this trouble, you most probably will head on to the Task Manager. While you are there, your eyes will set up on quite a strange name that seems to be the reason behind all this misery you are experiencing. The trouble is named ‘wsappx’ that’s hogging the computer, more precisely, your CPU and Disk usage.
Now, you might be wondering, what is a Wsappx, how is it harming your computer, and how can you fix it? No one wants to continue using a sluggish computer that has high CPU/Disk usage. We have the solution to all your questions, and we are going to explain them below.
Contents
What is Wsappx Process?
Wsappx is a process that is necessary for the installations, updates, and installation of apps. It is said to be a process because it runs in the background of your Windows 10 computer. Wsappx process consists of separate pair of background services.
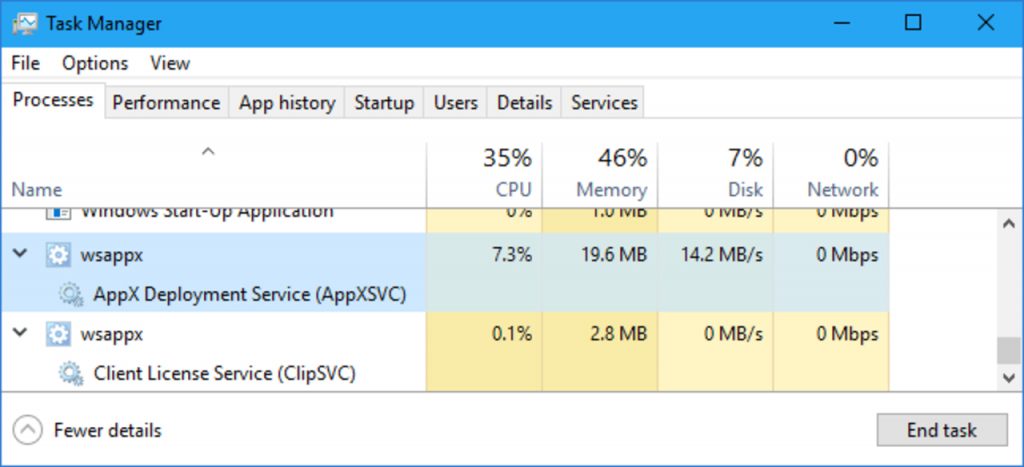
- AppX Deployment Service (AppXSVC)
- Client License Service (ClipSVC)
These services are for Windows 10 exclusively. The Wsappx process does not need to be running in the background after installations are done. Wsappx is a vital process for the computer system only when installing, updating, or deleting Store apps.
Read Also: What is Waasmedic Agent Exe
Fix High CPU or Disk usage by wsappx process on Windows 10
If you are worried that the Wsappx process has ruined your Windows 10 computer forever, let us put an end to your misery. It is very much possible to fix high CPU usage by Wsappx if you know a few tricks. Luckily, we do, and we are going to share them with you. Remember that you should perform these solutions to bring your Disk usage back to normal step by step, and if one does not work, you should try another.
Disk Check For Internal Error
Disk check for internal error should be performed by people who have observed their computer running slow very recently. This solution takes some time to finish.
- Press Windows key + X on your keyboard and press on Command Prompt (Admin) options.
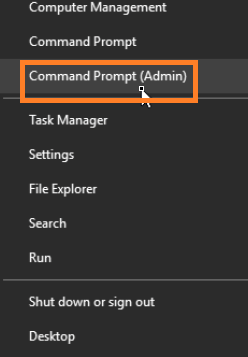
- In the User Account Control prompt, select the Yes option.
- When the Command prompt shows up on your screen again, type chkdsk.exe /f /r command.
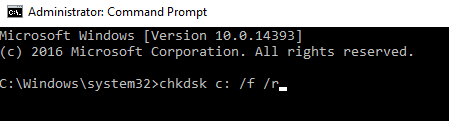
- Press Enter, then Y on your keyword. It signals that you agree to allow the disk check the next time your computer restarts.
When the Disk check starts happening, you will have an option to skip it. But rescheduling will only mean that your high CPU usage problem will remain.
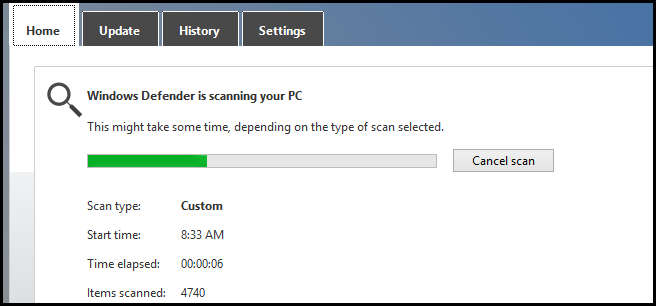
Check For Virus In Your Windows 10 PC
The Wsappx process can very well be due to viruses or malware infections inside the computer. Install a quality anti-virus program first of all.
- Run your antivirus software on your Windows 10 computer and allow it to scan the entirety of the computer disk.
- Remove any suspicious file if found.
- Start the restart process on your computer and check if the problem persists.
Ensure your anti-virus software is up to date and scan your computer at least twice before being sure regarding the absences of any viruses and malware.
Update Windows
If there is any update that can fix major issues, it’s a Windows update. To fix the high Disk drive problem in your computer, perform the following steps;
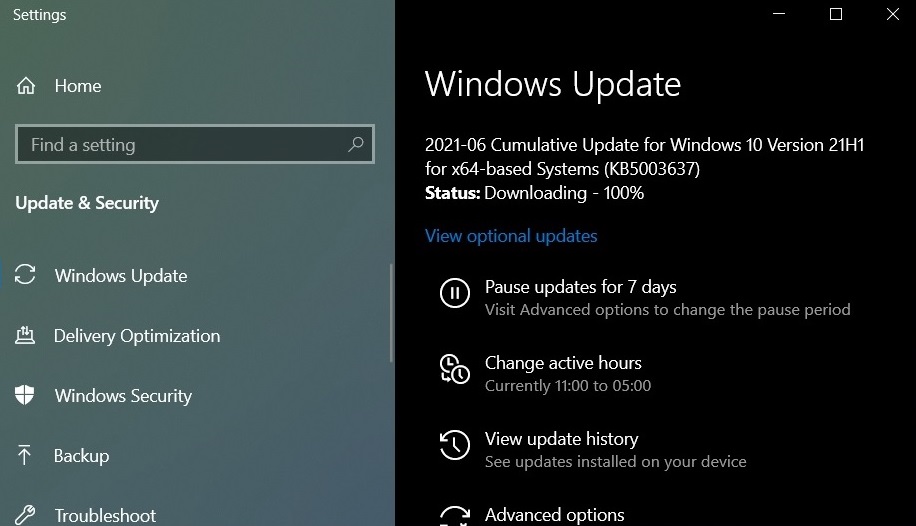
- Navigate through Start, then Settings, and Update & Security at last.
- Select Windows Update and look for any pending updates on the right-hand side of the screen.
- If there is one, you will see the details regarding the update appearing along with the Download button. Press on it and proceed ahead.
After the Windows update process is done, you can restart the computer startup repair and observe if the problem exists.
Clean Boot Troubleshoot
Troubleshooting your computer to a clean boot state should be your last option to resolve the Wsappx problem that is causing high CPU usage.
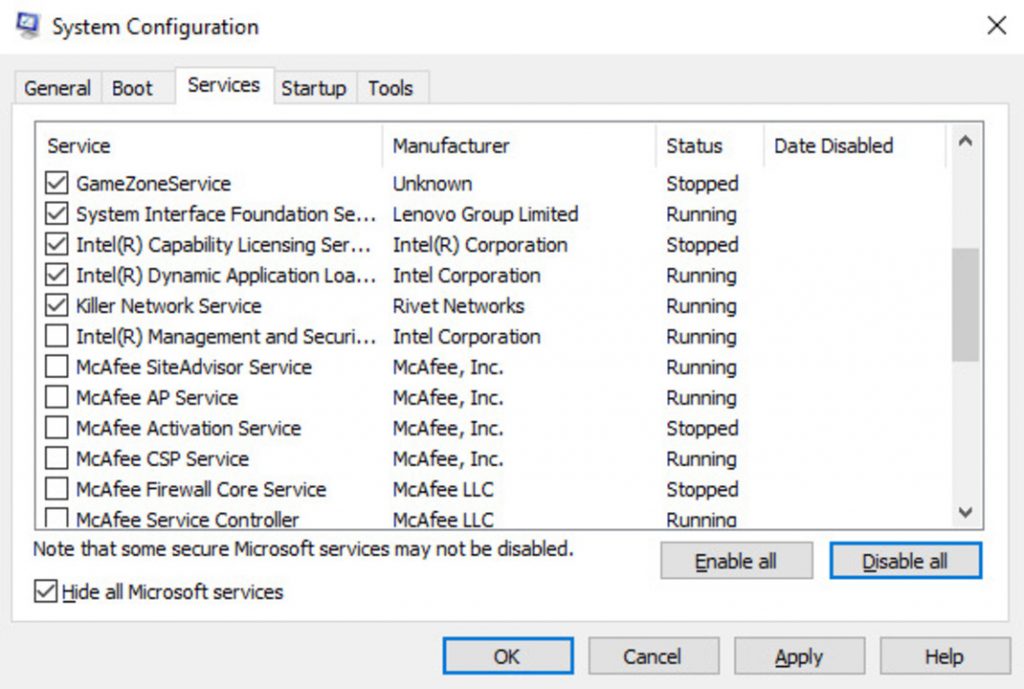
- Search for MSConfig and press Enter to see System Configuration Utility.
- Select “Selective Startup” in the General tab and press on the tick box against “Load system services” and “Use original boot configuration.” Press OK.
- Select the option “Hide All Microsoft Services” in the services tab. Then press on the “Disable all” button in the right-hand corner of the tab.
Changing the value of AppXSVC in Registry, Disabling Microsoft Store, background apps, Device Driver update, and automatic updates are other ways you can fix high CPU and Disk usage in Windows 10 caused due to the Wsappx process. It is important to note that Wsappx is essential if you plan to install, update and deinstall Store Apps. You do not need to worry about it all the time. Check if your computer’s hogging is due to such processes then perform the solutions as mentioned earlier step by step to resolve it.