Being a MAC user you must be attracted to the latest Windows 11 and its features. Microsoft announced Windows 11 with so many changes from Windows 10. Windows 11 has got an amazing UI, with the centered taskbar, new start menu, rounded corners, widgets, multiple virtual desktops, and many new features. Windows 11 Insider Preview is already out to try out the same features on your MAC.
Along with Windows 11, Microsoft changed modern PCs specifications. Newer PCs must be equipped with TMP 2.0 chips, UEFI with Secure Boot, and newer processors. Your Mac might lack the TMP 2.0 chip support and hence might be not eligible for Windows 11.
Other internet guides to install Windows 11 on MAC suggest downloading the iso files for both Windows 11 and Windows 10 and then generate separate Windows 11 ISO without TMP 2.0 requirements. Well, we have covered a much simpler method to install Windows 11 on MAC using Parallels Desktop.
Parallels Desktop is Virtual Machine to run other operating systems on MAC. Its best for installing Windows 10, Linux, and Ubuntu on MAC. First, we will download and install from the Windows 10 ARM ISO file then bypass the TPM 2.0 chip through the registry editor. Then finally upgrade to Windows 11 on MAC.
Read Also: Upgrade from Windows 11 Home to PRO
Contents
Install Parallels Desktop on MAC
Parallels Desktop creates virtual environments to run Windows 11 on MAC. It creates a direct link between all the MAC hardware resources to the Windows 11 thus will allow to operate it on a separate computer.
Parallels Desktop will automatically configure all the required device drivers for Windows 11. It’s now also supported on the MAC M1 chip devices. Parallels Desktop 17 is the latest version as of now, follow this guide to update to the new version.
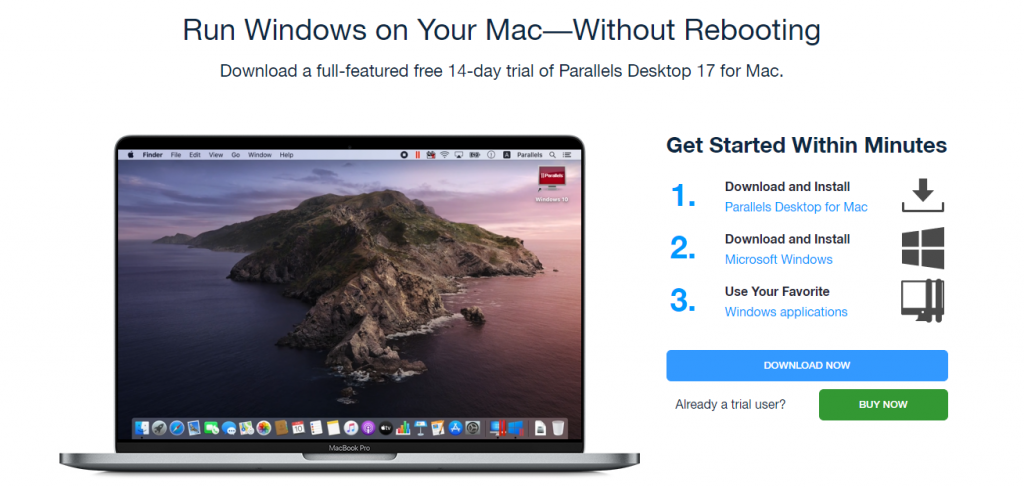
Visit parallels.com to download and install the latest Parallels Desktop on your MAC. Parallels Desktop offers 14 days free trial with all the features.
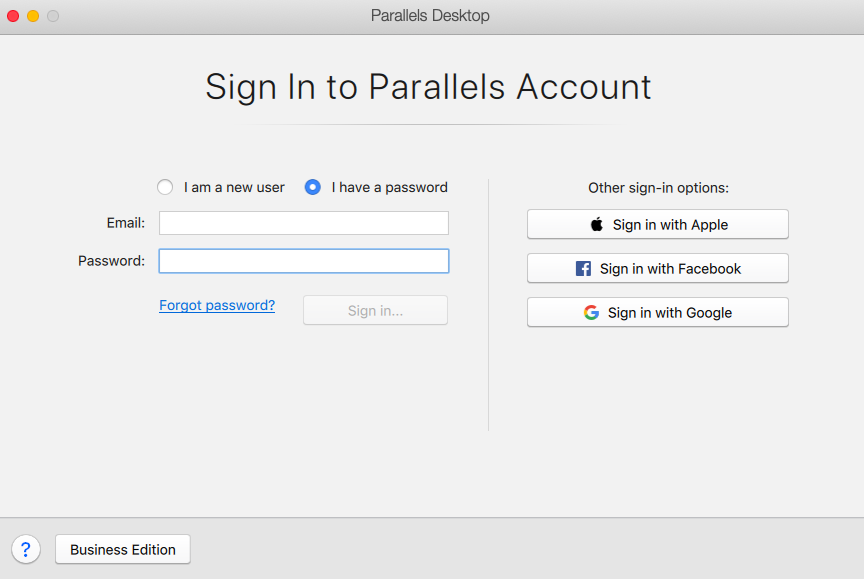
Launch Parallels on MAC once the installation is complete and sign in or create a new account.
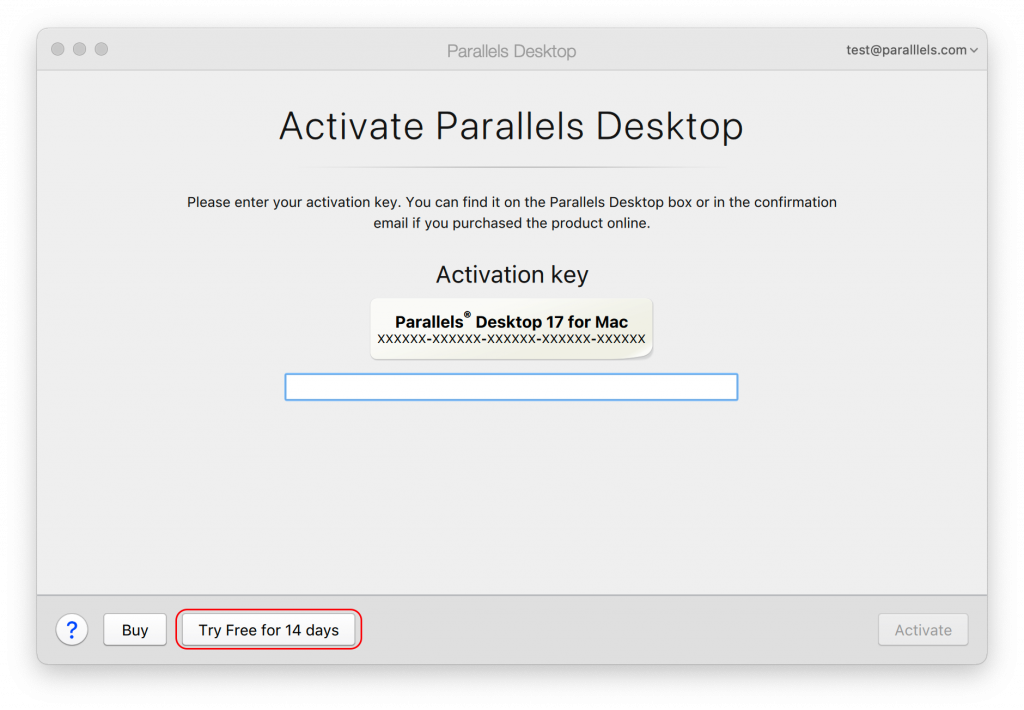
Then tap on Try Free for 14 days button at the bottom of its Window.
Now it’s time to show some action to install Windows on ARM on MAC.
Read Also: Windows 11 Vs Linux
Download Windows on ARM Insider Preview ISO
Mac’s Parallels Desktop will need Windows on ARM ISO Insider Preview file. Windows ARM versions are especially build to run on ARM64 processors. MAC is powered with ARM CPU architecture and thus has got many advantages over a normal Windows Laptop.
Windows on ARM will have extended battery life for a day and also support an integrated mobile network through the chip. Windows on ARM on MAC will support both 64 bit and 32-bit applications without their code modifications.
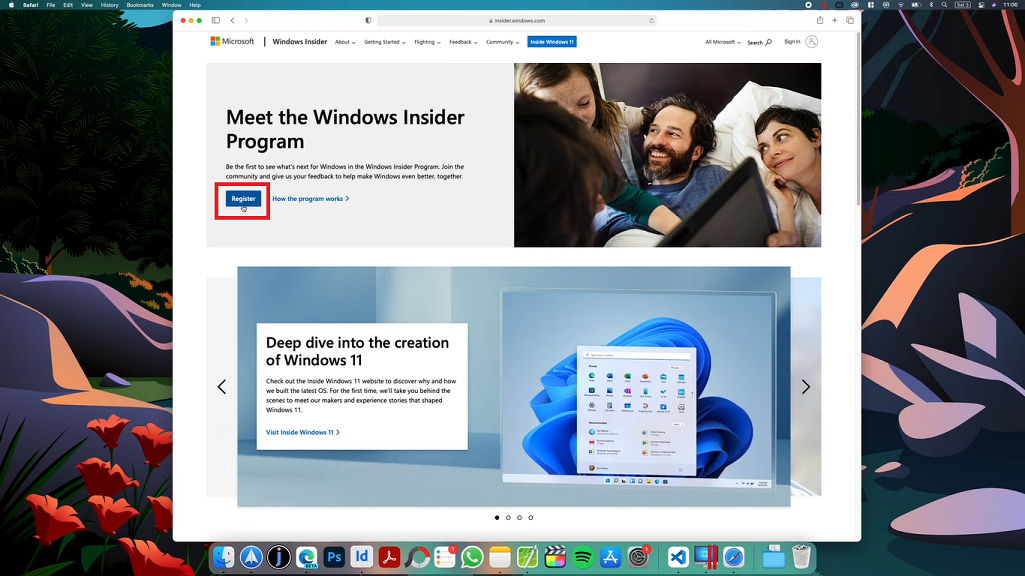
You have to register for the Windows Insider Program from the web to download Windows on ARM Insider Preview ISO for your MAC. Visit the Windows Insider Program page from your browser and Register for the program.
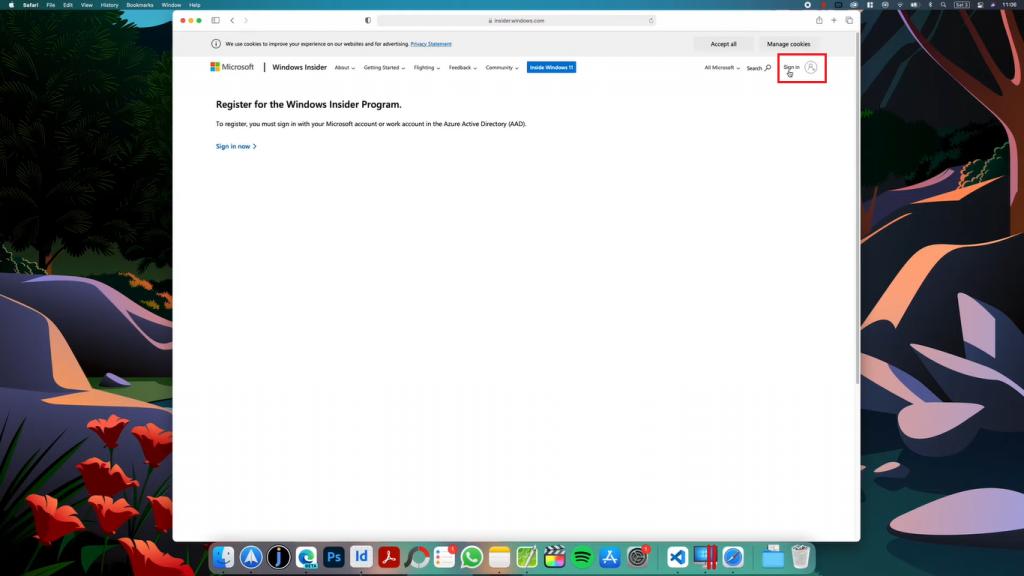
Sign in with your Microsoft Account and Accept its terms.
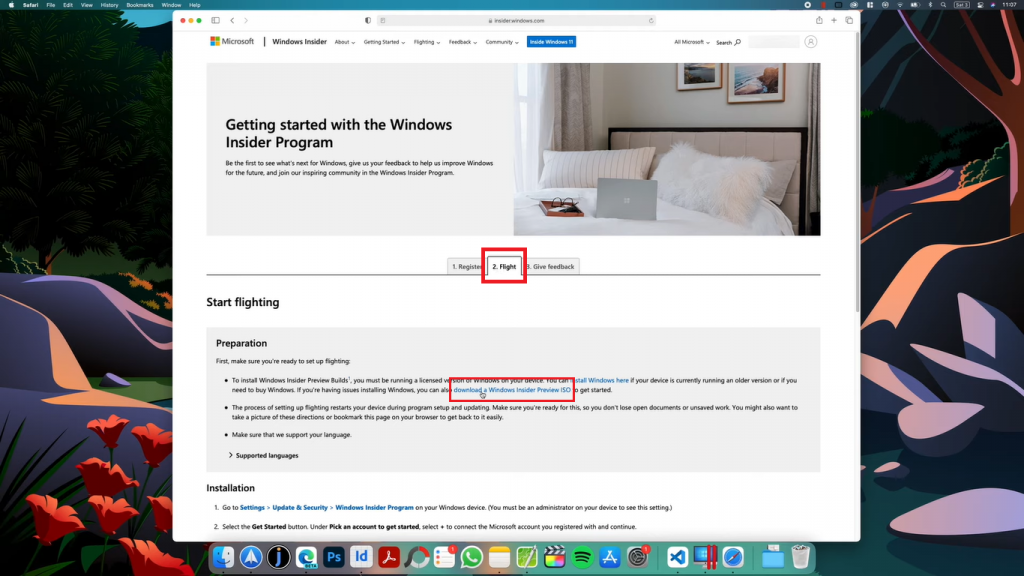
Now tap on the download a Windows Insider Preview ISO link under the Flight tab on their site.
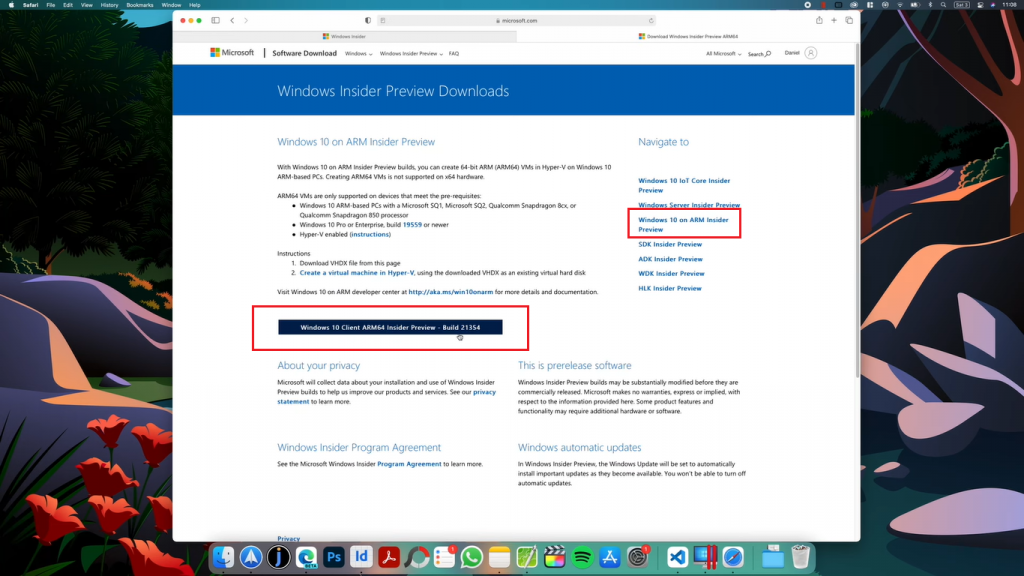
Again login to your account and visit Windows 10 on ARM Insider Preview from the navigation menu. Download Windows 10 Client ARM64 Insider Preview.
Install Windows on ARM on Parallels Desktop
Launch Parallels Desktop once you have downloaded the required ARM64 ISO file to install Windows 11 on MAC. It might display About Macs with M1 Chip information, Continue to go to the next screen to install Windows from an image file.
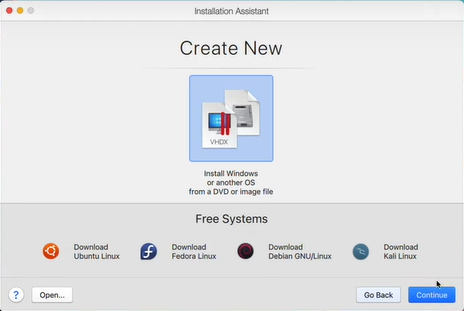
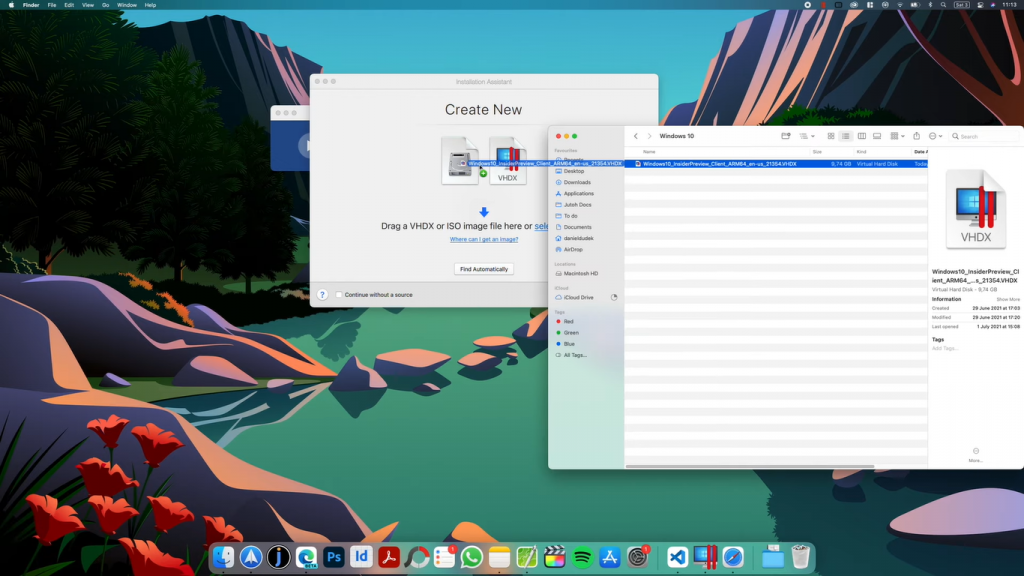
Choose manually to locate the downloaded ISO file. Open the downloaded folder to drag and drop the ISO file to Parallels Desktop.
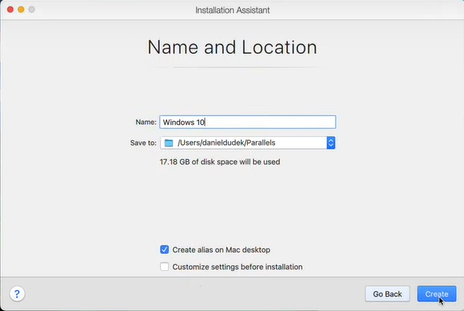
Click on the Continue button to start the installation, choose your primary objective from Productivity or Gaming. Give it an appropriate name and choose a location to install Windows and create its directory on MAC.
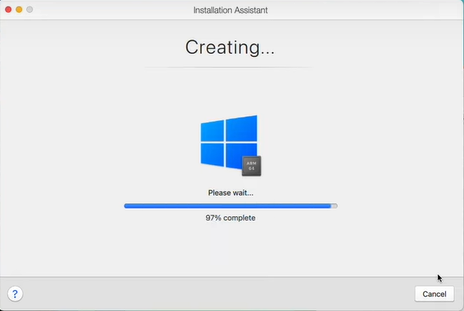
Wait until Windows 10 on ARM is installed on your system.
Then it will launch Windows Setup on Parallels and take half an hour more to finish and launch the desktop.
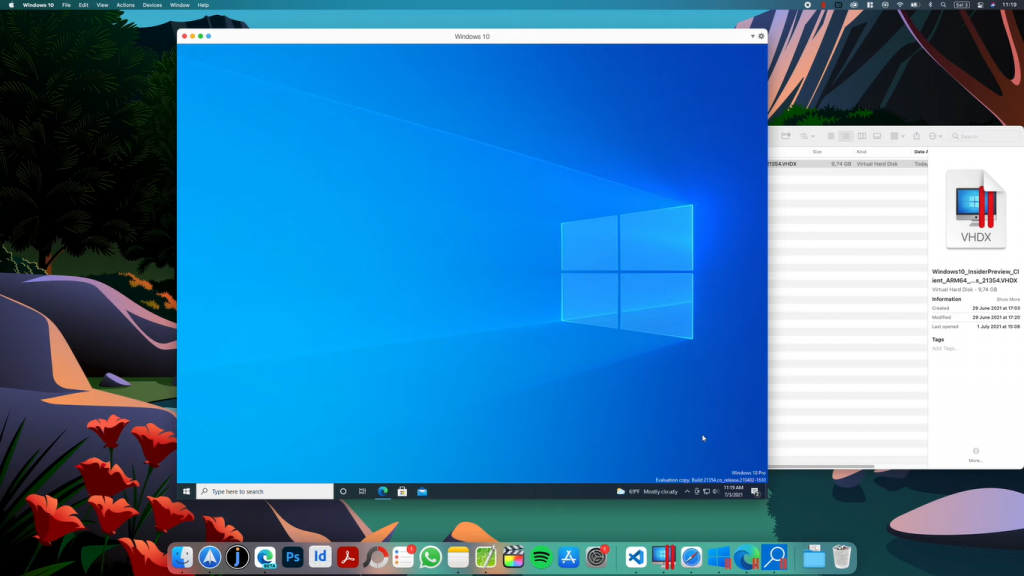
That’s it for the installation part, now we will edit Windows 10 registry settings to download Windows 11 on MAC using Parallels Desktop.
Windows Registry Settings for MAC
You will be on the Windows 10 desktop screen on your MAC. Make the following changes to its registry editor to receive Windows 11 update.
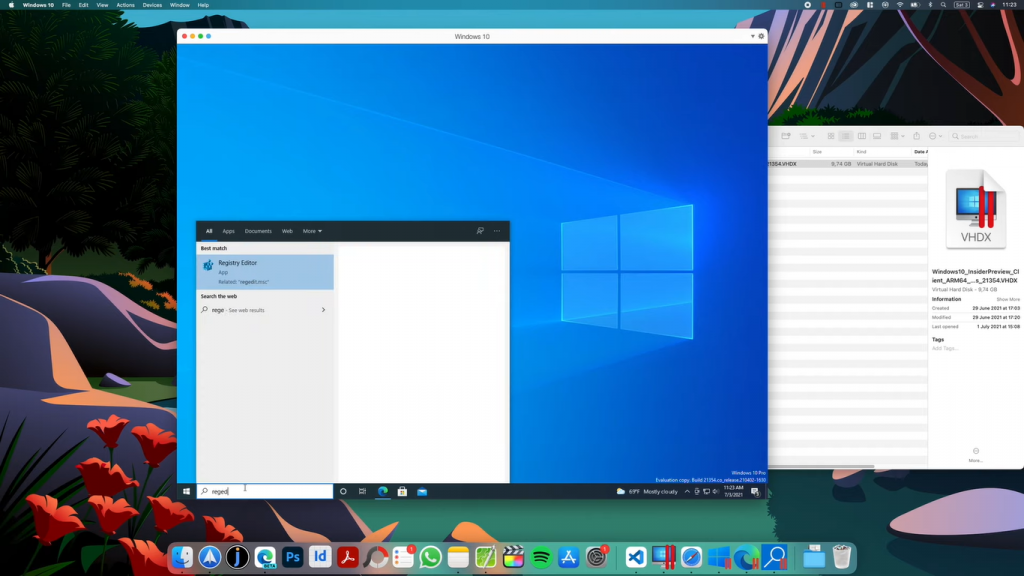
Launch the Start Menu and search for Registry Editor and allow to run this application.
Now follow the path as HKEY_LOCAL_MACHINE > SOFTWARE > Microsoft > WindowsSelfHost > UI > Selection.
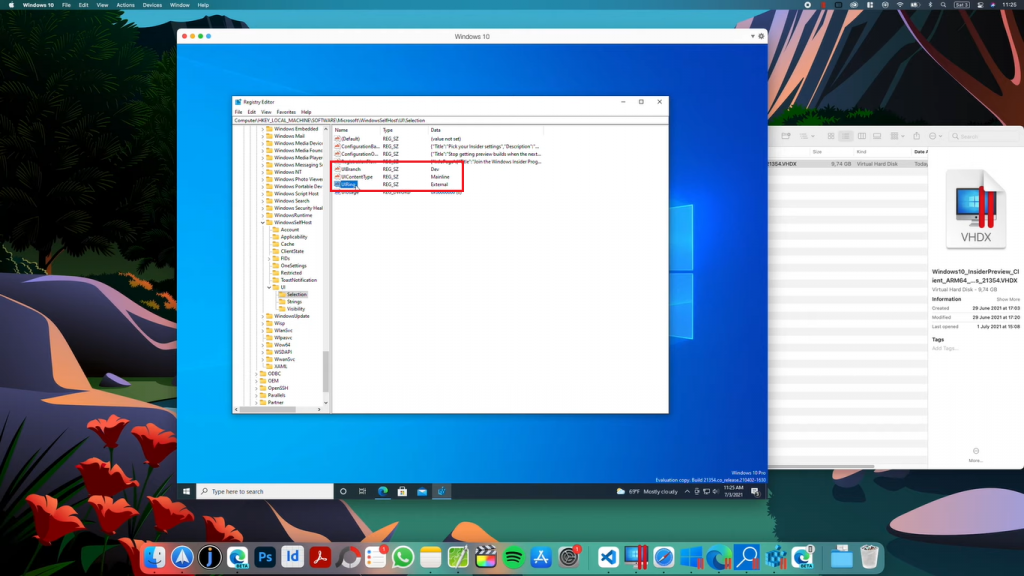
Right-click on the UIBranch to Modify its value to Dev.
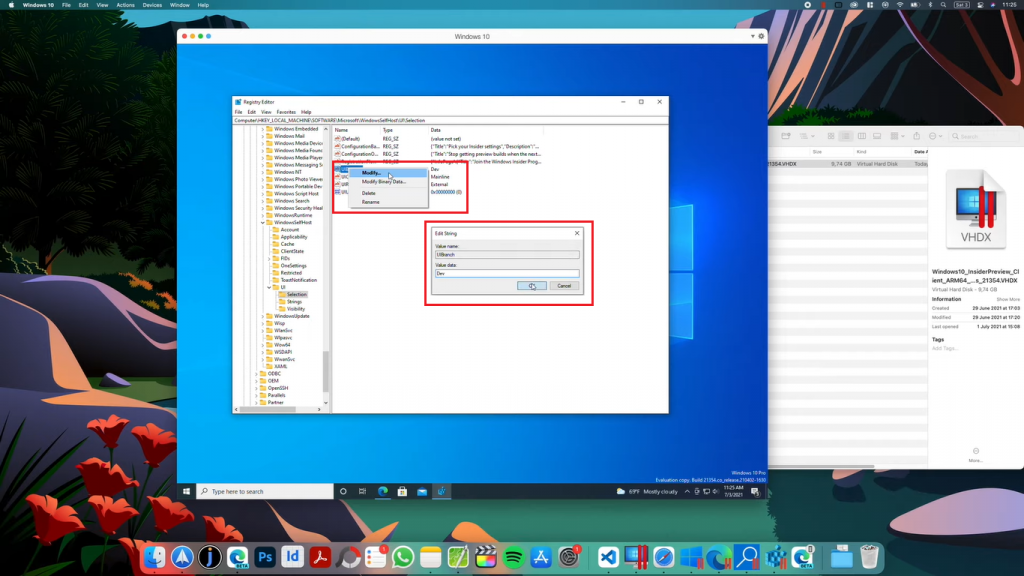
UIContentType value must be set to Mainline and UIRing value to External.
Now go to the Applicability folder under WindowsSelfHost and set its BranchName file value to Dev.
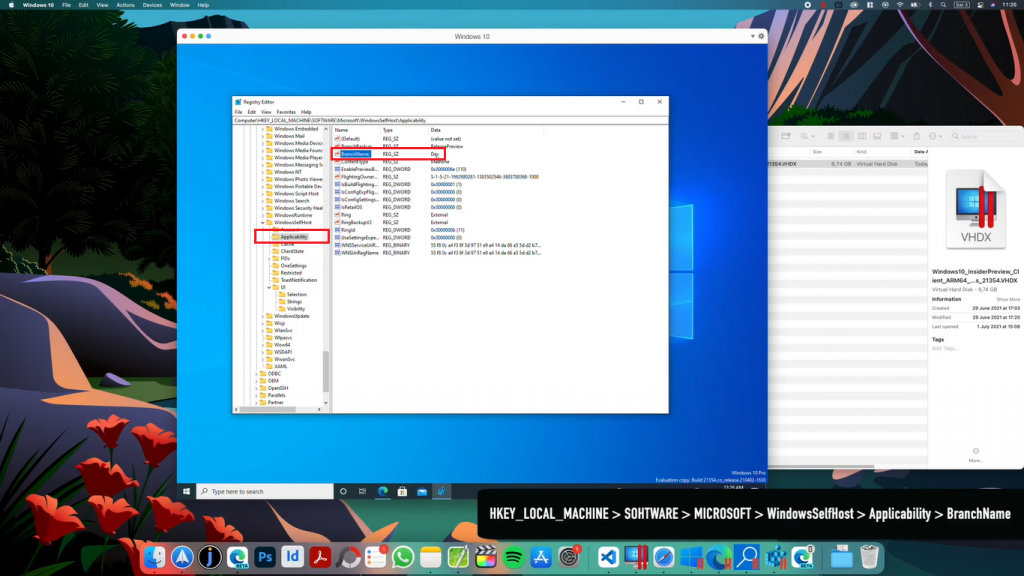
Restart Windows to apply registry changes to the system.
Download Windows 11 on MAC using Parallels Desktop
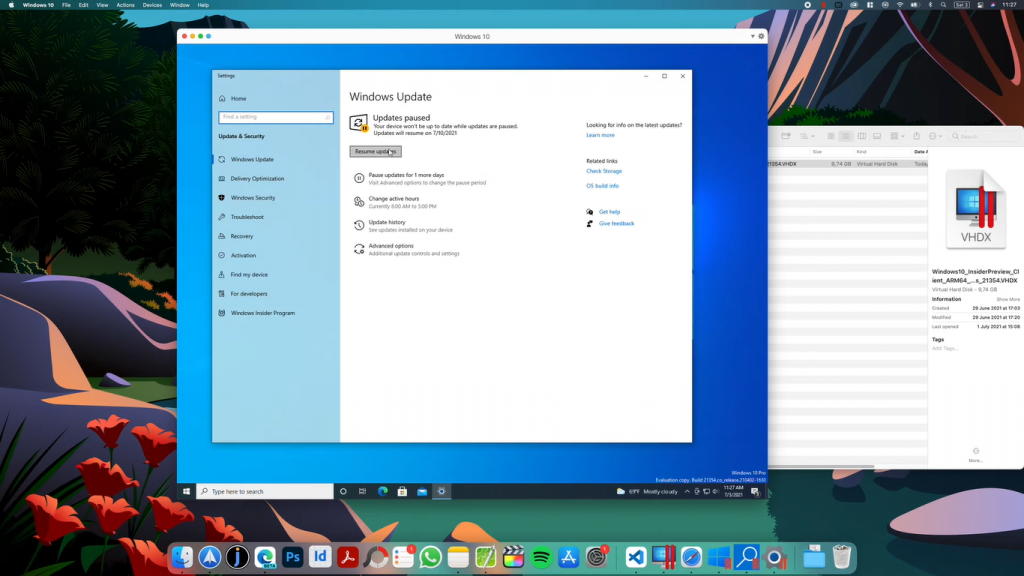
After making registry changes, its time to upgrade Parallels to Windows 11 on MAC. Launch the Windows Start Menu and search to Check for updates.
Tap on the Check for updates button to resume the paused updates.
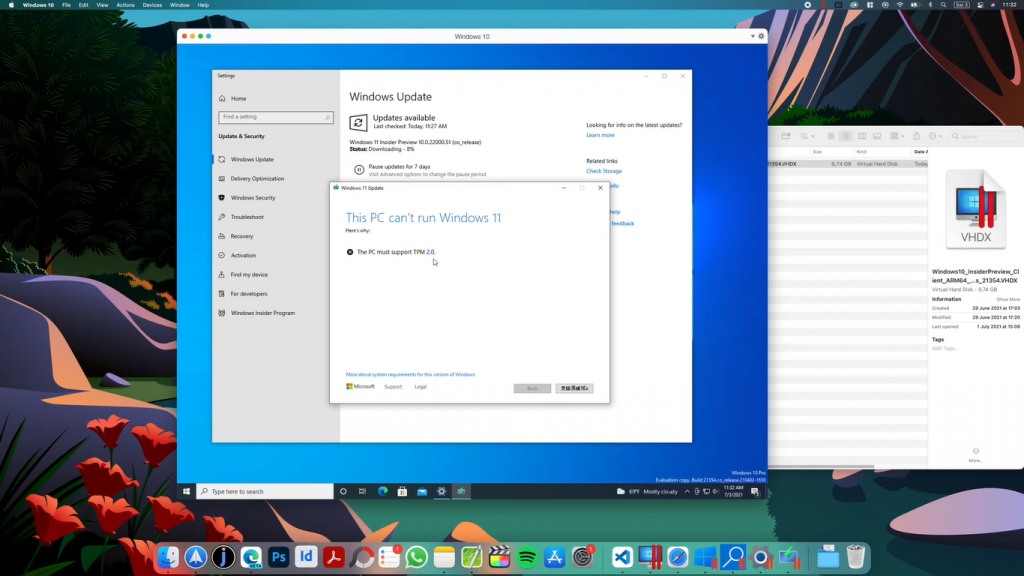
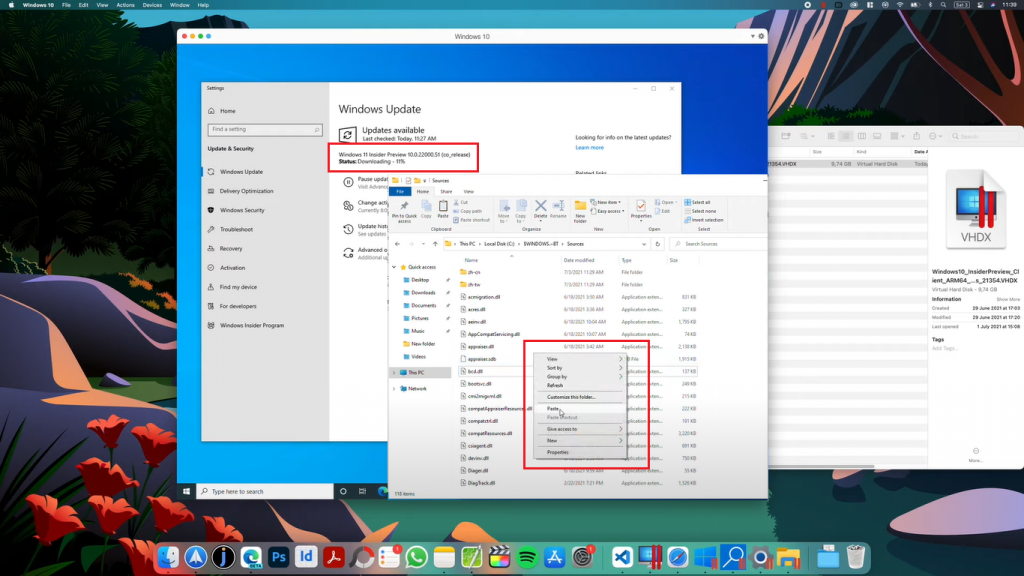
Parallels Desktop will start downloading Windows 11 Insider Preview update but it won’t be completed in the one go.
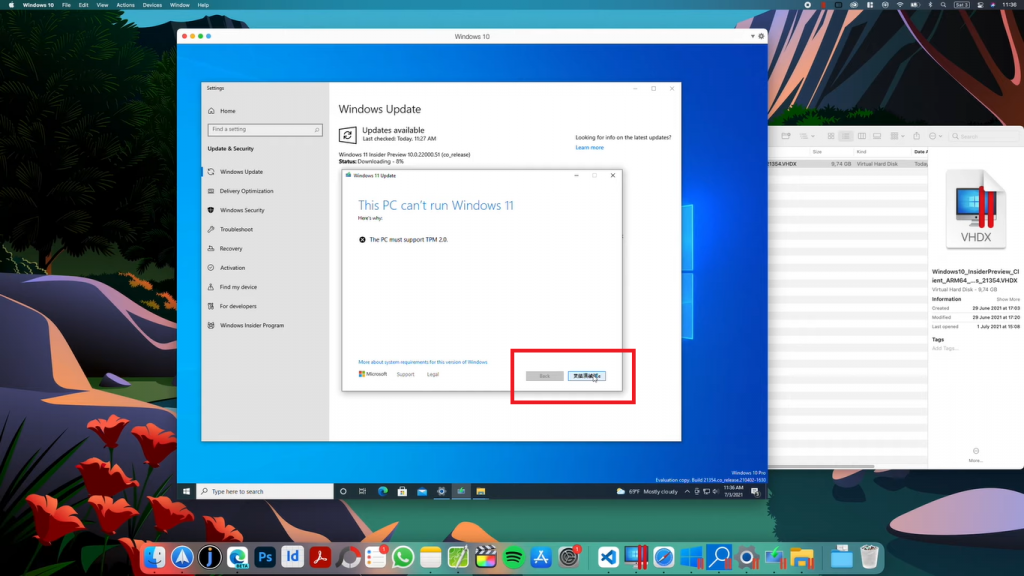
This PC can’t run Windows 11 prompt will pop up somewhere between 8-10 percent. You have to apply the tweak to bypass this TPM 2.0 requirement.
Leave the prompt as it is without closing settings and launch the file explorer by searching from the start menu.
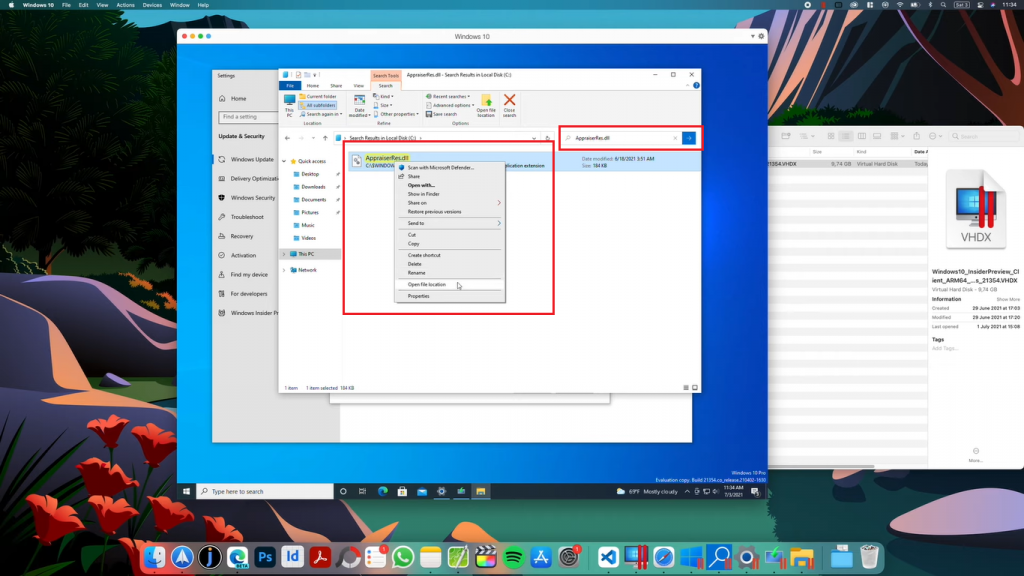
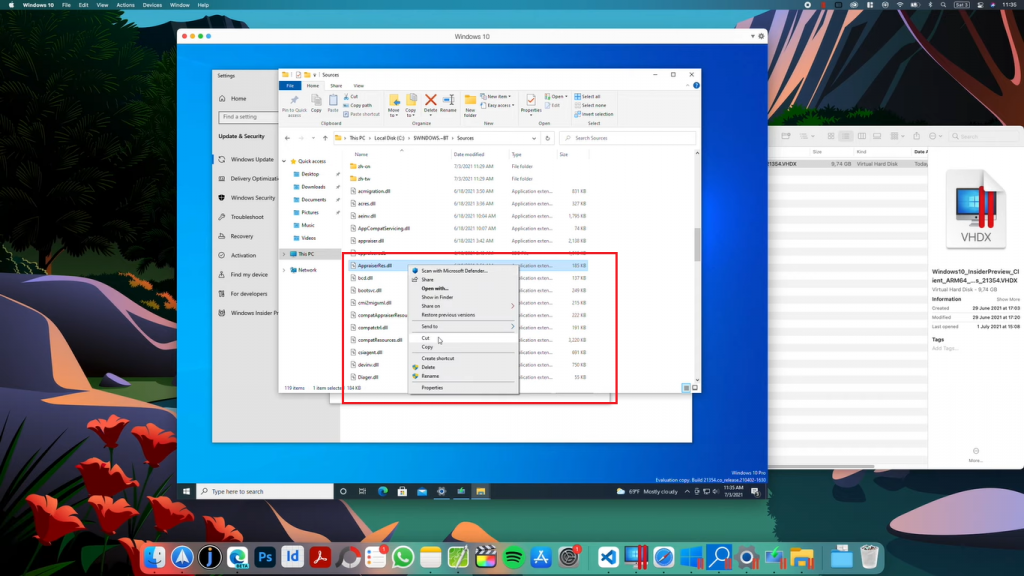
Tap on This PC in the right menu and go to the Local Disk (C:) Drive. Search for AppraiserRes.dll file.
Right-click on the searched AppraiserRes.dll file to Open file location.
Again right-click on the AppraisedRes.dll file to Cut it from its actual location.
Tap on the Continue or Next button on the error prompt after waiting for 3-5 minutes.
Setup will clean up before closing.
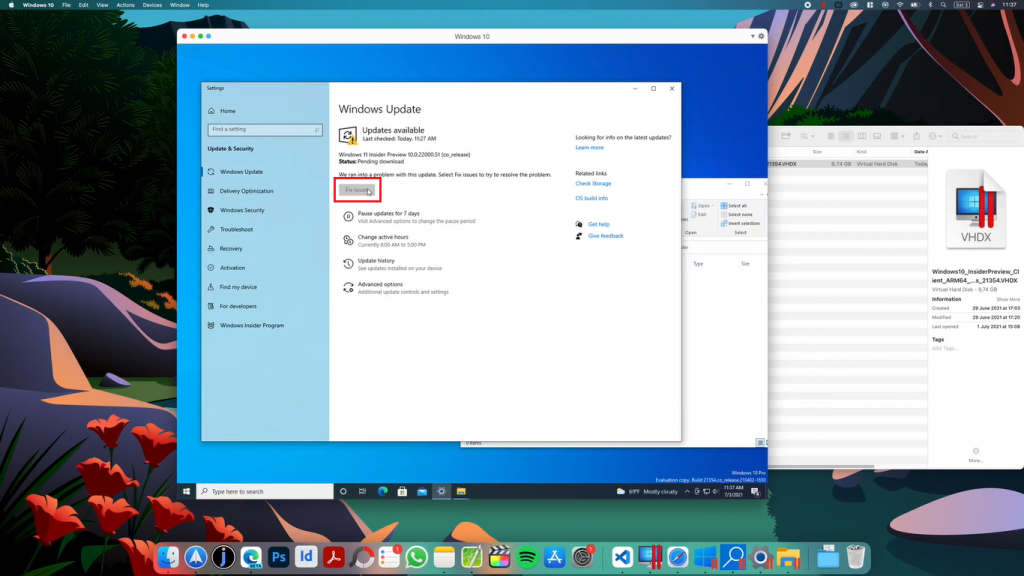
Windows update download will be paused in the settings. Just Fix issues to resume the paused update to restart the download.
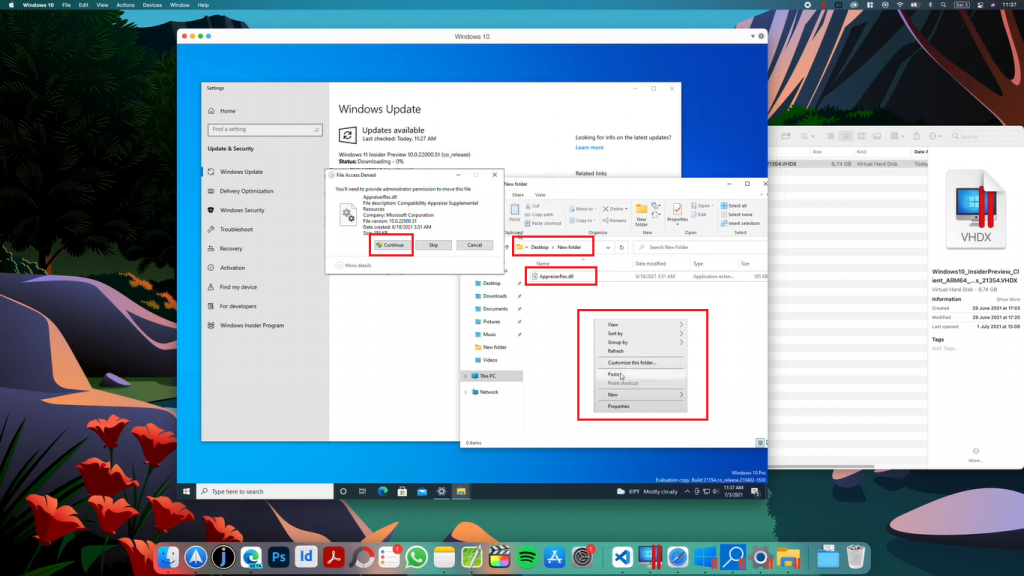
Paste the AppraisedRes.dll file to the new folder on the desktop, continue with admin permissions if access is denied.
Windows 11 update will prompt with the Almost ready message, close the prompt to keep eye on the update.
Wait until Windows 11 update passes 9% then cut AppresedRes.dll file from the New Folder on Desktop and paste to its original location. Tap on Continue to allow for administrator permissions.
Windows 11 Update will take some time based on your internet speed to download and get install in the background.
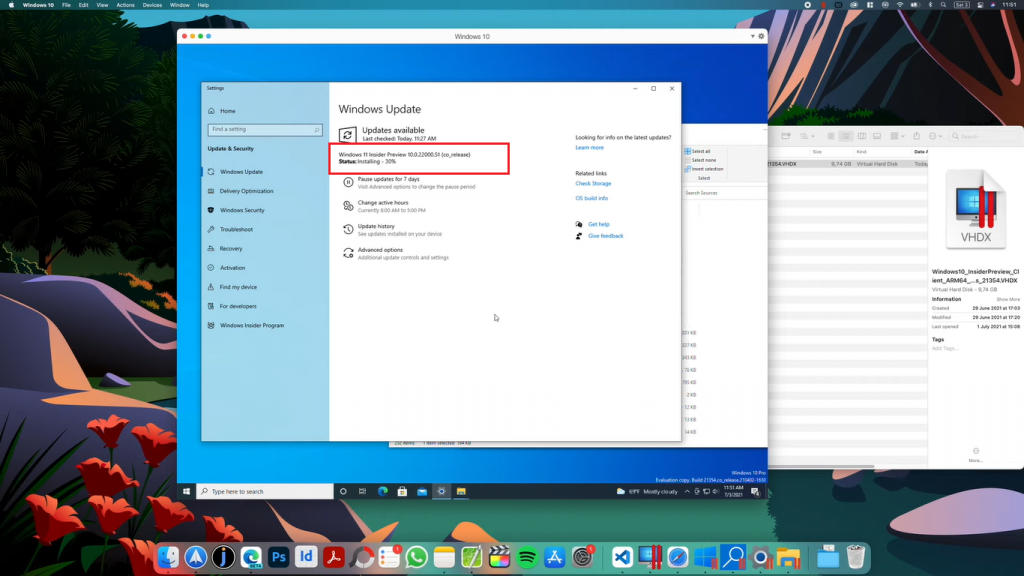
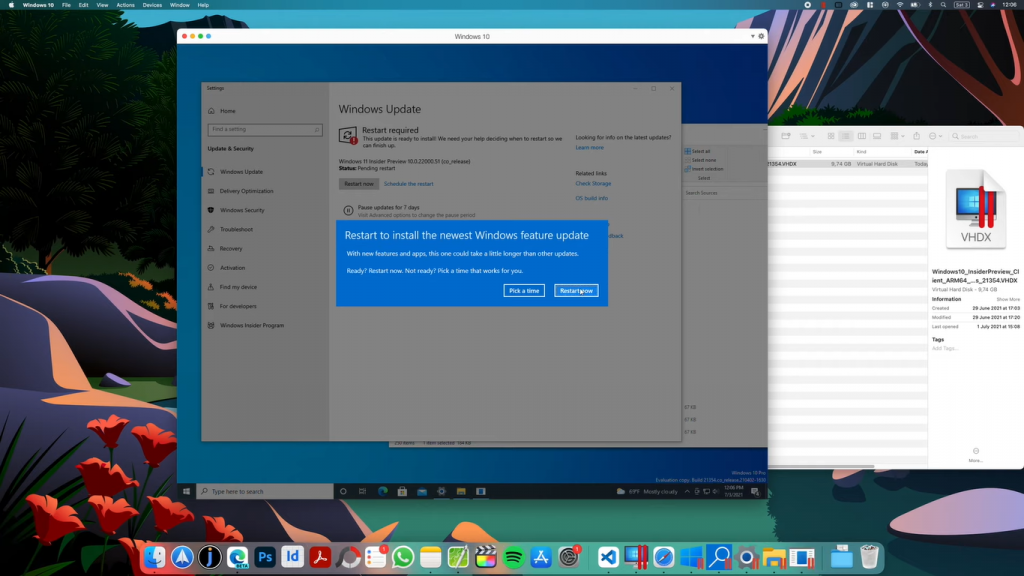
Restart Now to begin Windows 11 installation on MAC.
Fortunately, it will take 15 minutes more to update to 100%, do not turn off your MAC until Windows 11 get things ready.
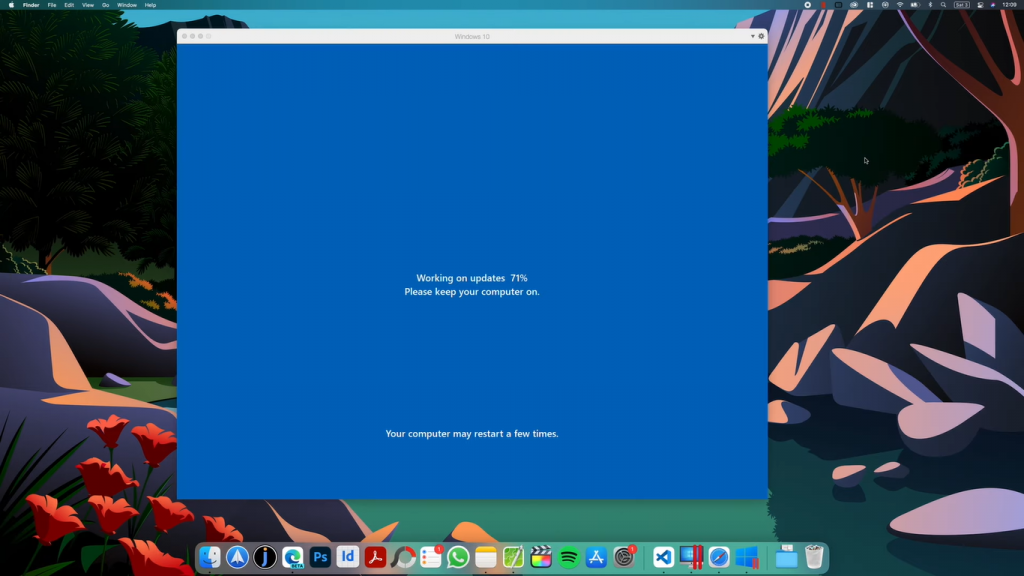
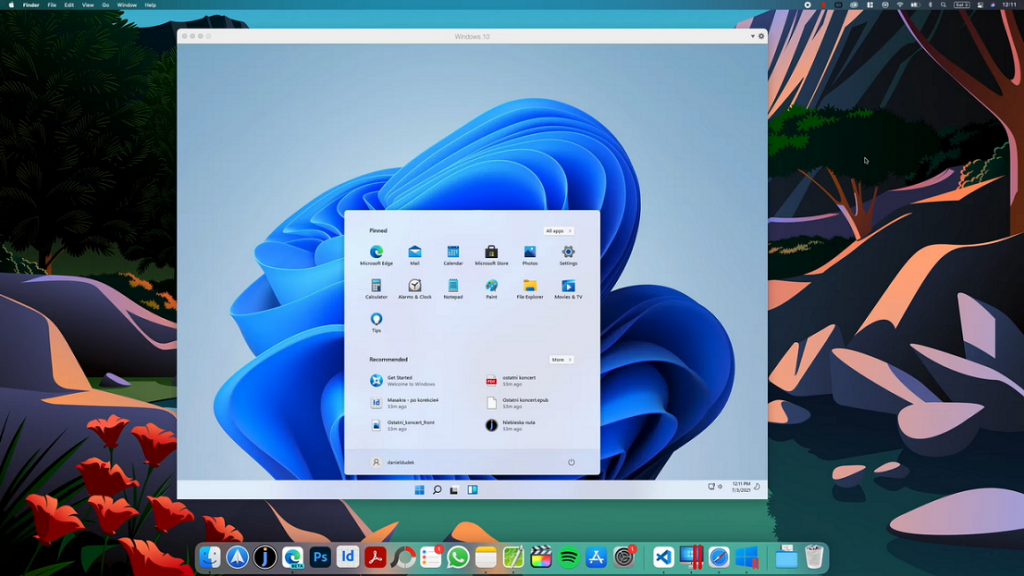
Congrats, once you see the Windows 11 Desktop with the new start menu on your MAC screen.
That’s just time-consuming but an easy method to download and install Windows 11 using Parallels on MAC.