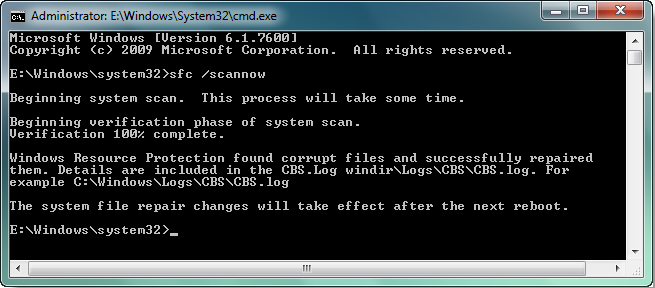
We know that the System File Checker (SFC) scanner is the most important tool in the modern windows system like windows vista, windows 7, windows 8 and windows 10. It works as a scanner in the windows system and detects the corrupted system file and repair it and also scans the missing files. SFC /SCANNOW is a command line that is helpful in system file checker utility in the windows system. Without the command line, you can not run system file checker utility.
However, sometimes sfc /scannow won’t run on the windows system it declines to scan system by giving an error message like:
- Windows Resource Protection found corrupts files but was unable to fix some of them. Details are included in the CBS.Log windir\Logs\CBS\CBS. Log. For example C:\Windows\Logs\CBS\CBS. Log. Note that logging is currently not supported in offline services scenarios.
- Windows Resource Protection could not start the repair service.
- Windows Resource Protection could not perform the requested operation.
Now there are 3 situations because there are 3 different error but there fixes are somewhat the same. So, we have studied all 3 errors and we have come out with the 5 best common solutions which can be applicable to all 3 errors. So, you can apply the below 5 best fixes to fix the above 3 errors.
Contents
Execute SFC Scanner in Safe Mode
This trick is one of the best tricks which will solve the error of windows resource protection. Running SFC scanner in safe mode will surely fix all 3 errors in your windows system. So, to do so follow the below steps properly:
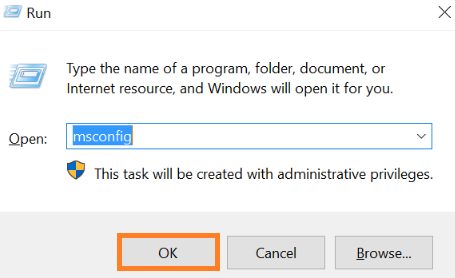
- Step 1: At first hold Windows key + R key to have Run dialog box. Once you have it type the command as msconfig and then hit the OK button.
- Step 2: Now you will be navigated to System Configuration screen. In it, you will have a different tab but you have to go on the Boot tab.
- Step 3: In the Boot tab just do the tick on the Safe boot and then hit on the OK button.
- Step 4: At last do restart to your computer so that the changes you made can be saved.
Now to check whether the issue persists or not you have to run sfc /scannow on your system. If you have the same problem again so you should go for our next solutions.
Execute DISM Scanner
You can also run the Deployment Image Servicing and Management (DISM) scanner. It will totally fix the corruption and it might take somewhat time but it is useful when the SFC scanner won’t run. So, to execute it follows the below steps in sequence:
- Step 1: At first hold Windows key + R key to have run dialog box and type cmd in the Run dialog box and hit on the OK button.
- Step 2: Now you will have a command prompt so it types the command as Dism /Online /Clean-up Image /RestoreHealth.
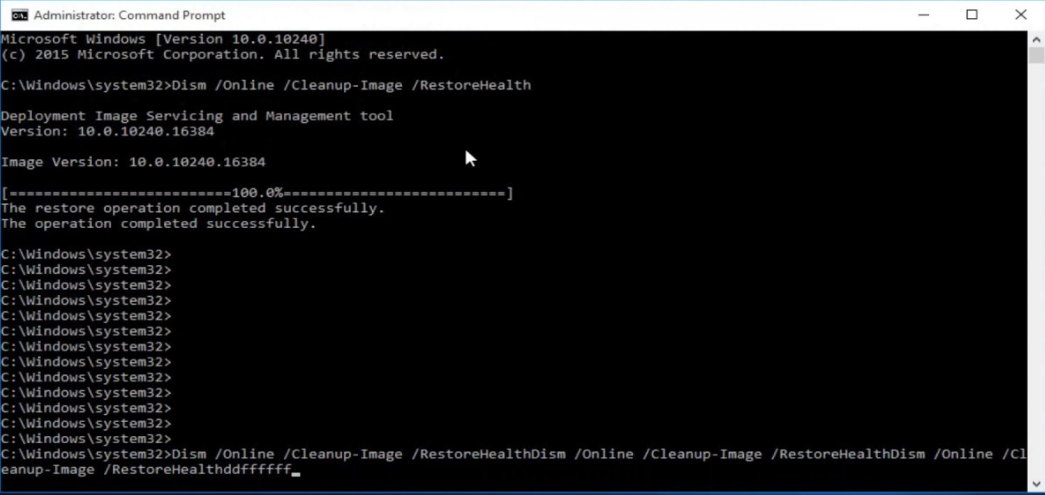
- Step 3: Once you type the above command then hit Enter to execute it.
Now run the System File Checker to check whether the error comes again or not if yes then go to our next solution.
Enable Windows Modules Installer Service
Yes if you want to run or execute SFC scanner then Windows Modules Installer Services should be enabled. Because Windows Modules Installer Service is having access to Windows resource protection. So, all you have to do is enable Windows Module Installer Services.
- Step 1: To have run dialog box hold Windows key + R key. So, once you have it type services.msc and hit the OK button.
- Step 2: Now you will have a new screen so from it tap on Windows Modules Installer.
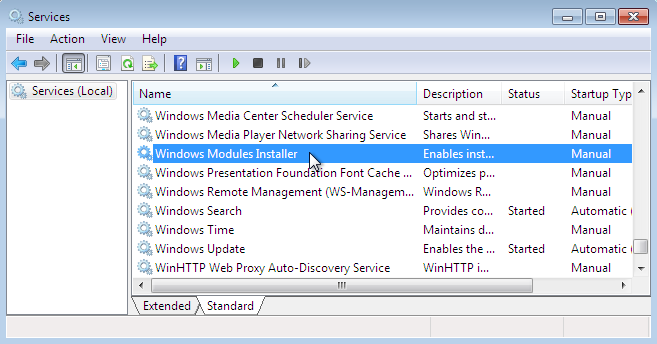
- Step 3: Once you tap on it then you will have Windows Modules Installer Properties and in it go on Startup type and change it to Manual.
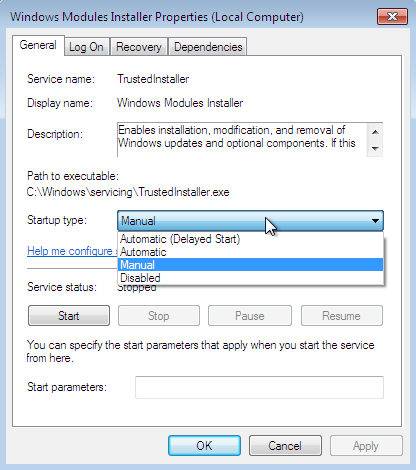
- Step 4: At last tap on the Apply button and then on the OK button.
- Step 5: Now its time to close the service window and open the command prompt as Run as administrator.
- Step 6: Now type the following command in the command prompt and hit enter after a single command.
- sc config trustedinstaller start= demand
- net start trustedinstaller
Once you finished with these steps then restart your computer so that changes take place. Make sure you follow all steps in sequence.
Check and Repair Hard Drive
If you have a problem in the hard drive so it leads to the many issues like windows resource protection error. The ultimate solution to this problem is to check and repair the hard drive. So, there is one software which is name as free bad sector repair software. This software repairs the bad sector in the hard drive it will be as good as to reformat hard drive on windows.
- Step 1: First of all download and install DiskGenius Free and open it on your PC.
- Step 2: Once you open it choose the hard drive and go on the Disk tab and tap on Verify Or Repair Bad Sectors.
- Step 3: At last hit on the Start Verify button so that DiskGenius Free starts the scanning. Now to check whether you have a bad sector or not in hard drive hit on Select Disk.
So, this was the simple and easy steps to check and repair hard drives. I hope that this trick will help you out in fixing windows resource protection error.
Run Automatic Repair
If you won’t get an expected result from the above 4 solutions then my suggestion is to apply this solution because it will surely fix the windows resource protection error. So, see the steps below to know how to run the automatic repair.
- Step 1: First of all boot your computer with Windows 10 bootable installation. And if you don’t have it then go to its official site and download it.
- Step 2: Now you will have an interface with the Next option. So tap on the Next option for the further process.
- Step 3: Once you tap on the Next option and then you will have a new screen showing option name as Repair your computer so do click on it.
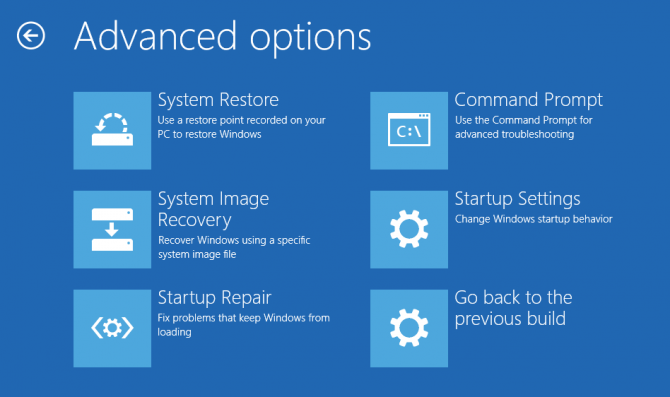
- Step 4: Now tap on the Troubleshoot option and then click on Advanced options for the next step.
- Step 5: Once you click on Advanced Options then you will have multiple options so you have to hit on Startup Repair. By doing this it will start repairing.
At last when the process comes to end then do the restart to your computer and run the SFC scanner to check whether the error persists or not.
I hope that this much information is enough to fix this issue name as sfc /scannow error. As I have told you that there are 3 types on an error but their solutions are the same. So, apply the above solution properly.