Microsoft has started testing Android Apps on Windows 11 with Amazon Appstore integration with Windows Subsystem for Android. Amazon Appstore with Android Subsystem is available from the Microsoft Store to the limited users in a specific country.
Amazon Appstore consists of very few selected apps that aren’t dependent on the Google Play Store Services. You have to apply a different technique to sideload android apps on Windows 11. Whereas, Google Play Store will give access the unlimited android apps.
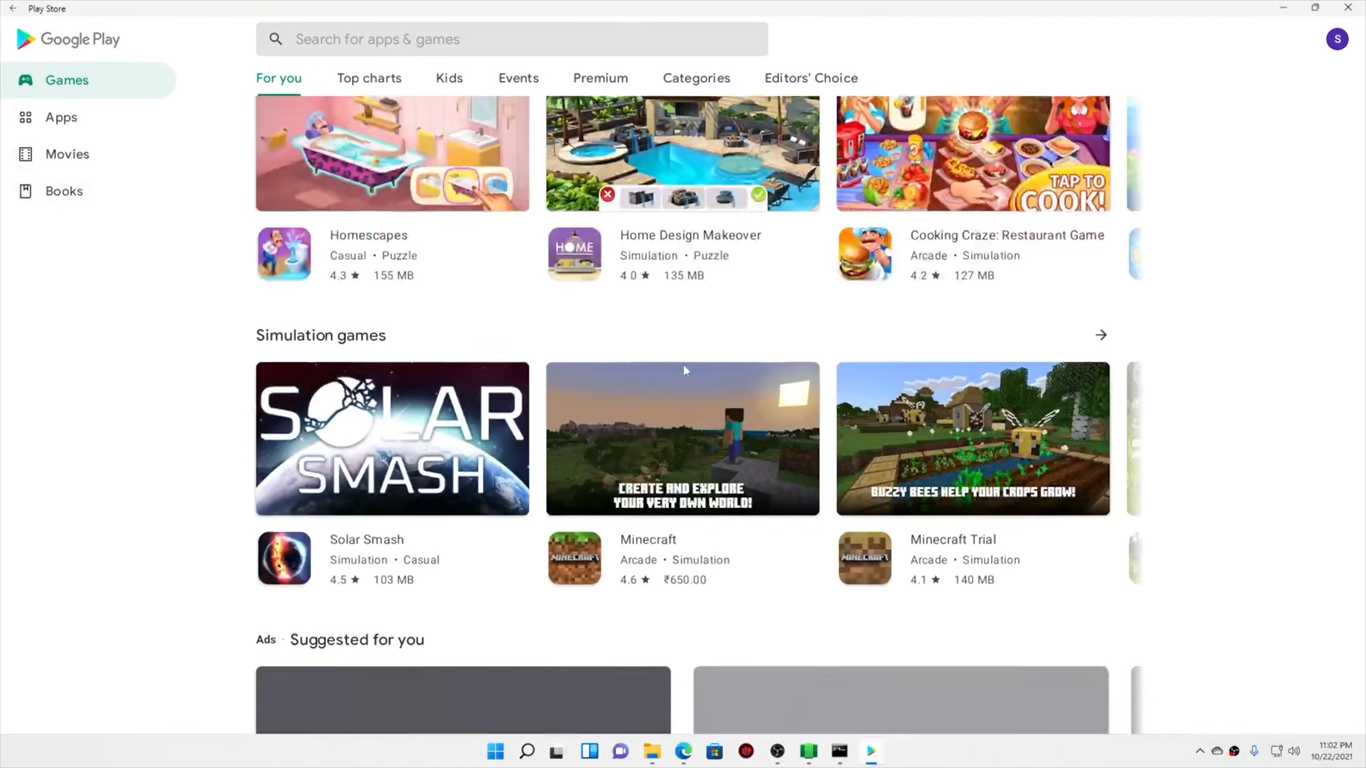
Google Play Store on Windows 11 was only possible due to ADeltaX Github Developer taking his personal interest into Microsoft’s Android Subsystem. He customized Android Subsystem to directly integrate with the Google Play Services.
We have to sign in with our Google Account to download and install apps from the Play Store, just like Android phones. First, uninstall Windows Subsystem for Android and Amazon Appstore to install a new customized Android Subsystem with Google Play Store.
Download and Install Google Play Store on Windows 11
Make sure to uninstall all the prior versions of Windows Subsystem for Android and Amazon Appstore from your Windows 11 PC. If you haven’t installed it before then you are all good to go.
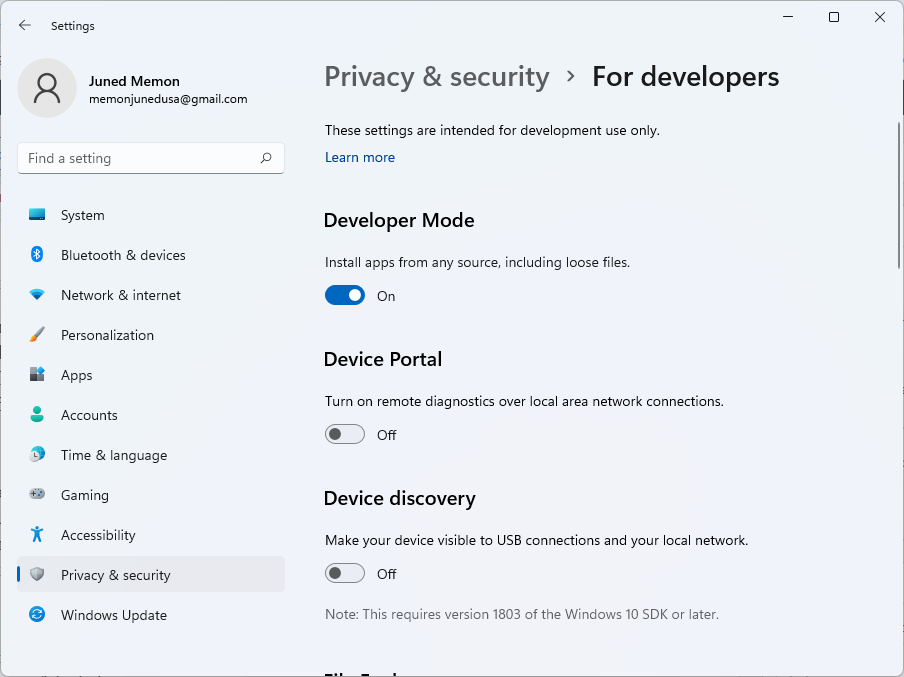
Also, make sure to enable Developer Mode on Windows 11 from Settings > Privacy & Policy > For developers > Toggle ON the Developer Mode option. You can also search for the Developers Settings from the Start Menu. Enable the Developer Mode on Windows 11 to install apps from any source, including loose files.
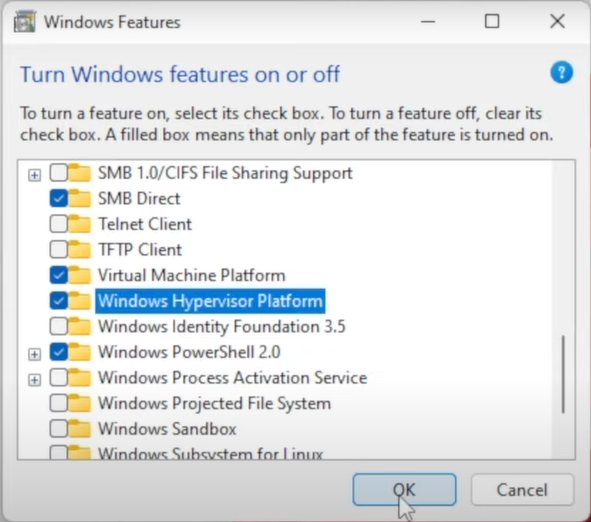
Also, enable Virtual Machine and Hypervisor features on Windows 11. Launch the Start Menu, search for Turn Windows features on or off, scroll down to enable both Virtual Machine Platform and Windows Hypervisor Platform, and tap on Ok. It will take some time to install them on your PC then Restart to apply the changes.
Step 1: Download Windows 11 Subsystem for Android (WASPackage) integrated with Play Store from one of the below sources.
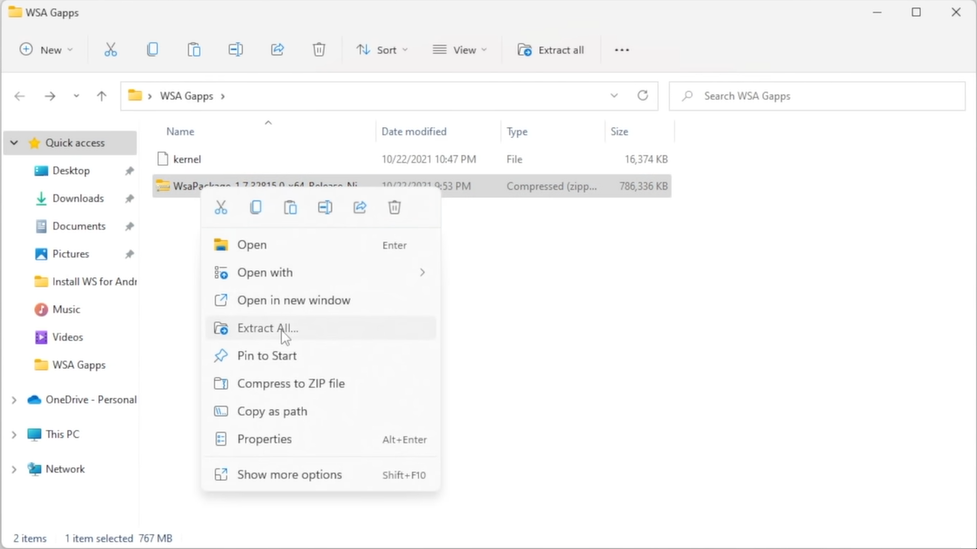
Step 2: Extract the downloaded WASPackage file with 7Zip, WinRAR, or Windows default extraction to your desired location.
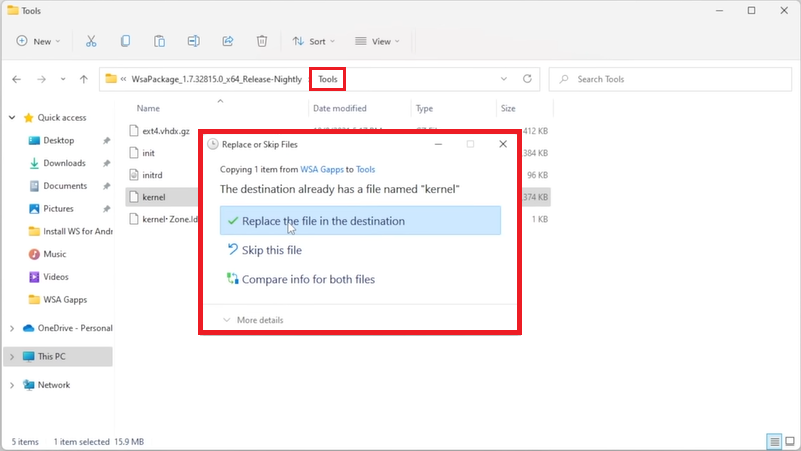
Step 3: Download the kernel file from Github and copy (Ctrl + C) it to your clipboard. Then open the extracted WSAPackage folder and go to its Tools folder to paste (Ctrl + V) the copied kernel file. Choose to Replace the file in the destination.
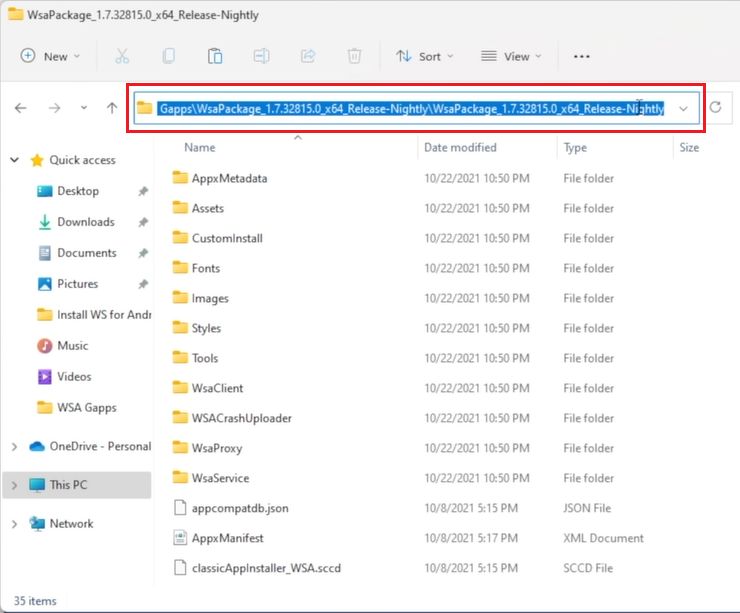
Step 4: Go back to the root of the extracted WSAPackage folder and copy its location from the address bar.
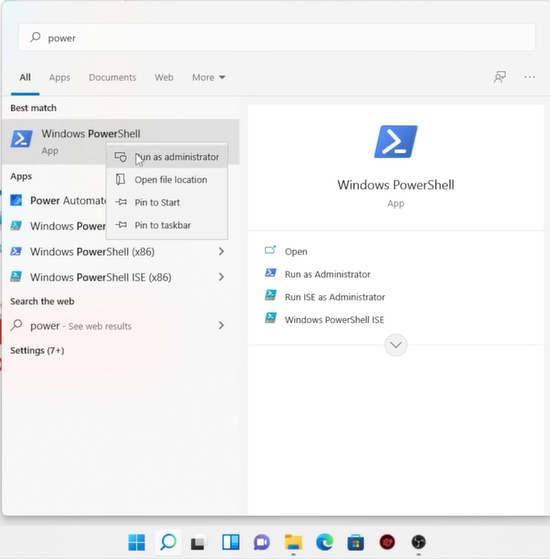
Step 5: Tap on the Start button, search for the powershell, and right-click on the PowerShell to Run as administrator.
Step 6: Replace the PATH with the WSAPackage copied location and enter it into the PowerShell.
cd “PATH“

Step 7: Enter the next command into PowerShell to install the Windows 11 Subsystem for Android integrated with Google Play Store.
Add-AppxPackage -Register .\AppxManifest.xml

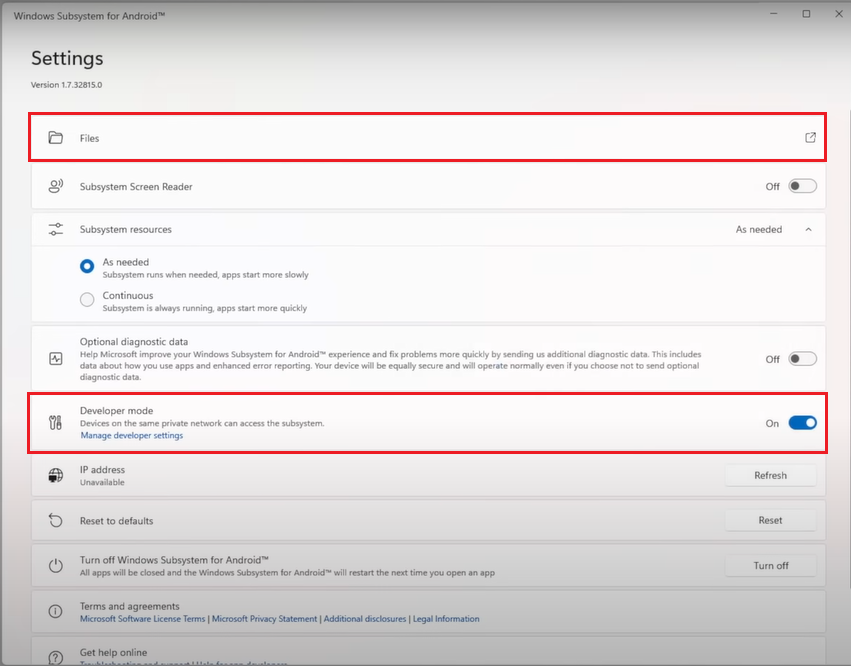
Step 8: Launch the Windows Subsystem for Android from the Start Menu to enable Developer Mode on Android and Launch the Files. Google Play Store notifications will also start appearing along with Windows apps.
Step 9: Launch the Google Play Store from the Start Menu and wait until it finishes setting up and installing some services in the notification center. Yet you won’t be able to Sign in with a Google Play account.
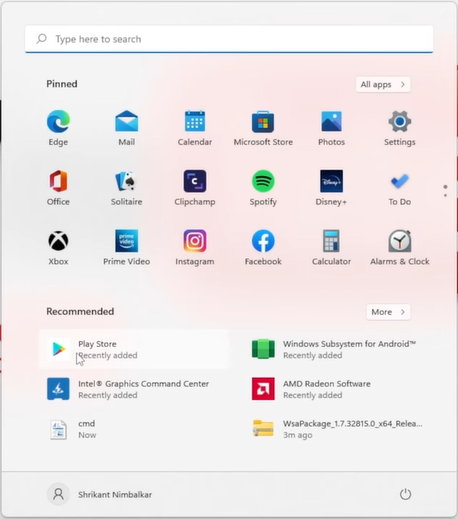
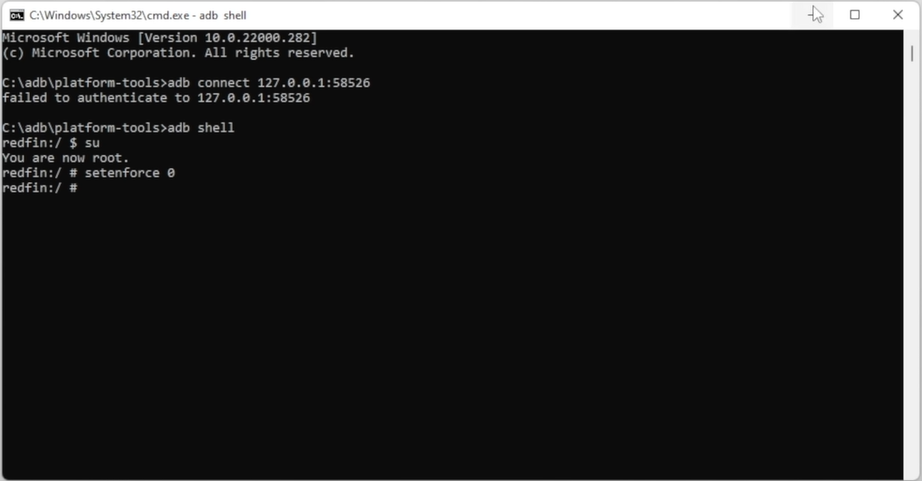
Step 10: Open RUN (Windows + R), type cmd, and hit enter. Then enter the following commands, one by one.
- cd c:\adb\platform-tools
- adb connect 127.0.0.1:58526
- adb shell
- su
- setenforce 0
Step 11: Now again launch the Google Play Store from the Start Menu to sign in with your Google Account and start downloading android apps on Windows 11.
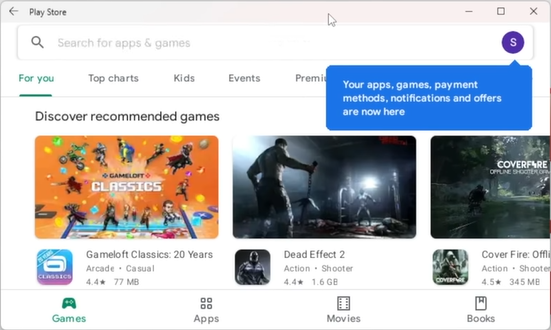
That’s it, now you can download, install, use, and play unlimited Android Apps and Games from the Google Play Store on Windows 11.