Well, a video game has played an essential role in the expansion of the gaming or entertainment industry. The first and foremost video game is pong which was played on an arcade machine in the year 1972. After this game, the craze of video games was at boom. After seeing this craze the opportunity of developing the gaming sector was pop up in the mind of businesses such as Atari Games and Nintendo.
With the enhancement in technology after arcade machines now gamers can play games on handed devices, consoles, and desktop PCs. After this, the gaming companies such as Valve corporation have initiated to take their games to an internet platform in order to promote and distribute their games. The first internet platform they have created for games is Steam in 2003. It was developed in 2002 to feed the need for a platform where the valve can update multiplayer games.
Download: Minecraft Java for free on Windows 11
Contents
What is Steam?
Stream is one of the oldest digital distribution platforms for video games. It is a platform where game developers and players can sell and buy video games. Steam has more than 47 million active users per day. It has been popular because of its improvement in better accommodating users. At first, they were giving service to PC games, after this, it has been available to Xbox and Sony Playstation home video game consoles. Now users can log in to the website in order to purchase and play video games online. This has reduced buying physical copies of video games and then downloading them manually to play them on the computer.
Moreover, with steam any small or large gaming company or developer can partner up to add games on it. If a game developer wants to give an update to a game to fix game issues then they can release a game patch for gamers to download from a stream. This means that steam facilitates free improvement to their video games.
In this guide, you will see how you can Download, Install, and Play Steam Games on Windows 11. Make sure you read this guide till the end to know the download and install steps for Windows 11 Steam.
Read Also: What is GOD Mode in Windows 11?
Download Steam on Windows 11
If you are a gamer and you love to play especially video games then you must have Steam on your Windows 11. To have it at first you have to download it following the below steps.
- To download it launch any browser on Windows PC. Here we have Google Chrome so we have opened it.
- In it search for Steam Download. Now you will have the first link on the screen saying store.steampowered.com.
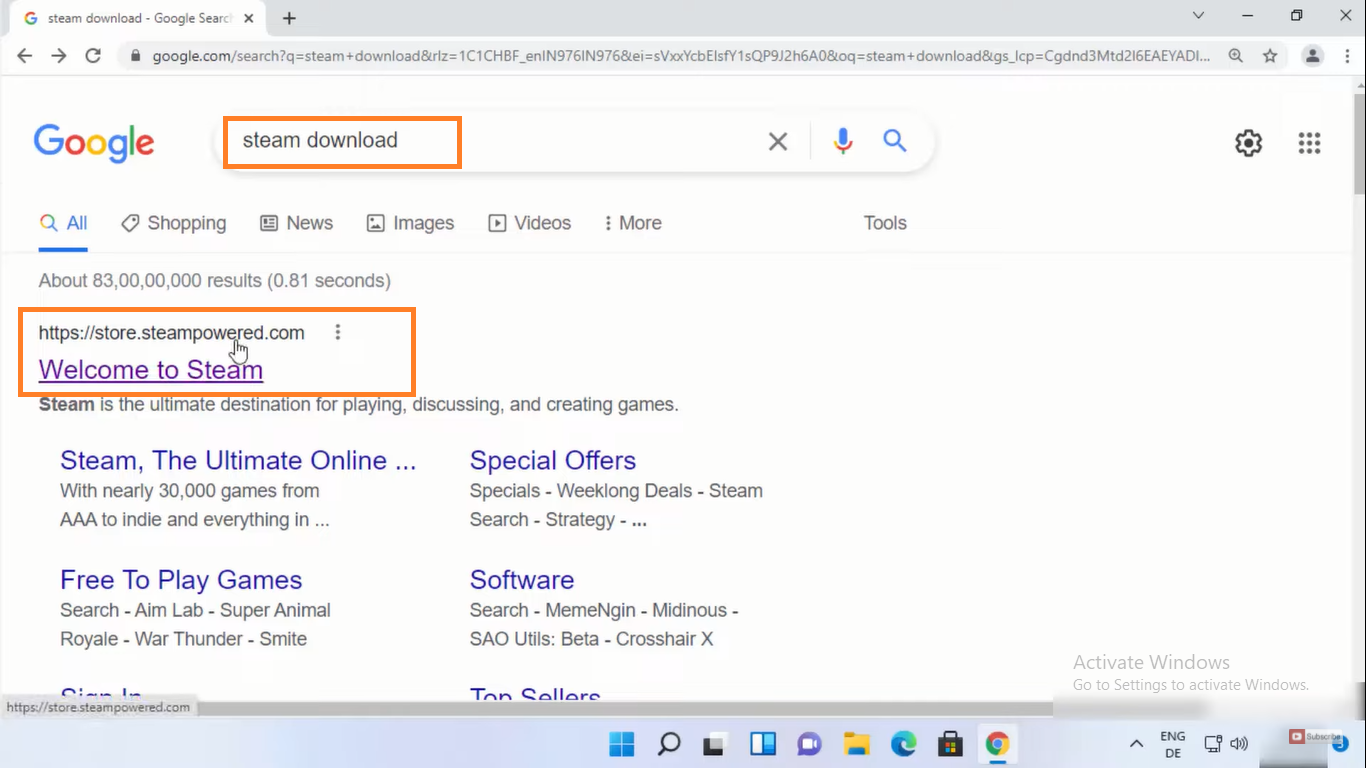
- Do tap on that link and then hit on Steam Install green button which is at the top left corner of the screen.
- After this, you will have a blue STEAM INSTALL button with a Windows icon. Do tap on it to start downloading Steam on Windows 11.
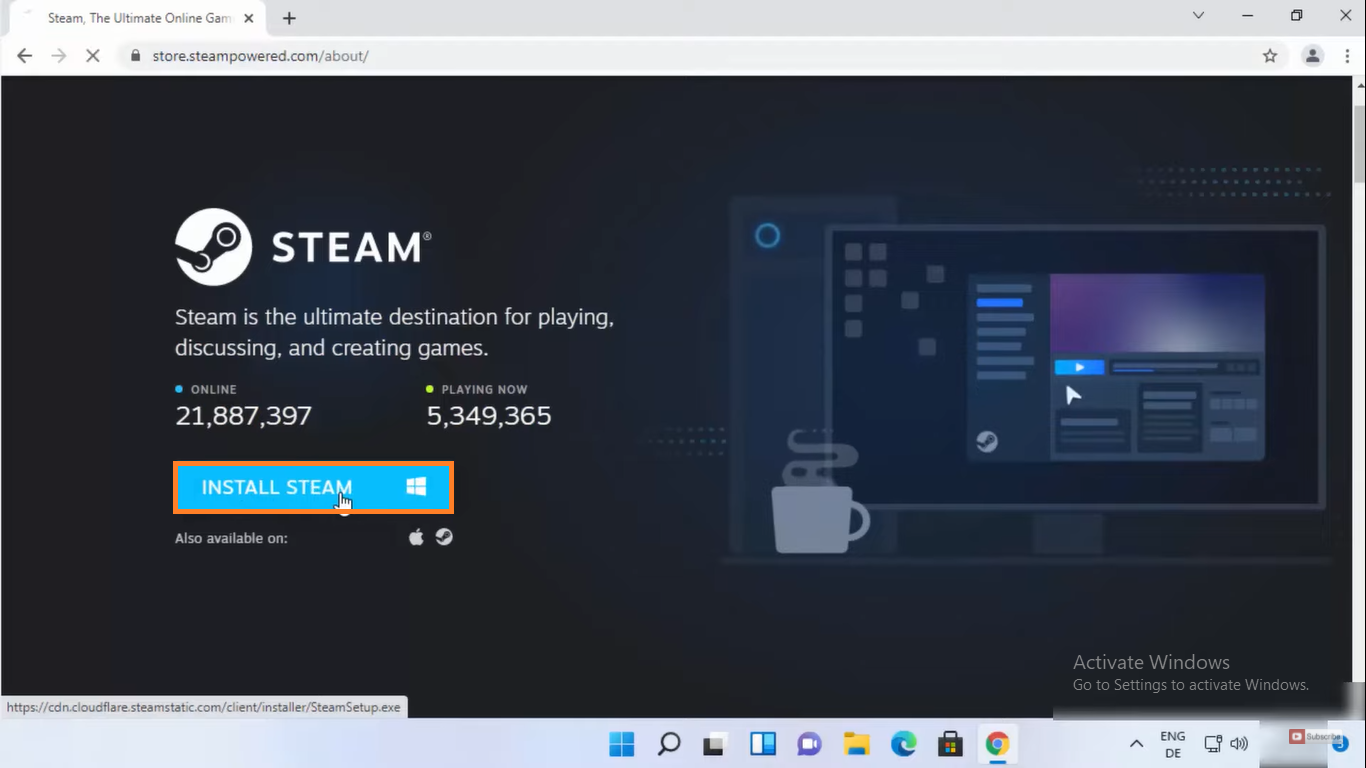
- Now the SteamSetup.exe file will be downloaded on your Windows 11. It will be downloaded in a couple of seconds because it is too small in size.
Once it is downloaded then it means that you have successfully downloaded Steam on Windows 11. For installation read the below guide properly.
Read Also: Download WinRAR Zip Files on Windows 11
Install Steam on Windows 11
Here in this guide, you will see detailed steps for Steam Installation on Windows 11. Make sure you don’t make mistakes in installation. To avoid mistakes at first read steps and then apply.
- Do tap on the downloaded SteamSetup.exe file. If you don’t find it on the screen then navigate to the download folder to have it.
- Now by doing this you will have a permission window. To accept it tap on the Yes option.
- After this, you will have a Steam Setup screen saying “Welcome to Steam Setup” to overcome it hit on the Next option from the bottom.

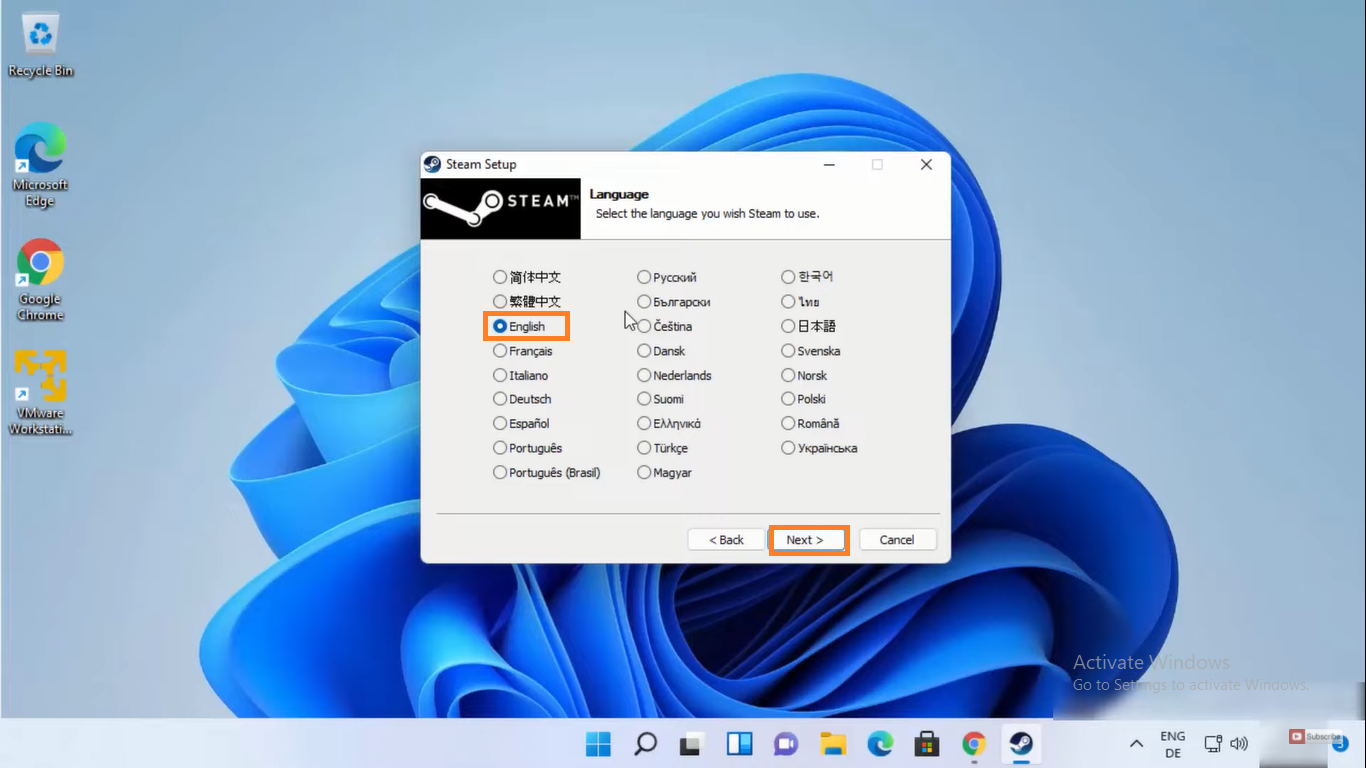
- Now the window will ask you to select the language of using Steam on Windows 11. The default language will be English. If you want default language then directly hit on Next. If you want to change it then at first select the language and then hit on the Next option.
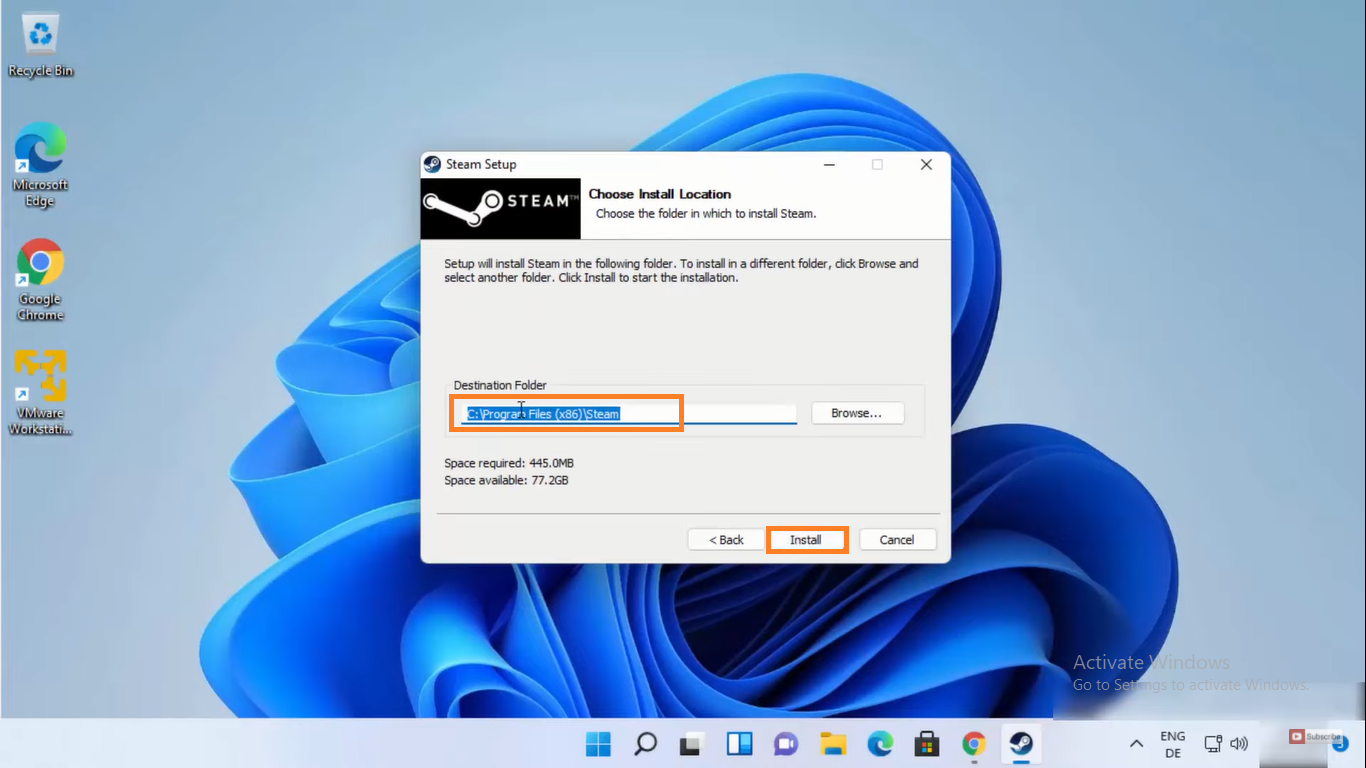
- On the screen, you will have the location on which stream will be installed on your Windows 11. You can change the location if you want to. If you don’t want to change then hit on Install button.
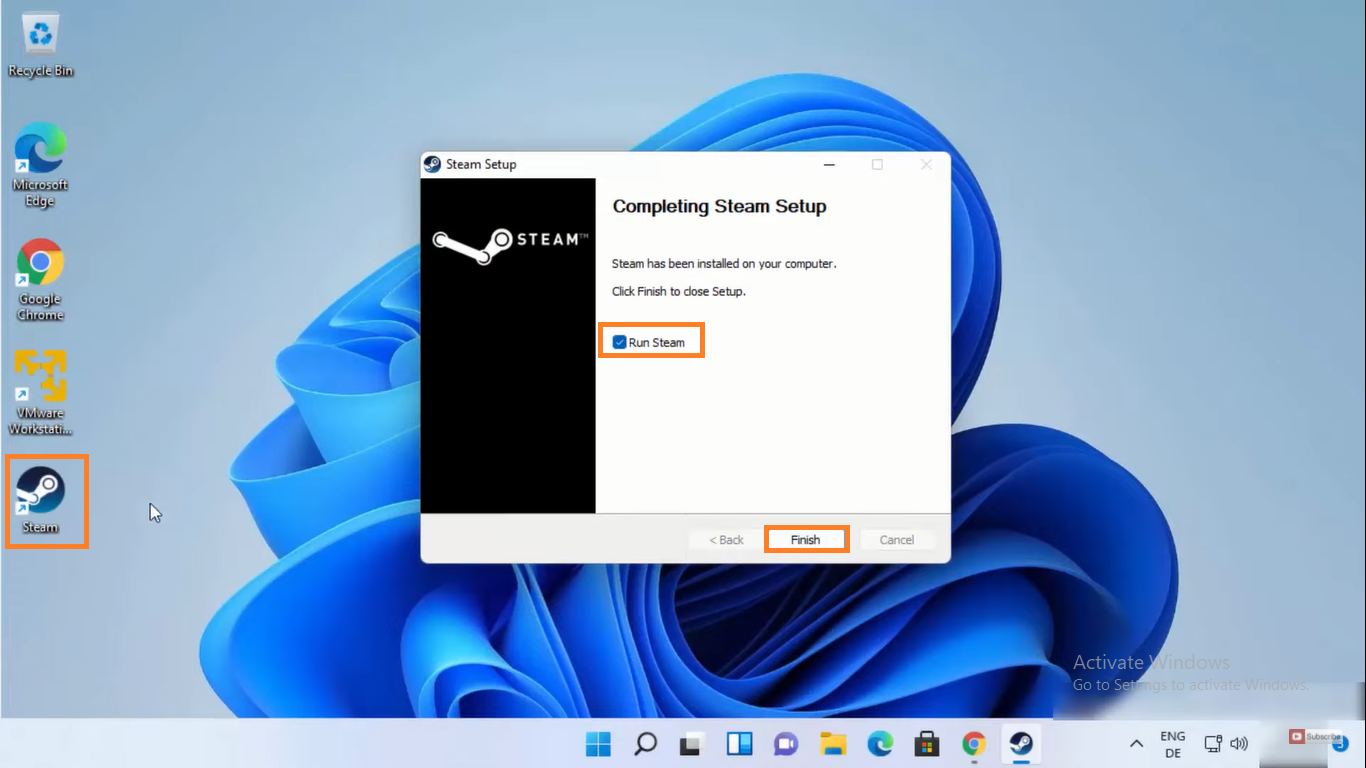
- By doing this the installing process will start and you will have a Steam shortcut on your desktop.
- From the prompted window tick on the box which says Run steam and then hit on the Finish button.
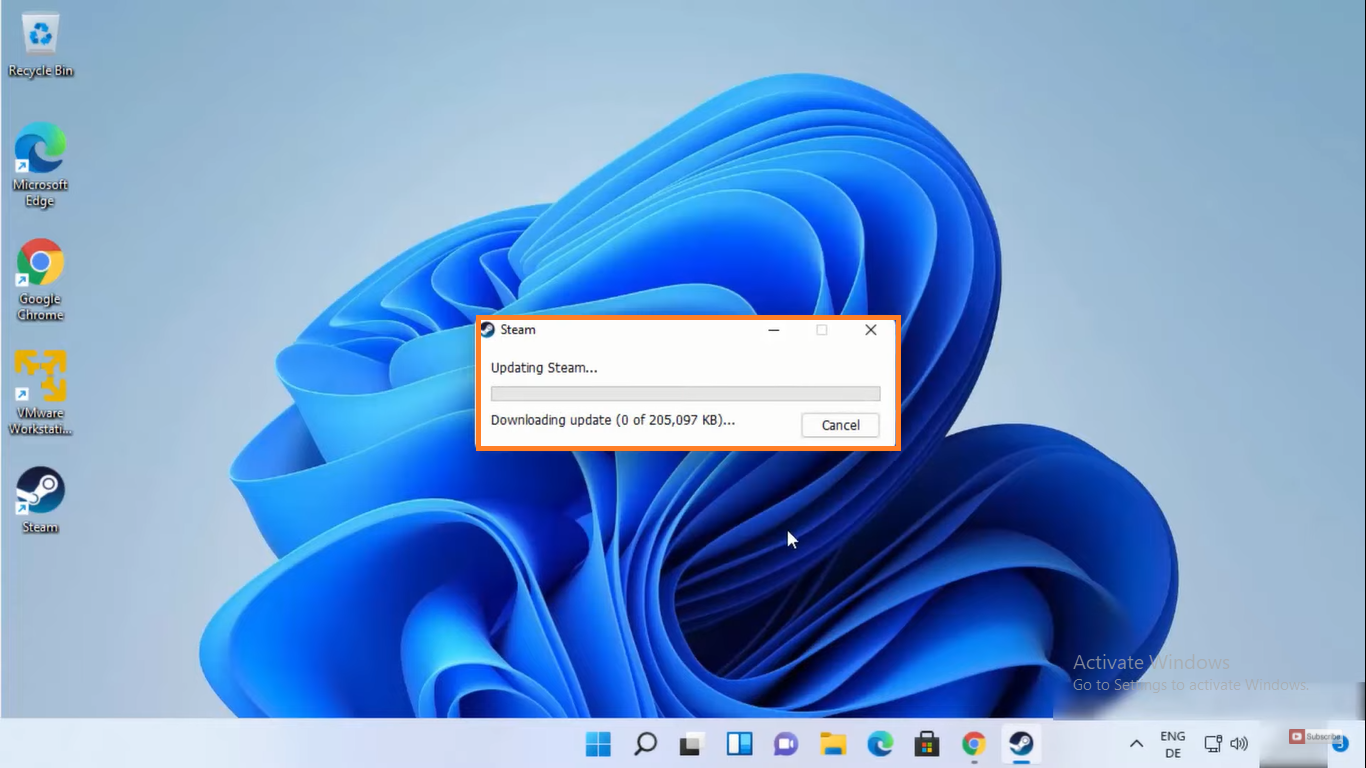
- Now the steam will download all updates. Once all the updates will be installed you will have a steam login or create an account screen.
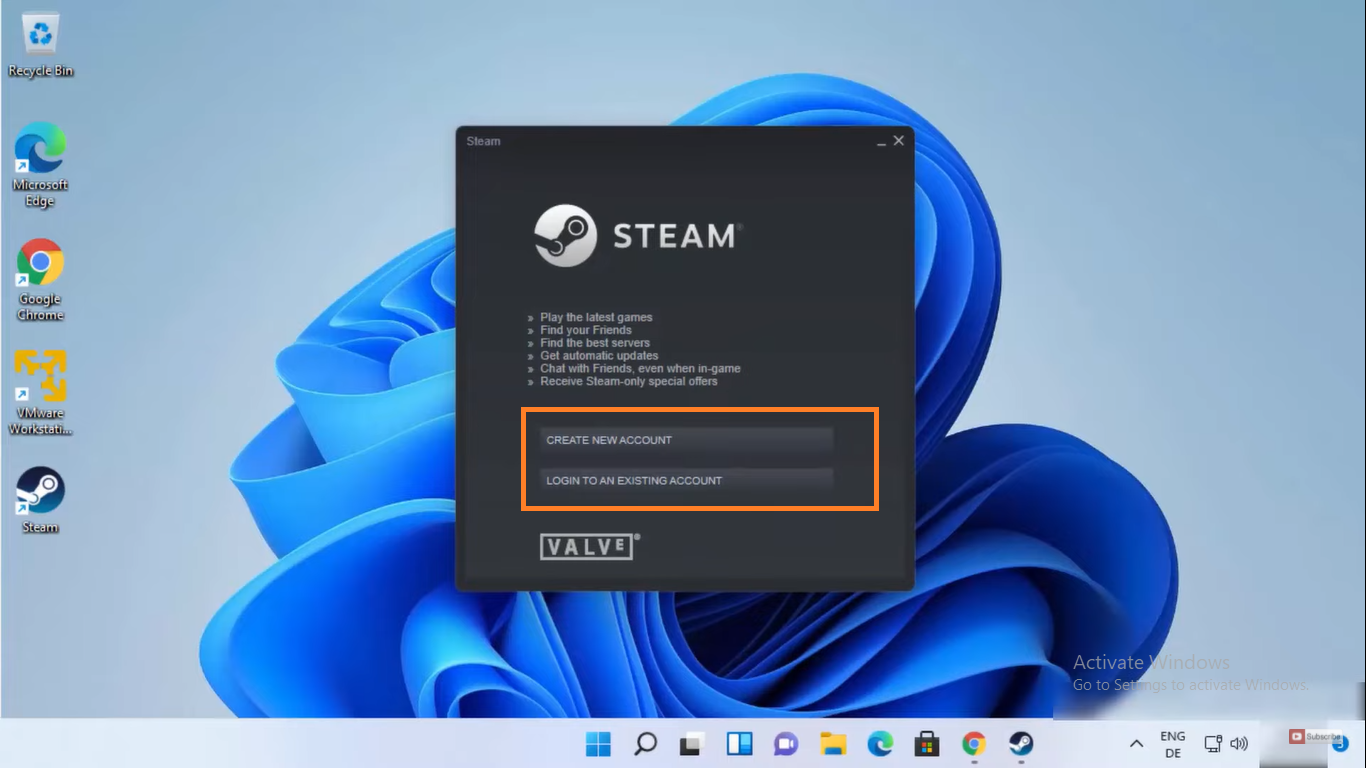
- If you have a steam account then tap on the “Login to an existing account” link and if you don’t have an account then click on the “Create new account” link.
After login steam will update some settings. Now you have completely installed Steam on Windows 11. For further information read the below guide.
Play Steam Games on Windows 11
After Downloading and Installing Steam you will have two windows. Using the first window you can chat with your friends in groups or individuals. You can also check that which friend is online or offline. It means that the first window is for your friend.
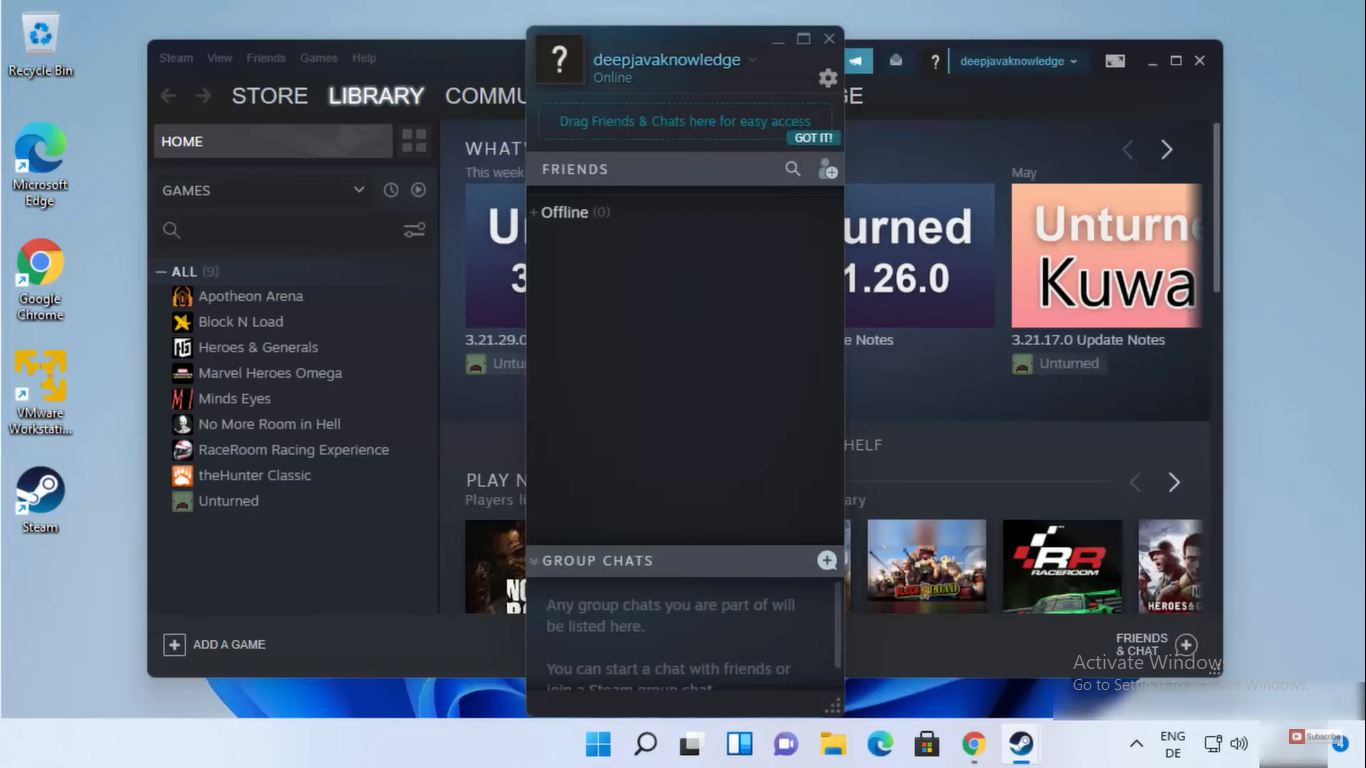
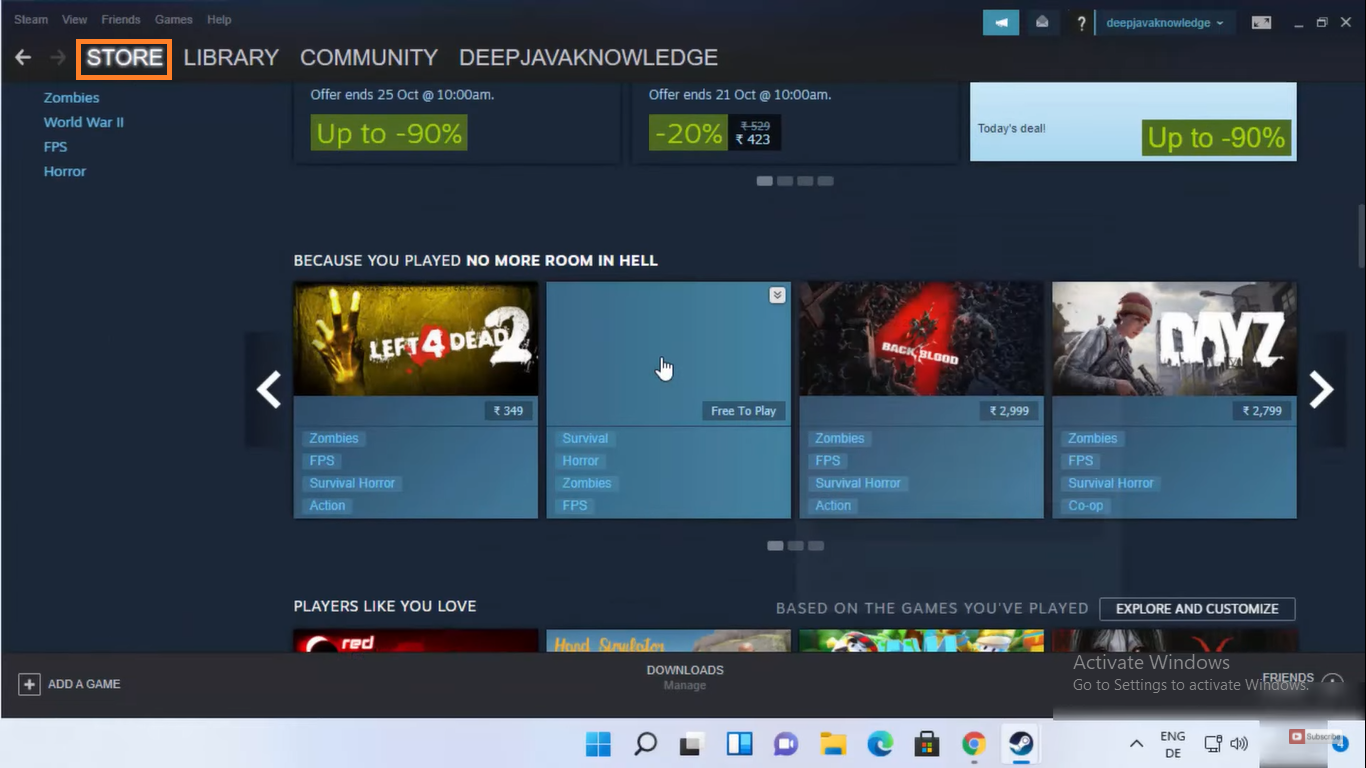
The Second Window is for purchasing and downloading video games. There is a Store tab on the top of the window. From there you can purchase and download games.
There is also a Library tab, using it you can see your collection of video games.
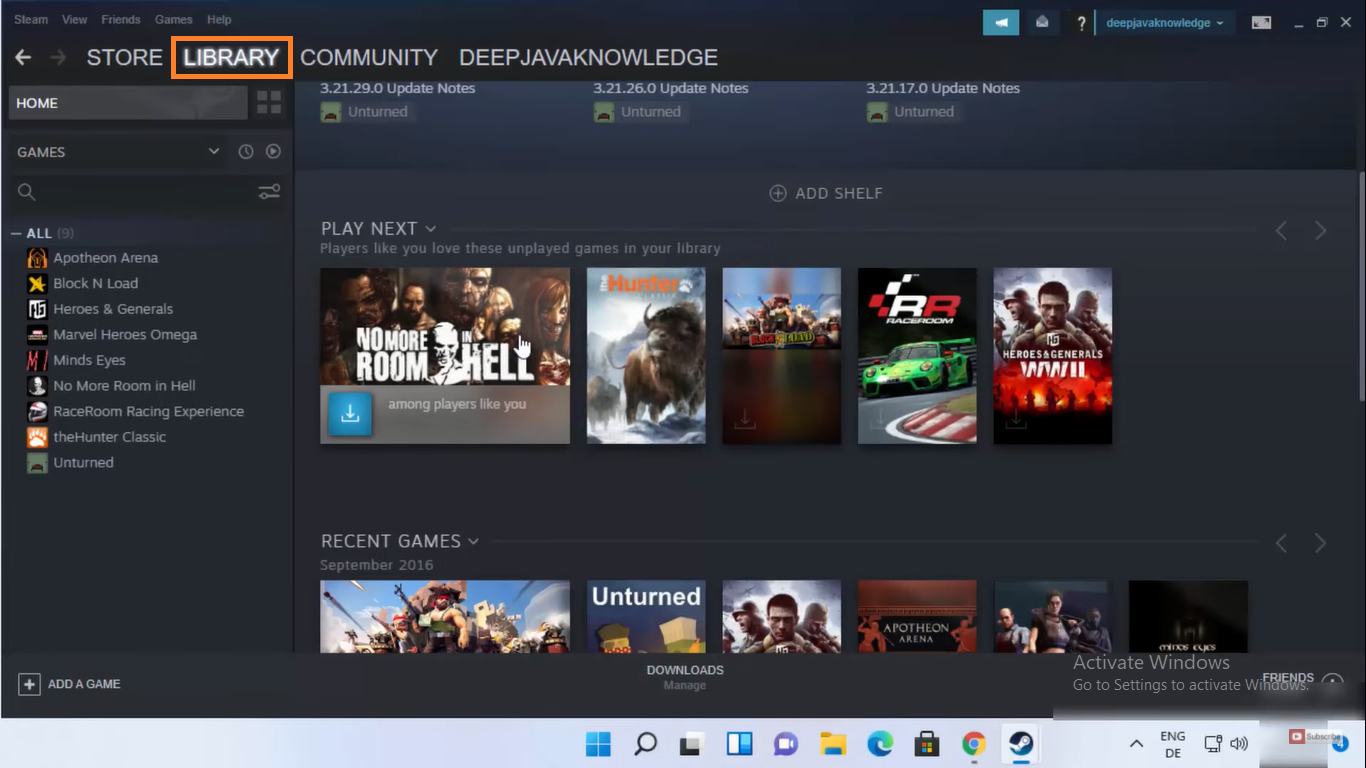
Now you can play any video game from the collection of your Steam Games.
I hope that after reading this blog you are able to Download, Install, and Play Steam Games on Windows 11.