We are living in a time when multitasking is imperative for almost all of us. We need to use several windows, tabs, as well as different applications to complete the task. If you are one of the people who are required to use various sources for work, split-screen mode is something that will make your job relatively easy.
Though the Split Screen mode cannot reduce the amount of work you have to do, it can certainly give you an easy and efficient way to complete it. The split-screen mode makes it possible to view multiple windows on the same screen and same device.
With split-screen mode, you can keep open all the windows that you need for work at the same time. It will save you from all the hassle to go back and forth again and again. For example, if you have to use the data from different sources and use it in some other way, your work will be much easier if you could see all the documents on your screen.
Split-screen will not only make your job easy but will also save you a lot of time that you can utilize in other things. Split-screen mode is available on various devices like PC, Android, macOS, and the Chromebook. This article will help you learn how you can use split-screen mode on your Chromebook. So, let us get started!
Contents
About Chromebook
Well, some of you may not be aware of a Chromebook. It is a laptop just like your other laptop MacBook and Windows, but more recent and budget-friendly. A lot of people use chrome as an alternative to other laptops.
Launched in 2011, Chromebooks uses the Google operating system, Chrome Os. It implies that the programs you could run on your system cannot be run on Chromebook. However, the Chromebooks that came into the markets after 2017, do support android apps.
You can do multiple tasks on the Chromebook using the chrome browser. The Chromebook, by virtue of having a google operating system, has the best google built-in, various security layers, and also the availability of various apps that you can use offline.
Now, let us see how you can use the Split-Screen feature on the Chromebooks to make your job easy.
How to Split Screen On Chromebook?
There are various ways in which you can use the split-screen mode on your Chromebook. Let us see.
1. Using Drag And Drop
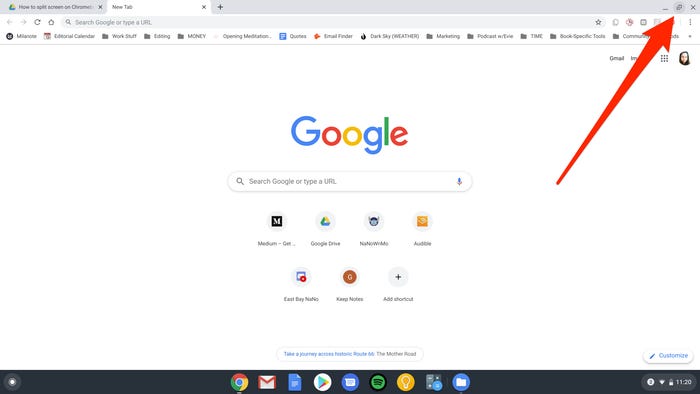
To be able to use the drag and drop method, first, you will need to open the window or an app that you need to use in Split-Screen. Now, you will see the size-reducer icon on the top-right corner of the window, click on it.
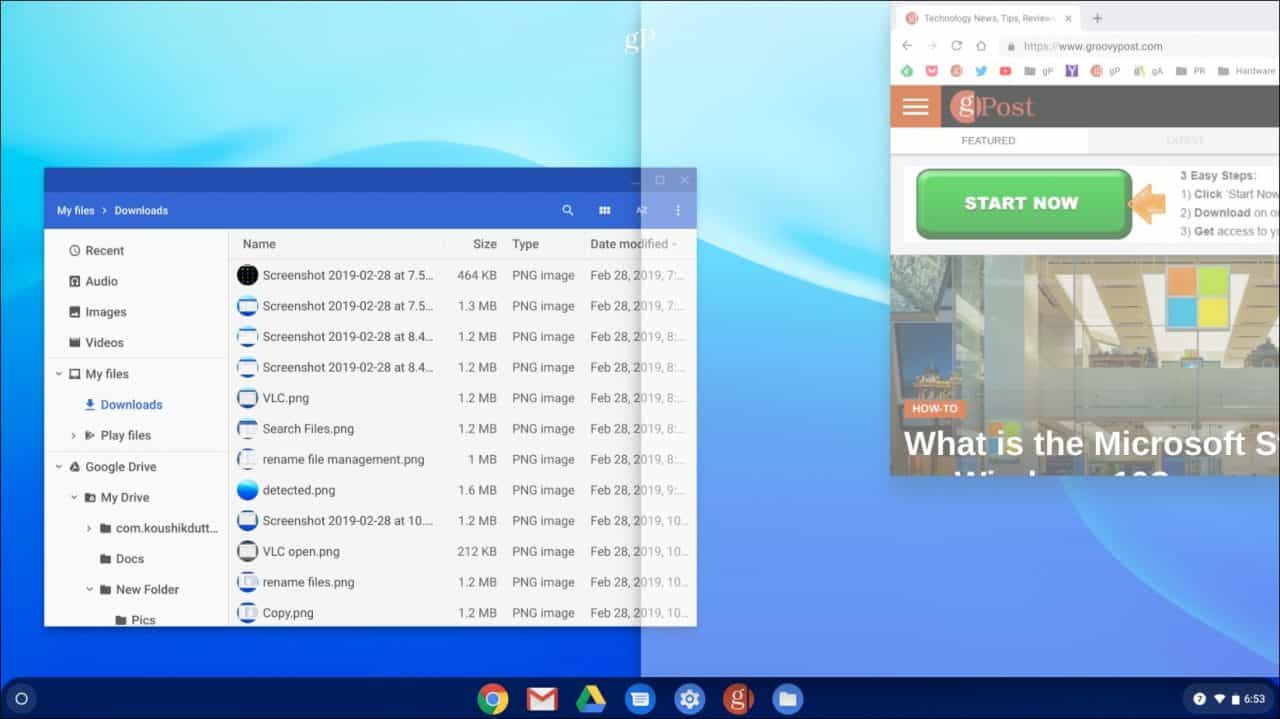
Drag the window to either side of the screen. You can see a vertical line will divide the screen into two. At this time, you can release the window, and it will fit into the selected side of the screen.
You can open the second app that you need and follow the same screen. Drag the window and drop it to the other side of the screen. It will make it possible for you to see these two windows at the same time.
2. Using Maximize/Minimize Button
Using Maximize Button is another way of opening the split-screen mode. For this, you need to press the maximize/ minimize button on the top-right corner of the window. You need to hold this button until you see two arrows on the screen.
Now, you can shift the cursor to one side of the screen where you want to place the window. You can see an outline that forms in the center of the screen (same as in the case of drag and drop). You can open another window on the other side of the screen.
3. Using Dualless Extension
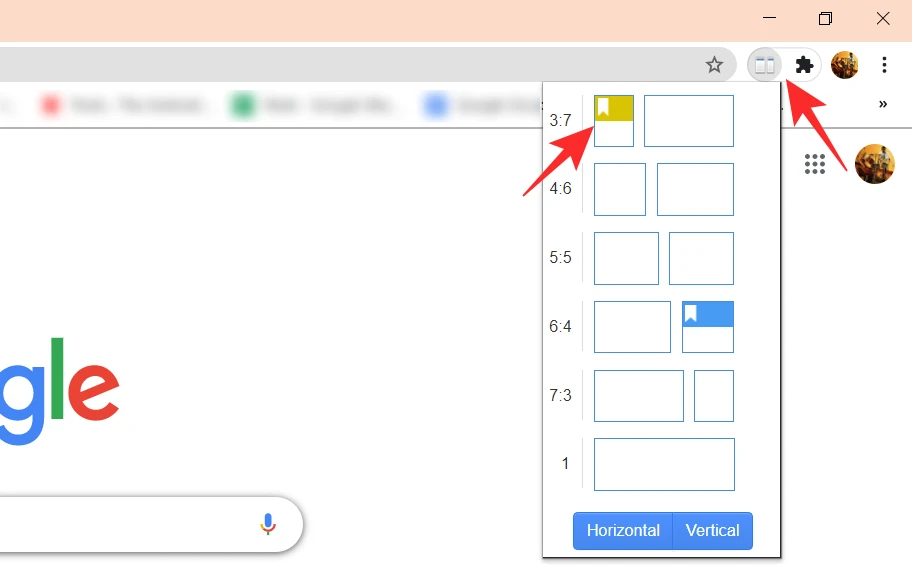
You can spot the Dualless Extension on the right side of the URL bar. To use this feature you first need to open at least one app or window. Now, you need to select the window that you need to see on one side of your screen. You can click and open the Dualless extension, and resize the selected window.
The extension will change the size of the window and snap it to the selected side of the screen.
4. Other Shortcuts
If you do not want to use the lengthy methods, some keyboard shortcuts can also help you in turning on split-screen mode on your Chromebook desktop. These will save your time even more and once you master them, you can complete your work sooner than ever.
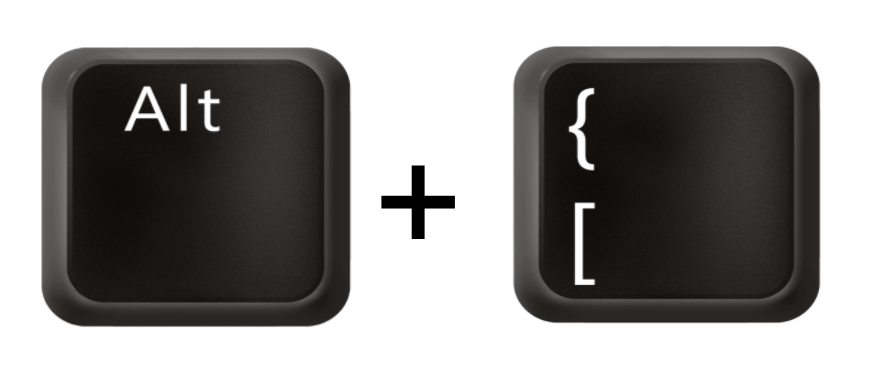
You can use “Alt + {” for snapping your screen to the left side of the screen and “Alt + }” for snapping a window to the right side of the screen.
Another way is to swipe upwards with 3 fingers on your trackpad. You can see all your open windows in mini size, you can select and drag one of these to either side of the screen and release it to turn on the split-screen view.
How To Use Split Screen On Chromebook In Tab Mode?
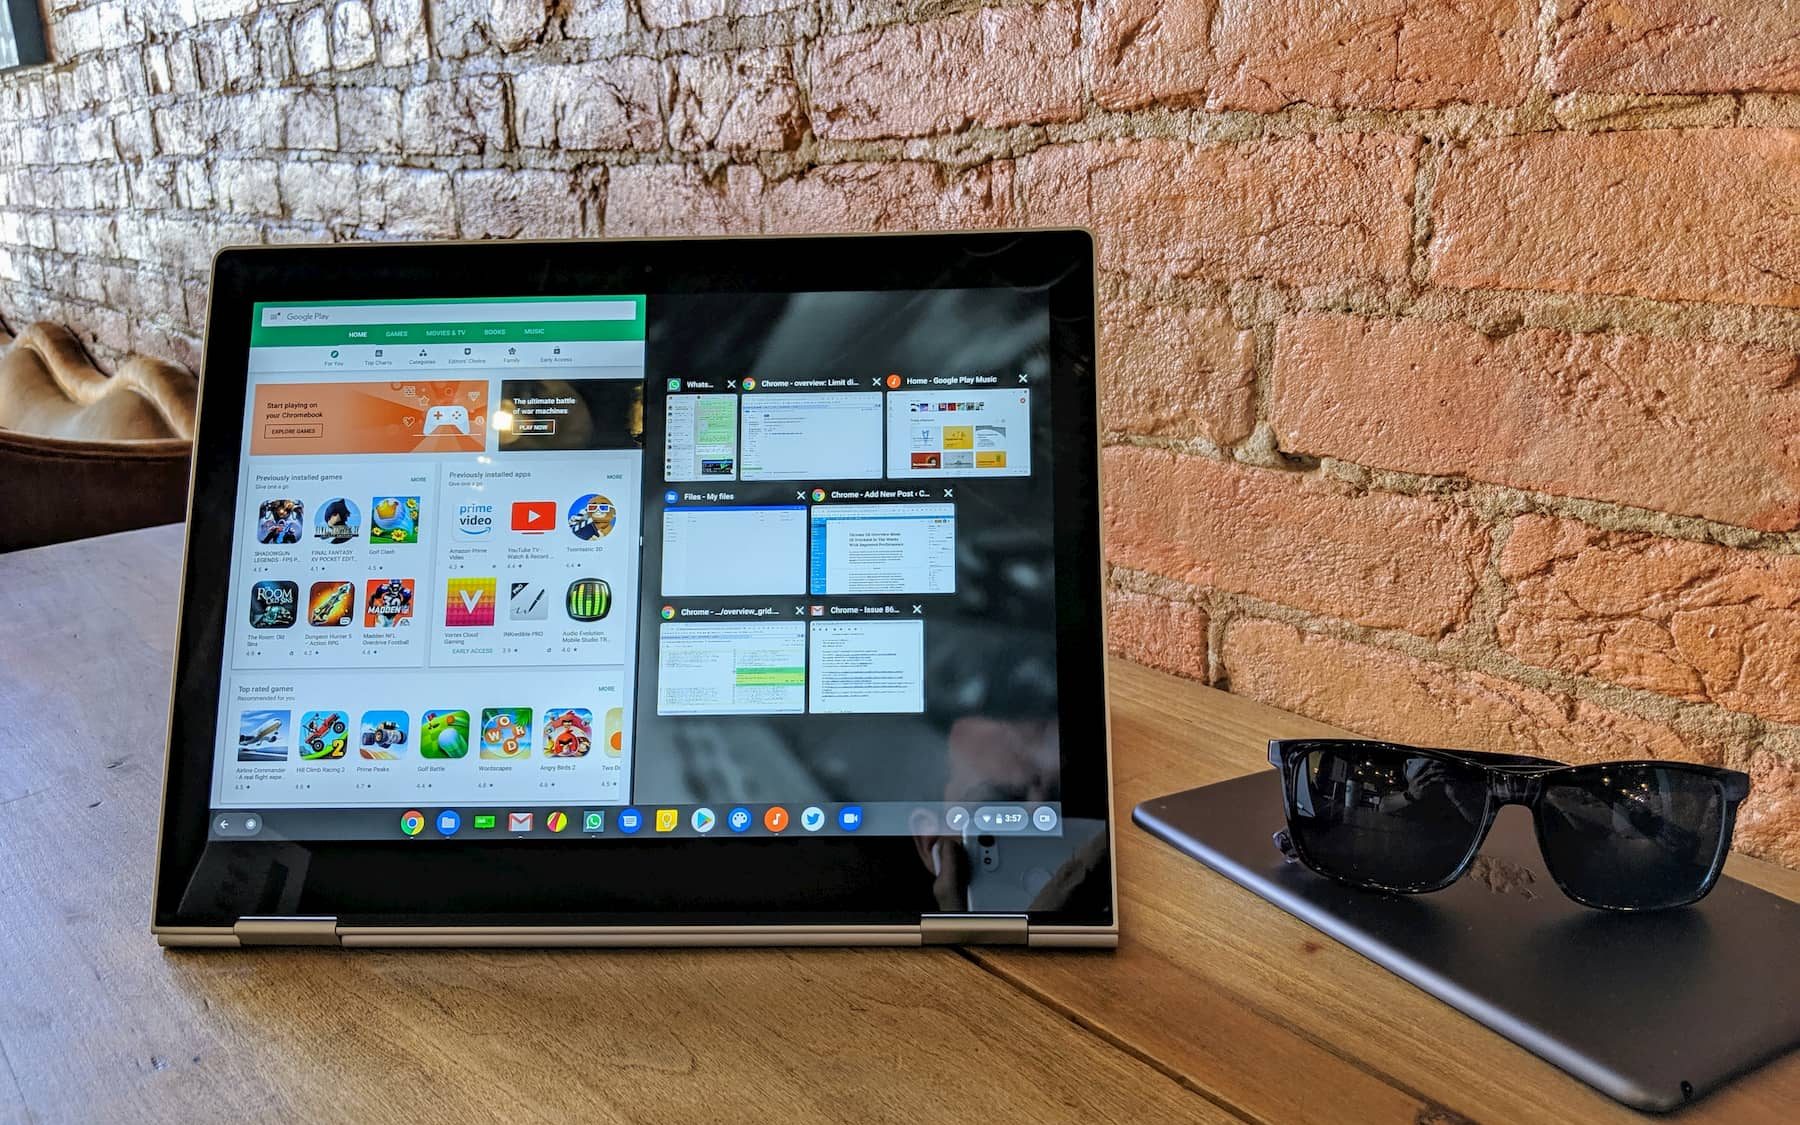
If you are using tablet mode, some other tricks can help you to open the split-screen easily. You only have to learn to turn on overview mode. To do this, you can swipe upwards and hold from the bottom of the screen. This will turn on the overview view.
You can also swipe down and hold the screen from the top. However, some of the new versions of Chromebook may not support it.
After turning on the overview mode, you can easily drag and drop the important windows to one of the sides of the screen, where you want to place them. You can follow the same steps to drag and place other needed windows on the other side of the screen.
You can also replace the windows. To do this you need to swipe up and hold from down as we did above. This will take you back to the overview mode again. Now, you can select another window that you want to use.
That is all you need to learn to turn on the split-screen mode. If you use these methods frequently, you can eventually master the split screen and increase your productivity.