Intel Optane Memory is a discrete memory type that tends to increase your PC performance by preloading the most used apps, videos, images, and files. It is not integrated along with your RAM or Storage Drives rather separately installed on the supported system. The iaStorAfsServiceApi.dll file runs the basic operations of Optane Memory, just like the device drivers.
You might have thought that you have to install the iaStorAfsServiceApi.dll file on your PC to fix the error but it will be the exact opposite case for most of the users. Intel Optane Memory as a hardware component must present along with system support. Installing its Memory components won’t be of use without fulfilling the basic system requirements of 7th generation and above i3, i5, i7, or i9 Intel CPUs, and a compatible motherboard with the Intel Optane chipset and M.2 slot.
If your Windows 10 Laptop or PC isn’t meeting the minimum requirements or you don’t remember about installing the Optane Memory or you are sure about your Laptop doesn’t have one then simply you have to remove the iaStorAfsServiceApi.dll file. First, we have listed the steps to uninstall the Optane Memory software and driver. If you are pretty sure about the Intel Optane Memory presence on your PC then reinstall all its drivers and software in the later solutions.
Contents
Uninstall Intel Optane Memory
Intel Optane Memory driver and software must have come with the recent Windows 10 updates or the automatic driver updates. Most of the brands like Dell, Lenovo, HP, Asus, and Acer have mistakenly installed the drivers along with the updates. You might suddenly see the “Unable to load DLL iaStorAfsServiceApi.dll” error message on your screen. Simply uninstall the unwanted Optane software driver and restart your device. It might again come back in the future with future updates then also you have to simply uninstall it from your device.
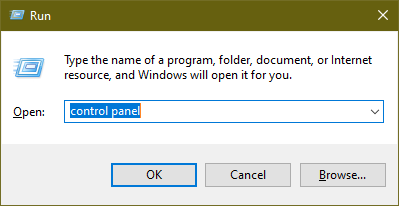
- Launch the Control Panel by typing it in the RUN window.
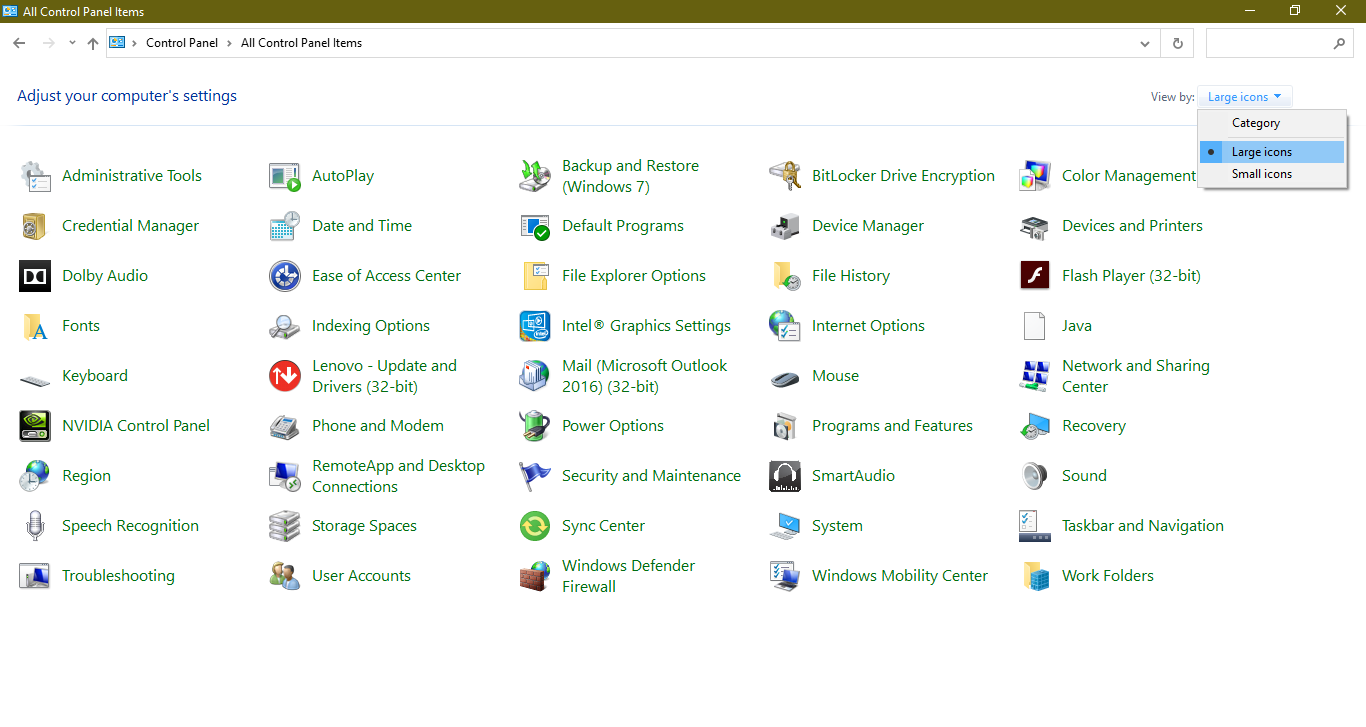
- Change the “View by” drop-down to the large or small icons.
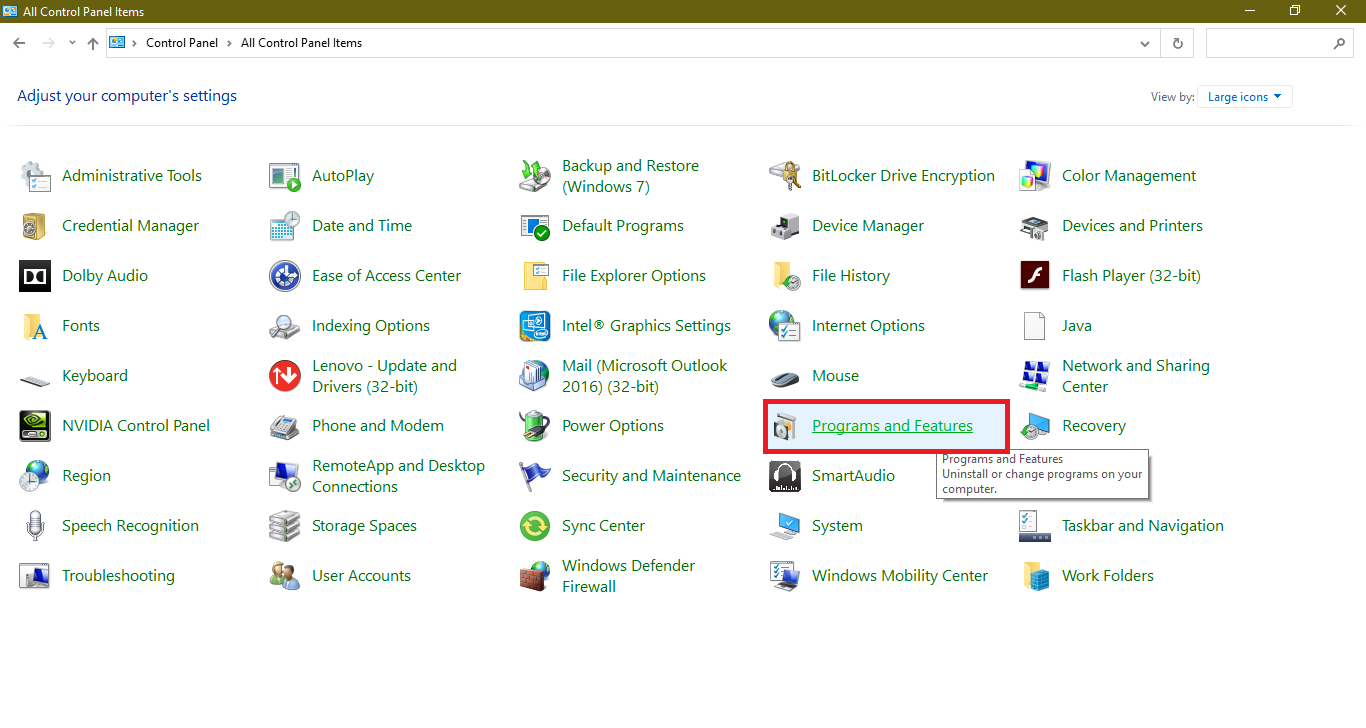
- Tap on the Programs and Features option.
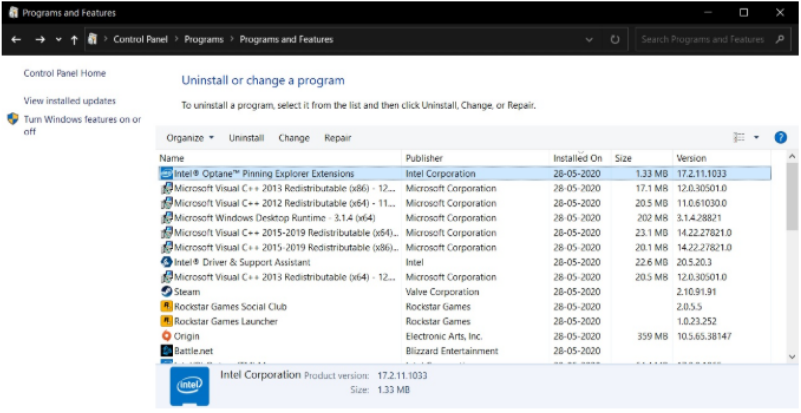
- Find the Intel Optane Pinning Explorer Extensions app and uninstall it from your device.
That’s it, now just give a fresh restart to your PC for the effective changes. Also, uninstall its drivers found in the device manager.
Repair or Uninstall the Optane Drivers
Intel Optane Memory Pinning iaStorAfsServiceApi.dll missing error might be appearing due to corrupt Optane Drivers. Damaged drivers always lead to missing DLL file errors. It won’t allow the Optane component to run properly on your device and it won’t be able to bridge between the RAM and the HDD to store the most used apps and the data in the Memory. Optane Memory also performs AI operations based on user interaction. Optane drivers conduct these AI operations to create the dataset of apps to keep ready in the memory. Now, let’s see the steps to repair or uninstall Optane drivers from Windows 10.
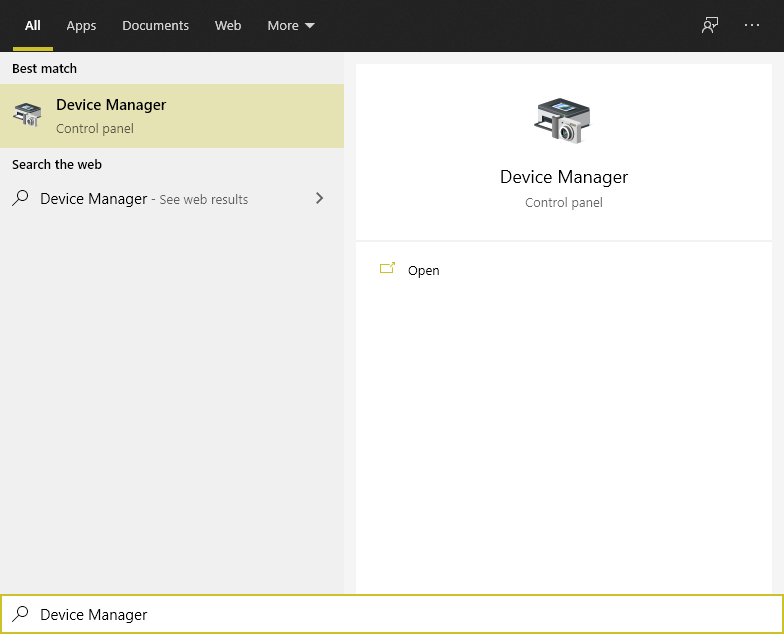
- Press the Windows icon and search for the Device Manager.
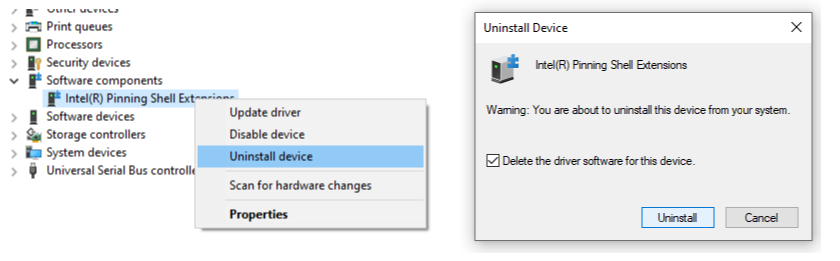
- Expand the Software components from the devices list.
- Select the Intel(R) Pinning Shell Extension and click the right mouse key to Uninstall Device from the system.
You can even try repairing the driver as an optional method. Do restart your computer to let the changes to fix the Unable to load DLL file error on Windows 10.
Read Also, Fix: Msvcp140.dll Missing Windows 10
Recheck the active System Acceleration with Intel Optane Memory
If you are pretty sure about the Intel Optane Memory existence on your Windows 10 device then making it work properly is a much better option. Optane active System Acceleration requires the iaStorAfsServiceApi.dll file. Follow the steps to keep it active to avoid error interruptions.
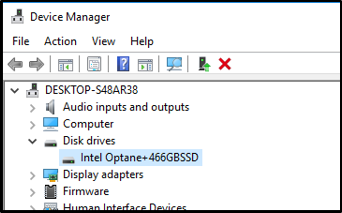
Intel Optane Drive must appear in the device manager. Open the device manager, expand the Disk drives to look for the Intel Optane Drive with the integrated SSD or HDD. Check its properties to get more details about the drives.
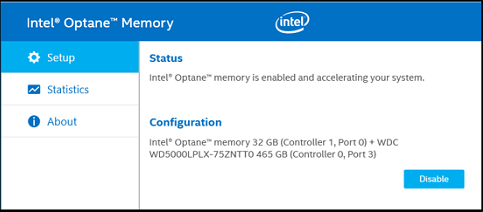
Also, check out the Intel Optane Memory app from the Start Menu. In the very first Setup menu, it will show the enabled Status. Check out the last optimization in the Statistics option.
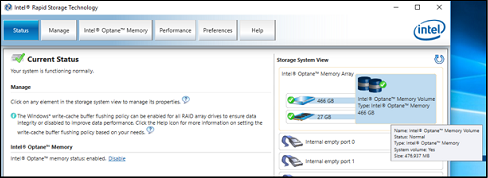
The Intel Rapid Storage Technology app also shows the active System Acceleration status.
You can even check for the scheduled Optane tasks by going into Task Scheduler, then to the Library, Intel folder, and check for the Optane Memory tasks.
Install RST Driver Version 17.x or Newer
Optane memory and its drivers must be properly installed on your device. We have already covered its minimum requirements in the introduction itself and manually attaching the Memory drive must be directly feasible. Now comes the BIOS configurations, you have to enable it from your BIOS settings.
Follow the steps to install the Intel Rapid Storage drivers version 17.x or newer on your device.
- Download the zip or installation file from the RST driver page.
- Unzip the file and double-click to run the installation.
- Restart your computer to finish the installation.
Once the RST drivers are properly installed on your device and your system is compatible with the Optane Memory then you will be able to install the Intel Optane Memory and Storage Management app from the Microsoft Store. Try running it as an admin if the application shows an error on the startup. You have to enable the acceleration from the app, explore the app for further on-screen instructions.
Disable the Optane Memory Use
Last but not least, you can disable the Optane Memory usage to fix the Unable to load iaStorAfsServiceApi.dll error. If you are fed up with the multiple crashes and non-usable the PC then just like the vcruntime140d.dll was not found error, stop the Optane use from the roots itself. It will be a performance drawback but at least you will be able to use your Computer. You can disable it in three ways from Optane’s official app itself, the RST app, and from the BIOS. Also, you must remember to disable it before removing the associated drive or installing a new operating system.
Again launch the Intel Optane Memory app, allow the User permissions, and tap on the Disable button in the Status. It will take a few minutes to separate both the System Drive and the Optane Memory. It will ask you to restart once it will finish the process. You can also disable it from the RST app with almost the same steps.
You can also follow the BIOS method by booting into BIOS setup, find the Intel(R) Rapid Storage Technology in the Advanced settings, Select the Volume, and tap on the Deconcatenate, select yes in both options of preserving the data after the Deconcatenation, and confirming the option to start the process. The system will be non-usable and freeze during the process and will be back to normal once it finishes the process.
Hopefully, these solutions must have fixed the Intel Optane Memory Pinning and missing DLL file errors on Windows 10.