You will need a Windows 11 ISO file to create a bootable USB using RUFUS. Windows 11 can be installed through a bootable USB on partially compatible PCs but it’s recommended to enable the UEFI BIOS Mode, Secure Boot, and TPM 2.0 chip support from the UEFI.
Once you have the Windows 11 ISO File and USB with at least 8 GB of storage then let’s jump to steps to create Windows 11 bootable USB.
Windows 11 Bootable USB
Unlike Windows 10, no need to worry about the GPT or MBR partition scheme for creating Windows 11 bootable USB. Windows 11 will only run on GPT Partition with UEFI Mode. Do check out our next post on how to install Windows 11 from USB to clear all your doubts about partition schemes and UEFI mode.
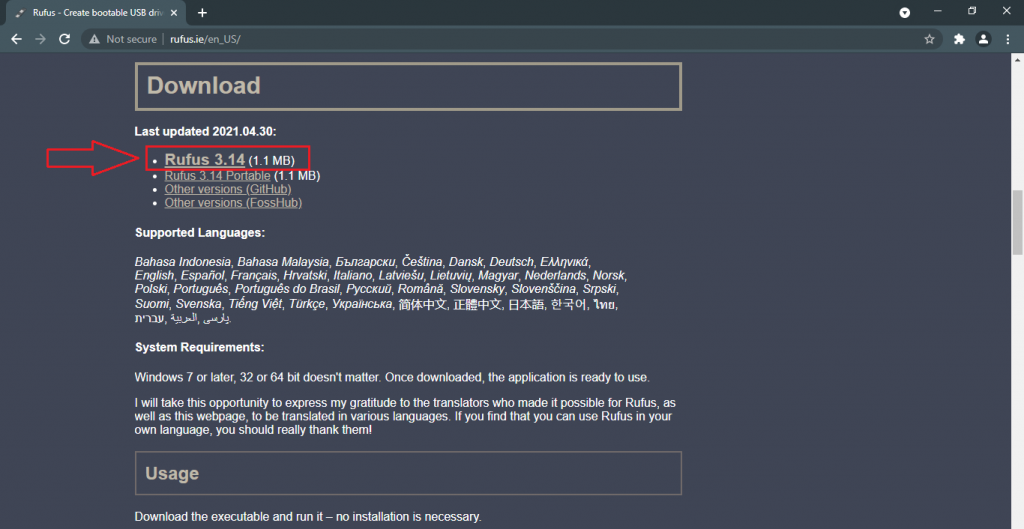
- Download the latest version of RUFUS from their official site.
- Launch the RUFUS on your PC.
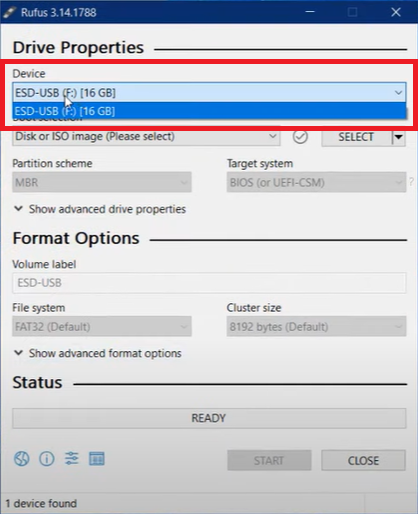
- Select the plugged-in USB drive from the first device drop-down options.
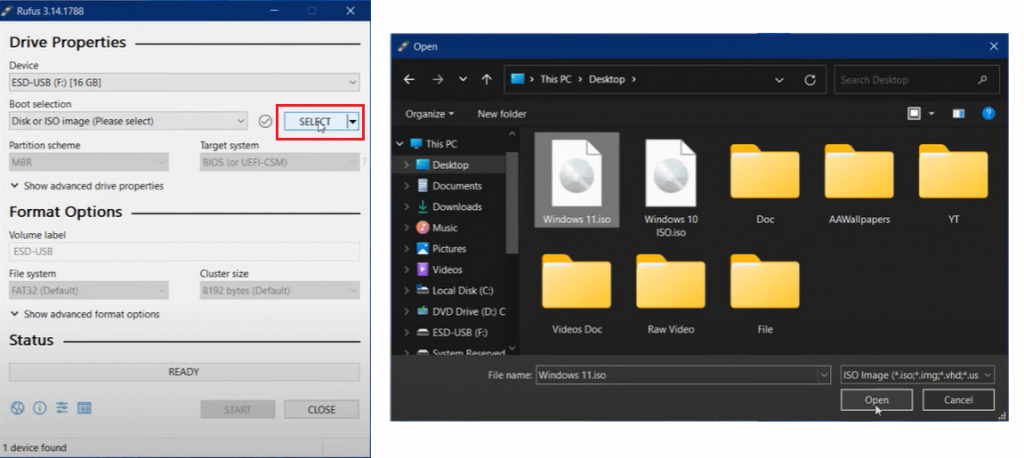
- Then browse to the Windows 11 ISO file.
- Keep the GPT partition style for creating Windows 11 bootable USB.
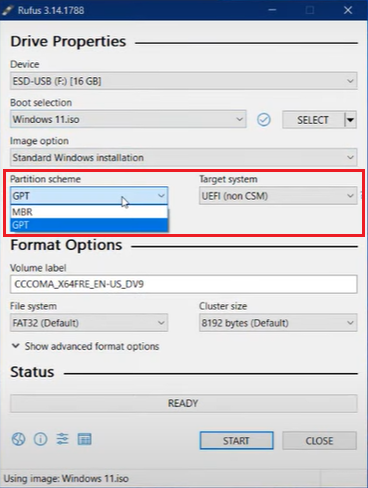
- Tap on the Start button.
- Rufus will warn before formatting the USB drive.
- Wait until it takes five minutes to extract the ISO file into the USB.
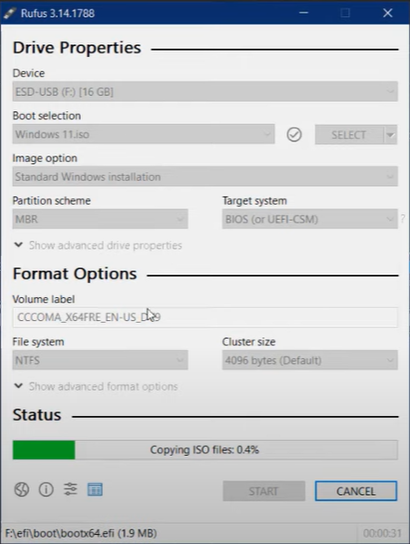
- Click on Finish to close the Window.
- Your Windows 11 Bootable USB drive is ready to clean install Windows 11 on compatible PCs.
Attach the Windows 11 USB drive to the host PC and select it as a boot disk to begin the Windows 11 installation.