Well, with the enhancement in technology the touch screen has been seen on all types of devices including Windows 10. In 1973 the first touch screen physical product was invented and used. The touch screen is that much popular that it is said that “When you turned around you will see touch screen”. It means that everywhere there is a touch screen. There are users who reported that the “Touch screen not working on HP/ Lenovo / Dell Windows 10”. If you are one of them then go through this whole blog. In this blog, you will see “What is a touch screen, causes behind touch screen not working and its fixes”. Before causes and fixes, you should know what is a touch screen.
Contents
What is a Touch Screen?
The touch screen is nothing but a display that helps in communicating with computers using fingers and a stylus. It is a strong alternative to a mouse and keyboard. As I have told you that you will see touch screen all around you as it is useful for all people no matter he/she is kid, teen, adult or older. It has made it easy to communicate, play a game, scroll and etc. There are various functions of touch screens such as Tap, Double-tap, Drag, Swipe, Touch, and hold and pinch. All this function has different effects on Windows 10.
Once you are clear with what is a touch screen then read below the causes of “Touch screen not working” on Windows 10.
- If on your Windows 10 the touch screen driver is outdated or not compatible.
- If you have not installed Windows Update.
- Your touch screen may have a hardware problem.
After this go on the advanced fixes to get rid of the “touch screen not working” issue on Windows 10.
Advanced Fixes
Update Touch Screen Driver
There are drivers for all devices. For the touch screen, there is a touch screen driver. If this touch screen driver is outdated then it will cause a “touch screen not working” issue. To fix this issue you have to update the touch screen driver. If you don’t know how to update the touch screen driver then apply the below steps properly.
- At first, you have to go to the system manufacturer’s website. Make sure you go on the system manufacturer’s website of the company you have a laptop (eg: HP, Dell, Lenovo).
- Once you have downloaded it then launch the Device Manager. To launch Device Manager you have to open a quick-access menu by holding Windows Key and X key. Once you have it then tap on the Device Manager option.
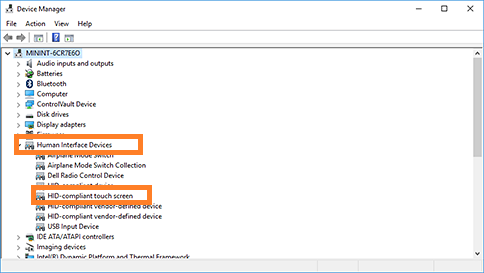
- Now expand Human Interface Devices category.
- After that do a right tap on the HID-compliant touch screen.
- From the prompted screen tap on the Search automatically for drivers option.
By doing this the windows will download and install the driver automatically. After all, restart your Windows 10 and see that your touch screen working back or not. If this not work then go to the other fixes below.
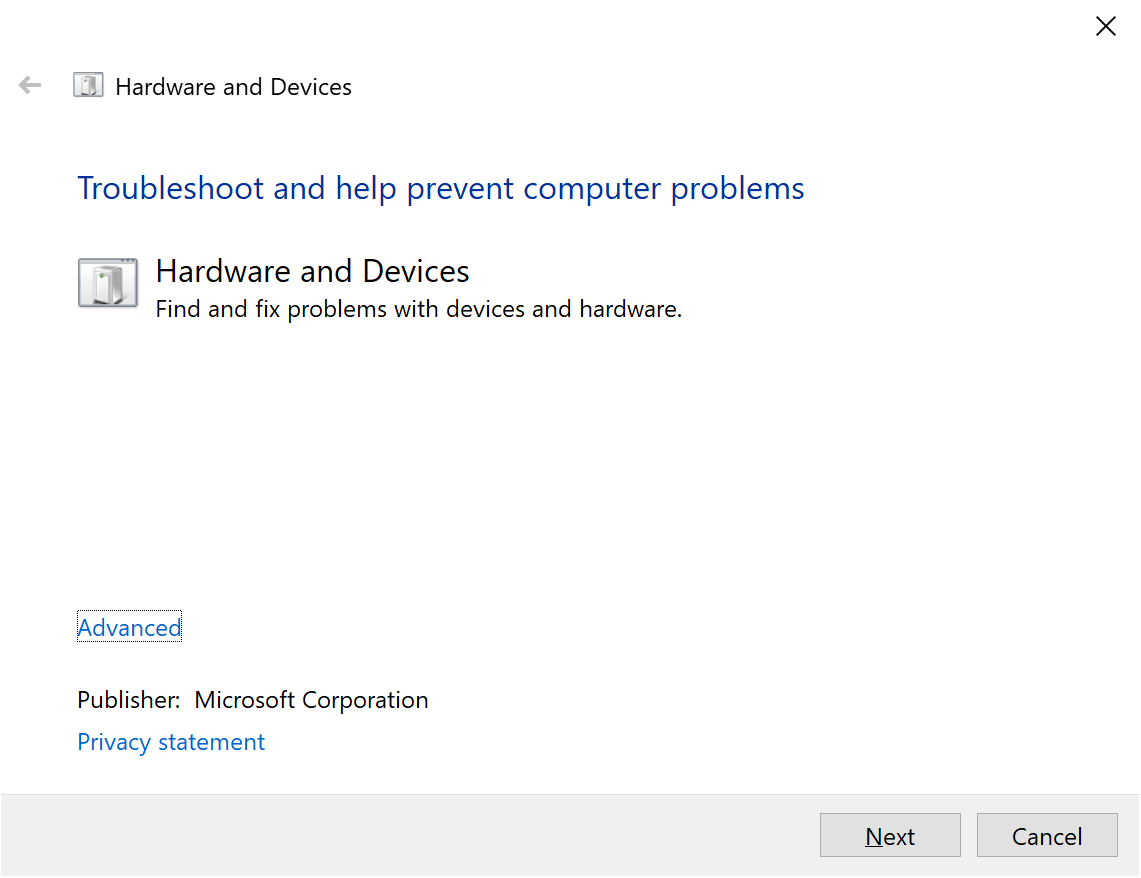
Run Hardware and Devices Troubleshooter
Windows 10 has a number of troubleshooters which fixes several issues. If the touch screen has hardware issues then to fix it you should run Hardware and Devices troubleshooter on Windows 10. You can run this troubleshooter on Windows 10 using 2 ways. The first by using Settings and the second you can make use of the Command Prompt. In this guide, you will see steps to run this troubleshooter via Settings.
- First of all launch the Settings app on Windows 10.
- From it tap on the Update and Security option.
- Under the Update and Security option, you will see a list of options so from it tap on the Troubleshoot option.
- This will be open on the right side of the screen. On it go on the “Find and fix other problems”.
- You will have a list of connected hardware and devices. Go on the problematic hardware and device and tap on the Run the troubleshooter button.
This will find the bug and will also fix it.
Disable and Enable the Touch Screen
If you find that the above two fixes won’t work then try disabling and enabling back the touch screen on your Windows 10. Follow the below steps to disable and enable the touch screen on Windows 10.
- For this launch the Device Manager. To have a device manager open the Run dialog box and type devmgmt.msc in it and hit on OK button.
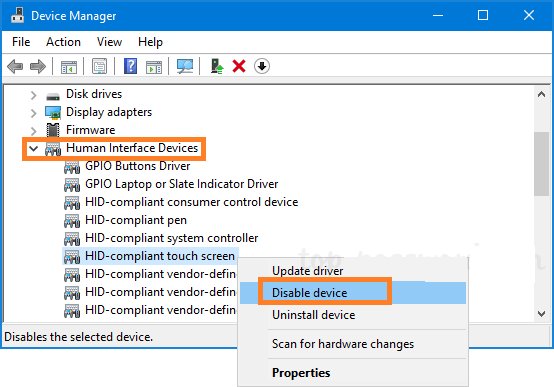
- In the device manager, expand Human Interface Devices.
- From it do right tap on the HID-complaint touch screen and tap on the Disable device option from the open menu.
- This will disable the touch screen. Now to enables it to do right tap on the HID-complaint touch screen once again and tap on the Enable device option.
So, this is how you can disable and enable the touch screen on Windows 10.
Calibrate the Touch Screen
If your Windows 10 touch screen is not working or working but slow then it is maybe because it needs calibration. If you don’t know how to do deal with these settings then go through the below steps:
- Launch Start menu and search for “calibrate” and then select “Calibrate the screen for pen or touch”.
- The Tablet PC Settings window will open. Switch to the Display tab and tap on the Setup option.
- After this follow the on-screen instruction.
- Now tap on the Calibrate button and follow the on-screen instructions.
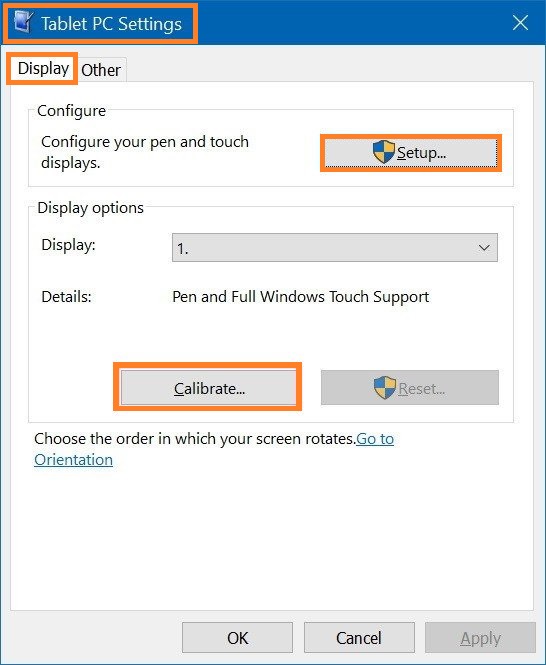
To save changes tap on Apply and then on the OK button.
If all these fixes won’t fix the “Touch screen not working” issue on Windows 10 then the last option is to contact the manufacturer. The manufacturer will definitely fix this issue as they have expertise. I hope that by reading this whole blog you will able to fix the “Touch screen not working” issue.