Well, there are lot many tasks on Windows 11 that we run on a daily basis such as interacting with archives. There are a number of tools or we can say techniques for file compression and decompression but when it comes to compressing files the first tool pop-ups in our mind is WinRAR.
As we all know that Windows 11 has come up with new changes in User Interface and Settings. Using Windows 11 has become totally different from Windows 10. There are users asking on different forums that “How to download WinRAR Latest Version on Windows 11? How to use it? and How to add it on the Context Menu (Right Click Menu)?” Keeping those users in mind we are here with this whole guide to show how to play with Windows 11 WinRAR latest version.
Also, Check out: Download 7-Zip for Windows 11
Contents
What is WinRAR on Windows 11?
The WinRAR is the most popular archiver for Windows 11 PC or laptops. It is one of the fastest archivers which supports all compression formats such as RAR, ZIP, ARJ, CAB, TAR, LZH, UUE, BZIP2, ISO, GZip, Z and, 7-Zip. It is ideal for multiple files formats. The WinRAR recognizes the file format automatically and then selects the compressed method. You can save it on several disks.
The latest version of WinRAR is WinRAR 6.10 in the first beta. It is a trial product you can use it free for 40 days. After 40 days you can also use it for free you just have to avoid the notification that pop-ups when 40 days finishes.
How to Download WinRAR 6.10 on Windows 11?
If you want to taste WinRAR to compress and decompress files follow the below-detailed steps to download and install WinRAR 6.10 on Windows 11.
- First of all launch Chrome or any browser on your Windows 11. Once you have it then in it search for WinRAR for Windows 11.
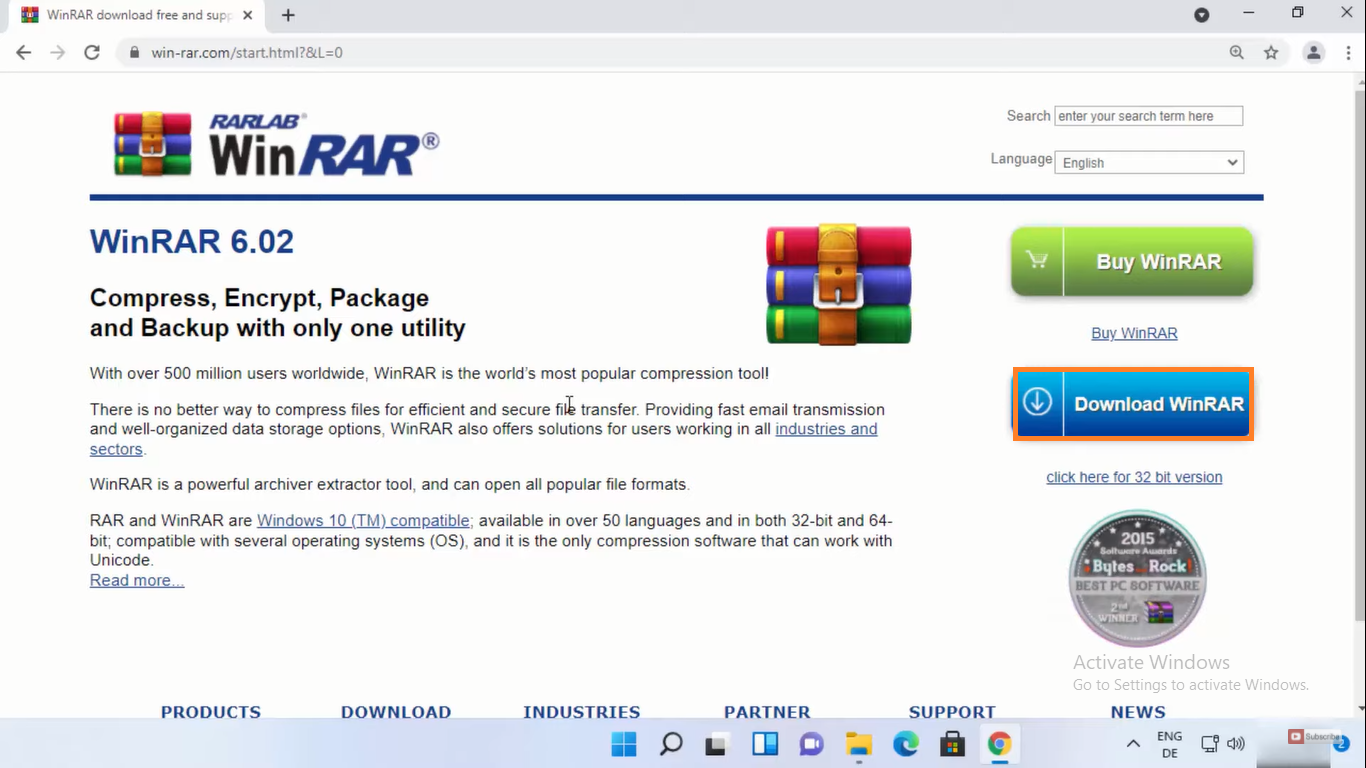
- From the prompted page tap on the Download WinRAR button for the further process.
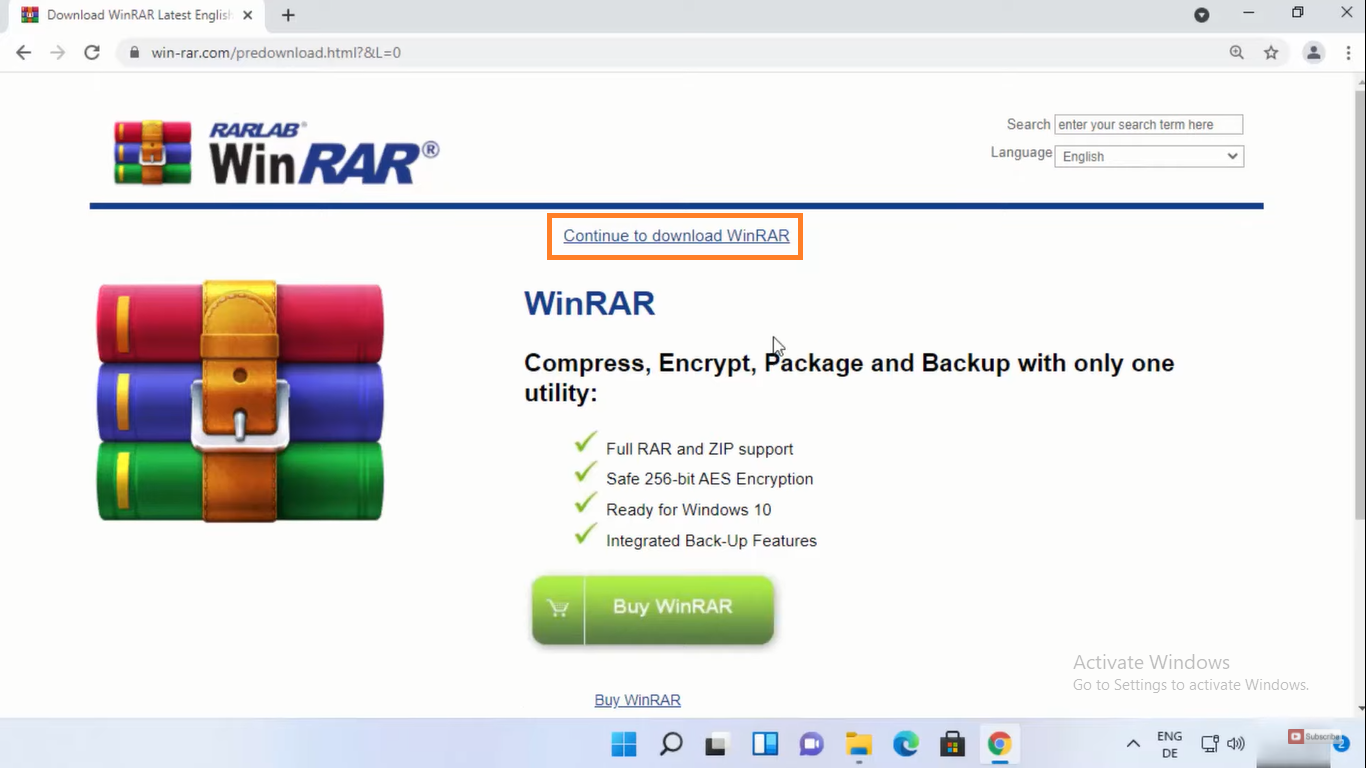
- Now to start the actual process of downloading hit on the Continue to download WinRAR link.
- Wait for the download processes to finish. Once it is finished then go to the download folder then do a double-tap on the .exe file to have an installation window.
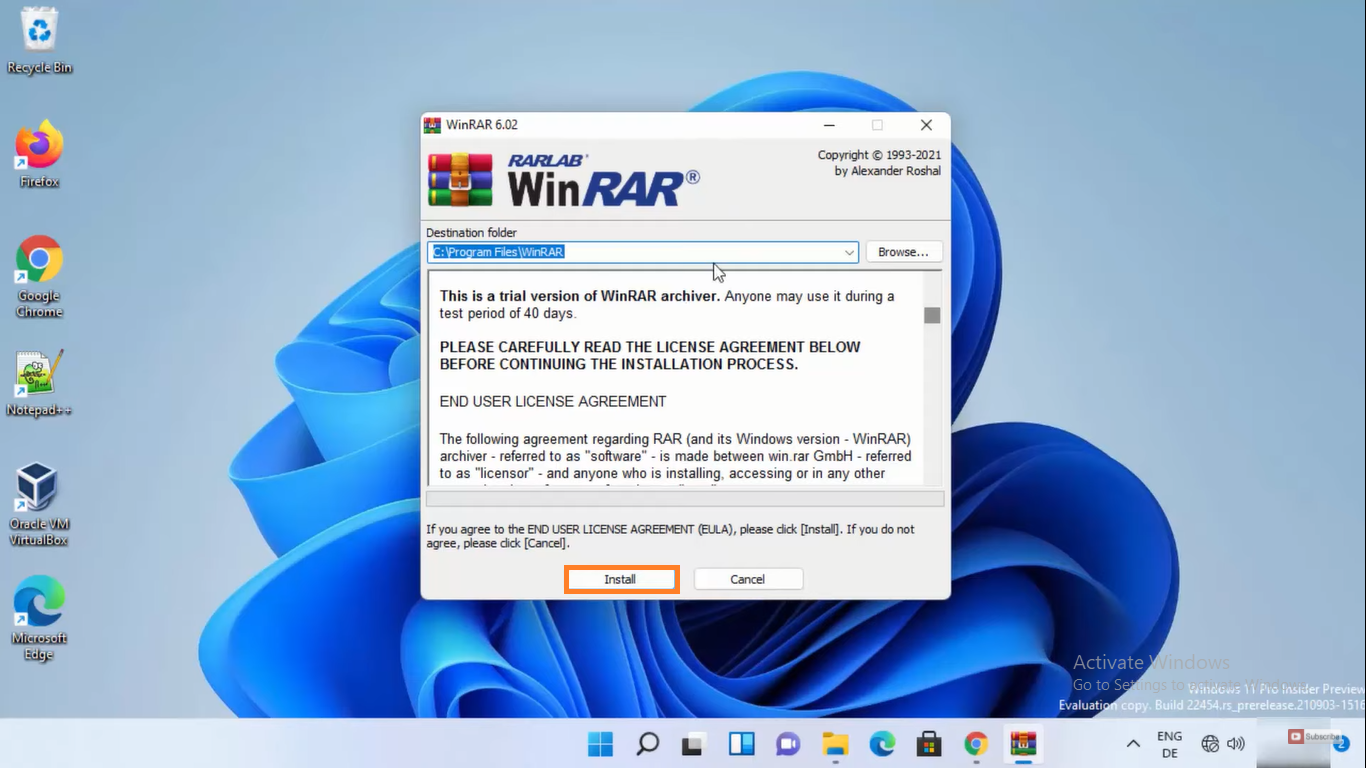
- On the prompted window you will be asked to select the installation folder so select it and hit on Install button.
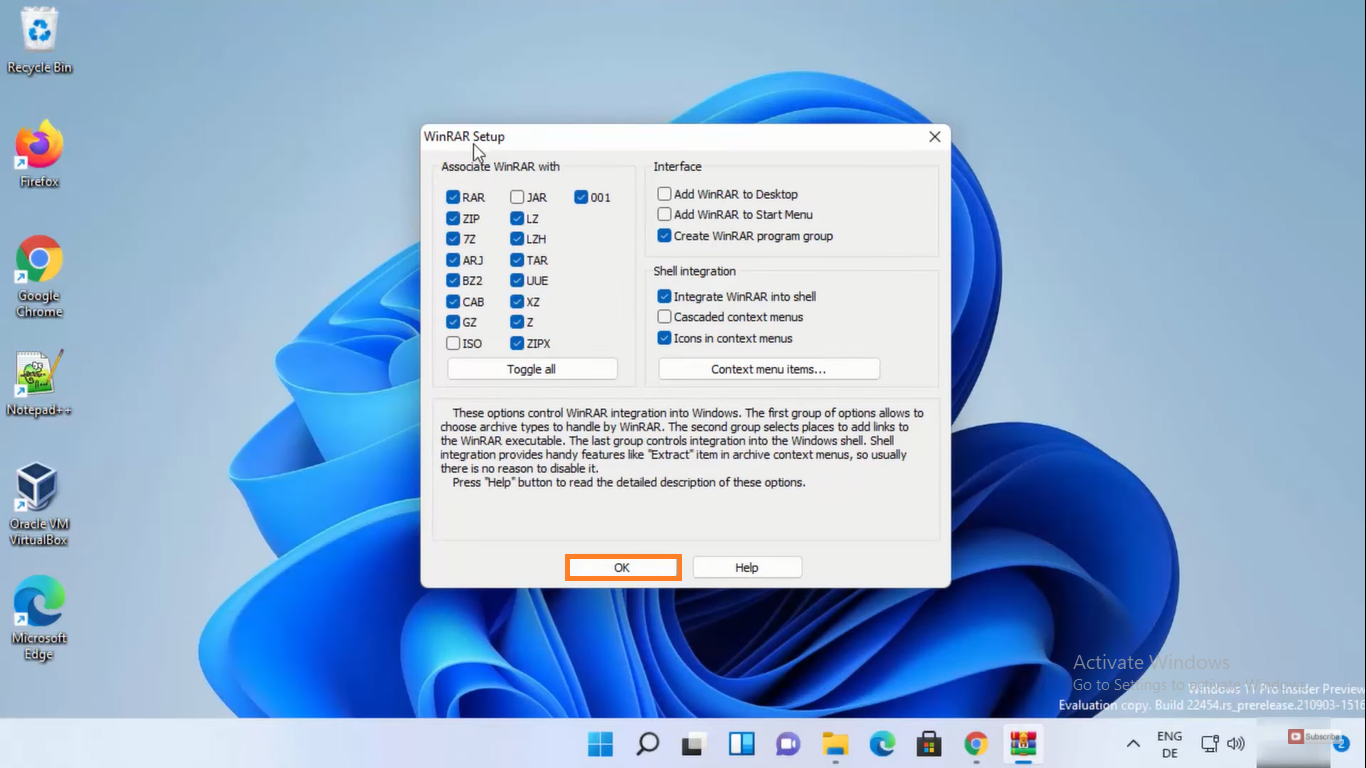
- Now you will have a complex window showing multiple extensions WinRAR supports. You don’t need to do anything here you just have to hit on OK button.
- At last tap on the Done button to finish the installation process.
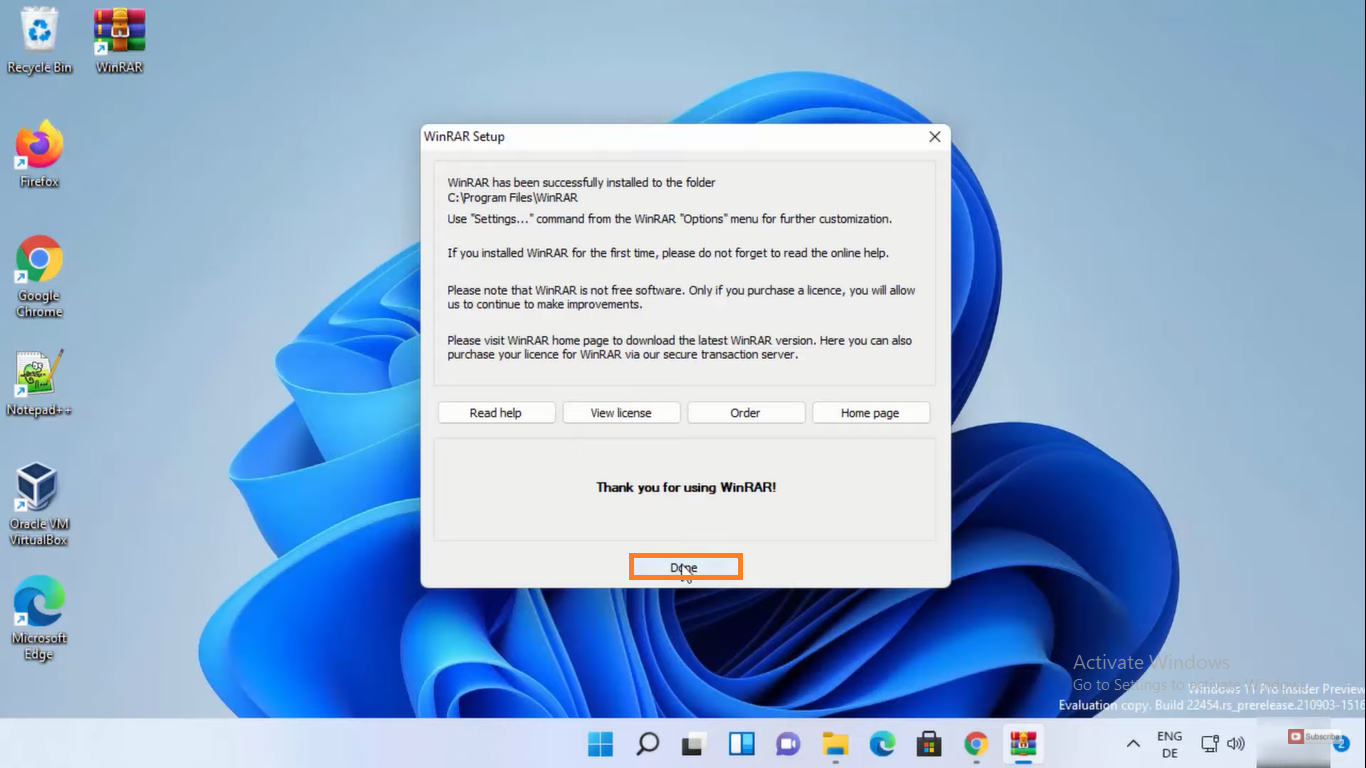
Now you have successfully downloaded and installed WinRAR 6.10 on Windows 11. You will get a new look at WinRAR on Windows 11.
Read Also: How to use Miracast on Windows 11?
How to add it on the Context Menu (Right Click Menu)?
As I have told that Windows 11 has brought many changes including a new context menu also known as right-click menu. The one important feature that has been removed from the Windows 11 context menu is compressed shortcuts. The same option was included in the traditional context menu. You can add this option back using this guide. This guide is for those users who have forgotten to set up integrations during the setup of WinRAR. In this guide, you have to add the missing WinRAR to Windows 11 right-click menu.
- On your Windows 11 launch WinRAR using Windows 11 search bar.
- Now click on Options and then on the Settings option.
- On the screen go to the Integrations tab and tick on the box which says Integrate WinRAR into shell.
- Lastly hit on the Ok button.

Now you have finally added WinRAR to the Windows 11 context menu. It will save time because you don’t need to access settings for it. You just have to do one click from the context menu to launch it.
How to use it on Windows 11?
The WinRAR is has been used by users for three decades. There is no tool that can beat WinRAR in creating and extracting RAR files. To use WinRAR on Windows 11 follow the below steps.
Create RAR file
- At first launch the file or folder that you want to create the RAR file.
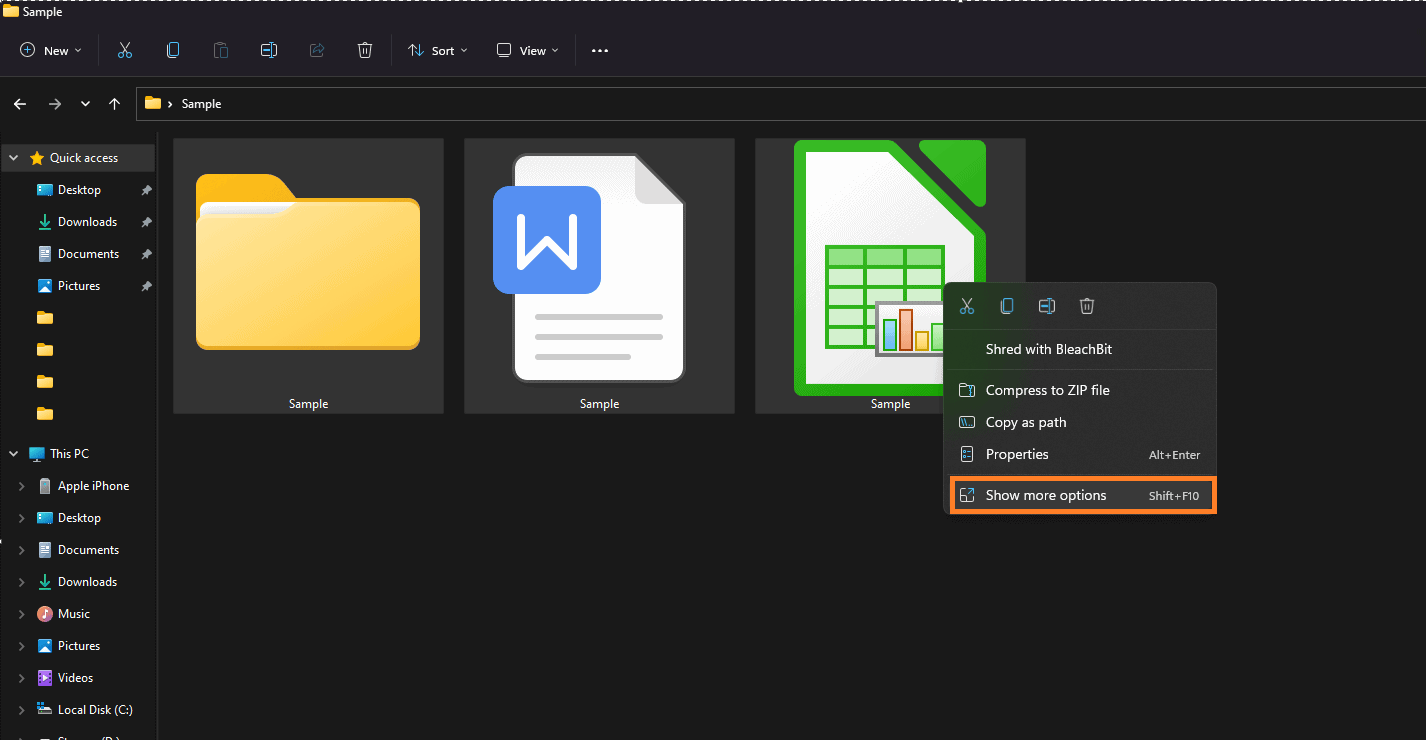
- Do right tap on the file or folder and then tap on Show more options from the open menu.
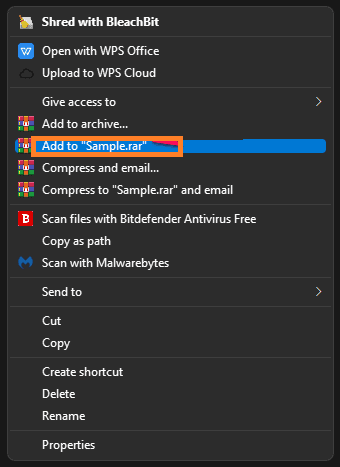
- Now you can use four options name as Add to archive, Add to filename.rar, Compress and email, and Compress to filename.rar and email. Make sure you try out all these options to know how to utilize them.
- Below you can see that how created RAR file looks.
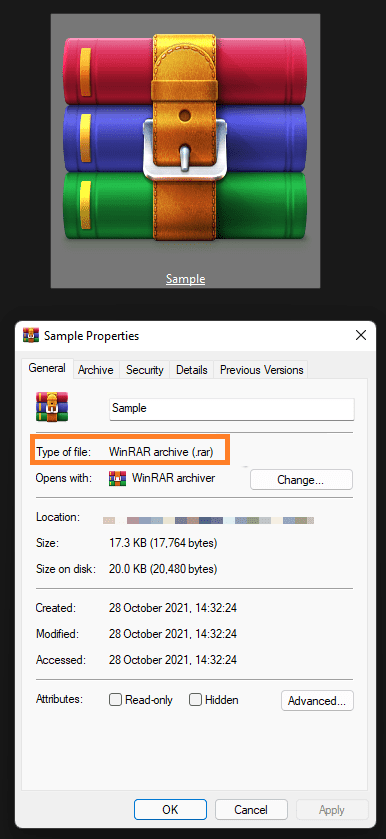
In a few clicks, you have created RAR files using WinRAR. If you want to know how to extract the RAR file then follow the below steps.
Read Also: Apply Best Themes on Windows 11
Extract RAR file
- Go on the RAR file or folder. Do right tap on it.
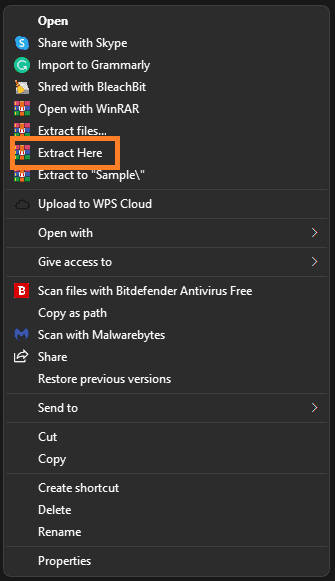
- From the open menu tap on the Show more options for the further process.

- In this process also you will have four options such as Open with WinRAR, Extract files, Extract Here, and Extract to “Sample/”. You have to use any of these options to save it on your decided location. Make sure you explore all these options for your experience.
- Now the file is extracted.
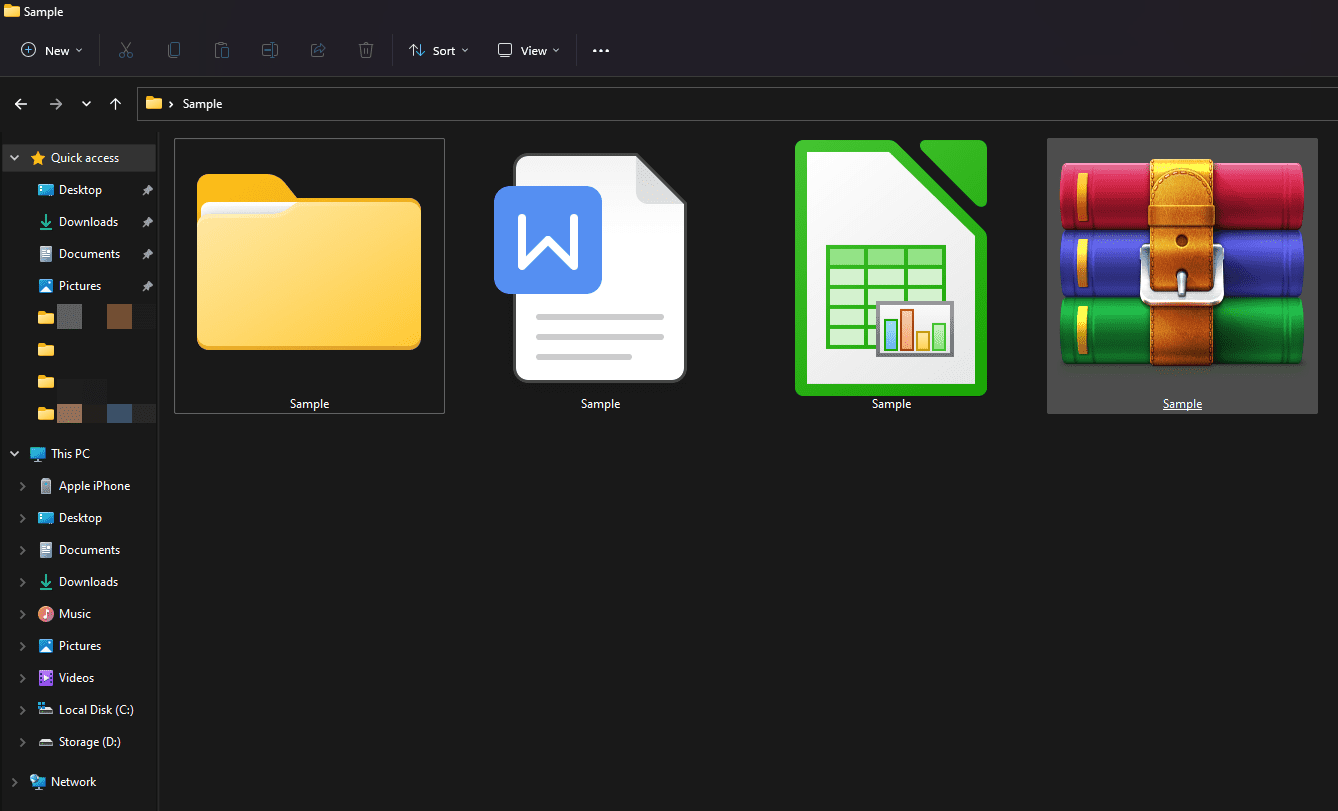
In order to extract files at a faster speed remove or close background programs because background programs consume more resources. So, this is how you can make efficient use of WinRAR 6.10 on Windows 11.
I hope that you have successfully downloaded and added WinRAR 6.10 to right-click menu on Windows 11. Make sure you use it on Windows 11 as given above.