There is a lot of fuzz about Microsoft & Local accounts on the new Windows 11. The users are really frustrated with the policy to not allow Windows 11 Home installation without Microsoft Account and Internet. The same policy will soon be applied to the Windows 11 Pro editions.
Well, we have found an ultimate method to bypass the Microsoft Account and Internet requirements to install all the editions of Windows 11 including Home, Pro, N, Education, Enterprise, and Workstation.
Read Also: How to setup Local and Microsoft Account on Windows 11?
Install Windows 11 without Microsoft Account and Internet
The Windows 11 installation begins by booting your laptop or PC with an inserted USB drive. We have covered right from the first installation step to the new Start Menu screen so that you can pick from whichever familiar step you are stuck.
- Select your language, time & currency format, and Keyboard or input method to go to the Next Windows Setup screen.

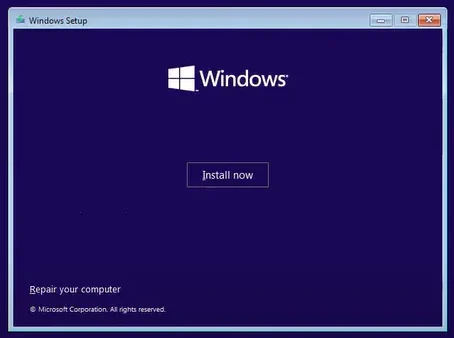
- Click on the Install now button from the center of the Window.
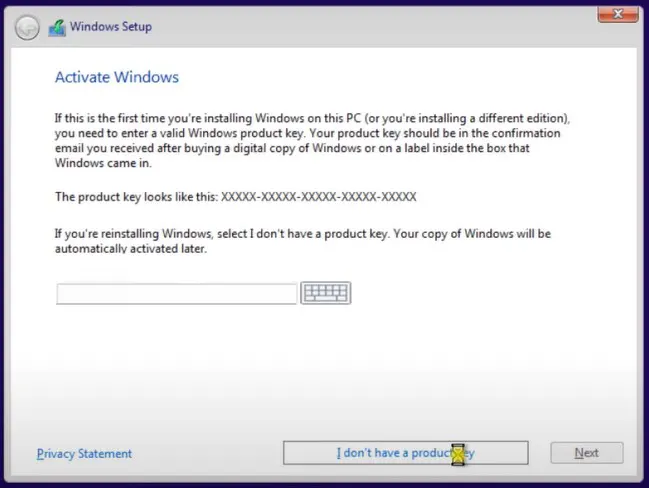
- Enter the valid product key or tap on I don’t have a product key.
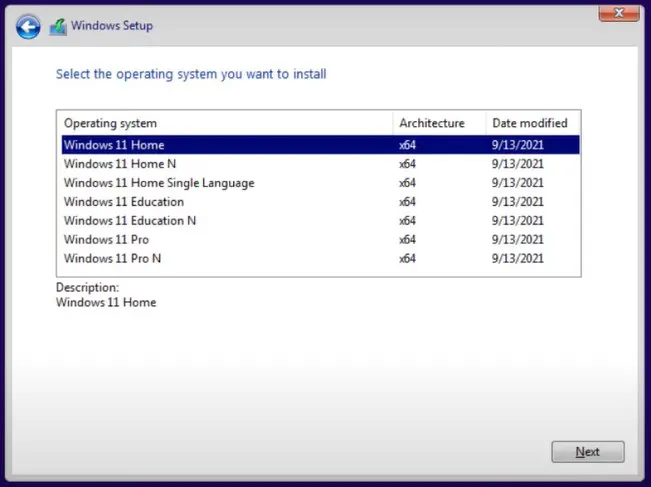
- Choose your desired Windows 11 edition from Home, Pro, N, and more.
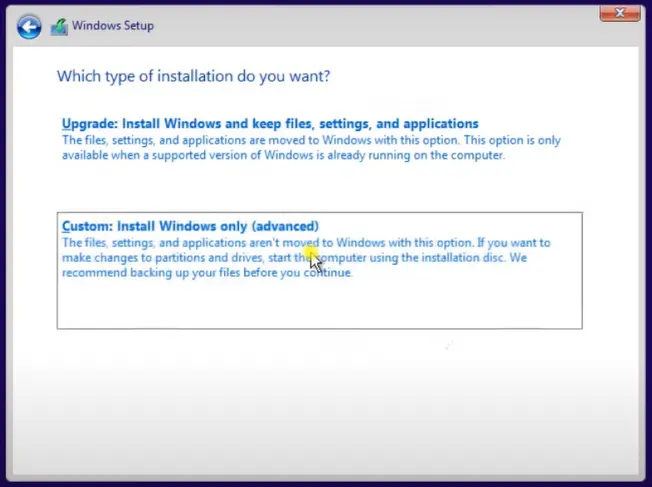
- Select the second type of Custom: Install Windows only (advanced) option.
 Pick an empty drive with more than 64 GB of storage.
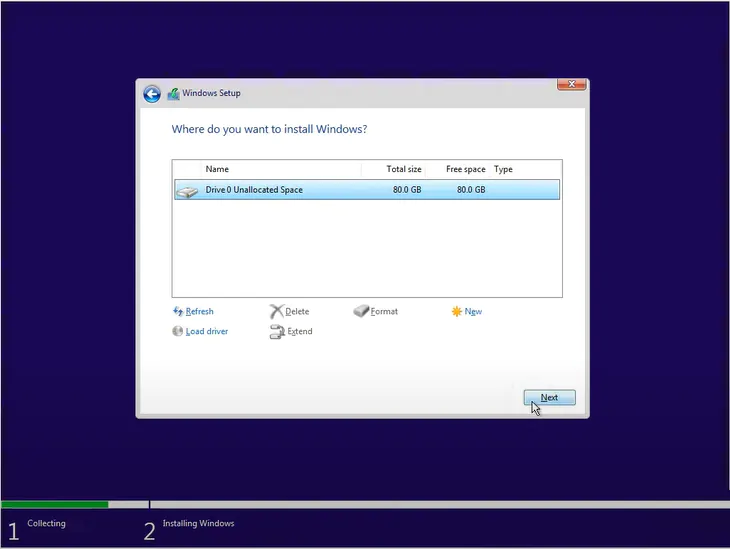
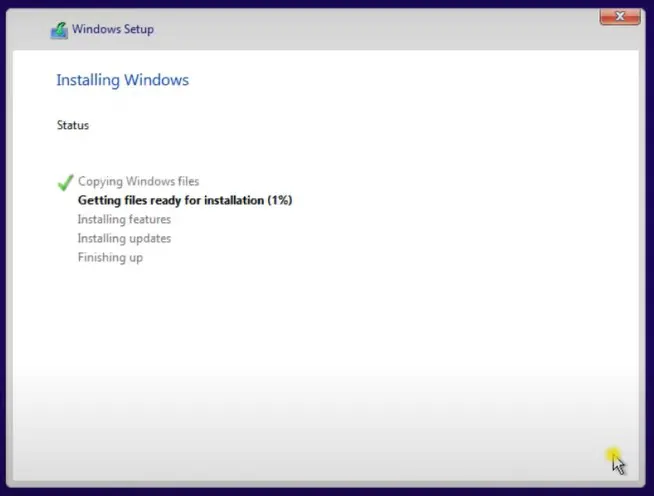
- Wait until Windows Setup completes all five steps of Copying Windows files, Getting files ready for Windows, Installing features, Installing updates, and Finishing up.
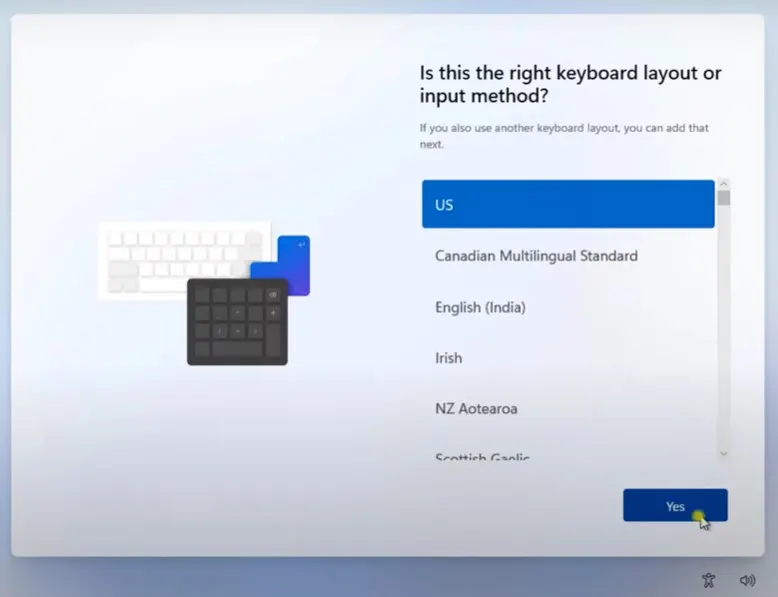
- The next screen will take you to the Windows 11 setup to choose your Keyboard layout or input method.
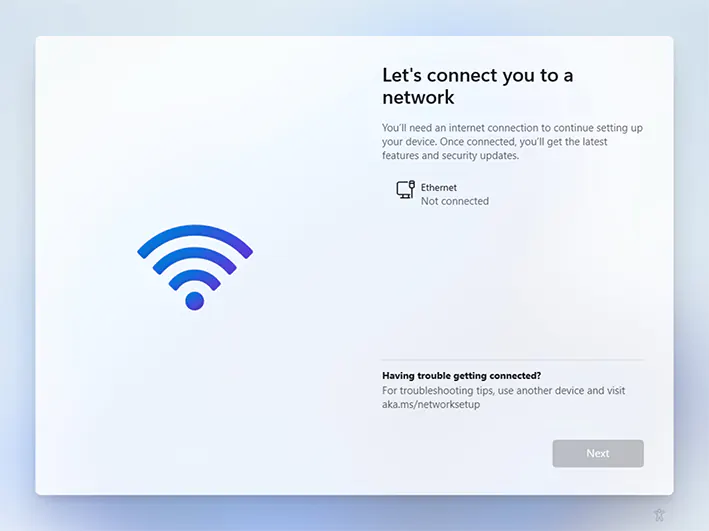
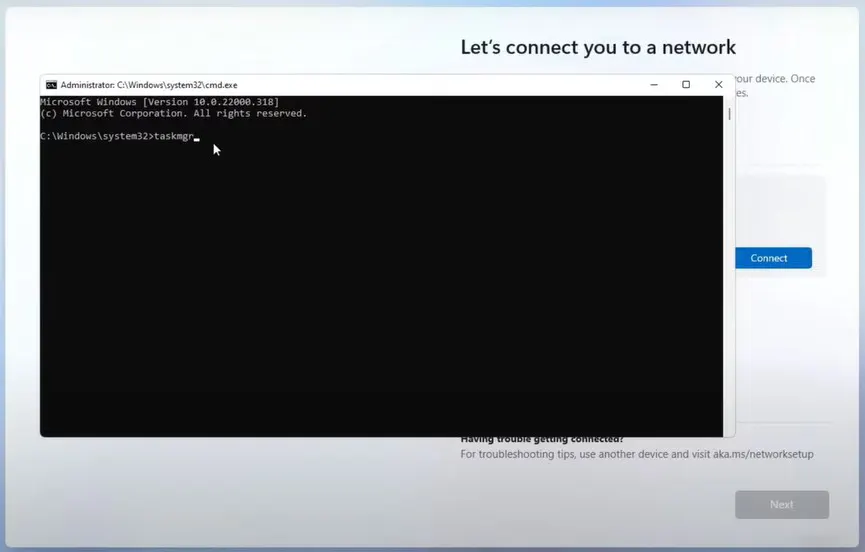
- Hold the Shift + F10 keys to launch the Command Prompt, as soon as you see the option to connect Windows 11 with the Internet, WiFi, or Microsoft Account.
- Type and enter the taskmgr into the command prompt to launch the Task Manager.
- Scroll down to find, select, and End the task of the Network Connection Flow process. You may hit on the End task option from the bottom-left corner or right-click menu.
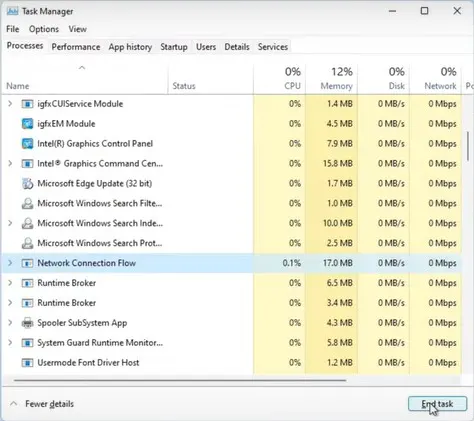
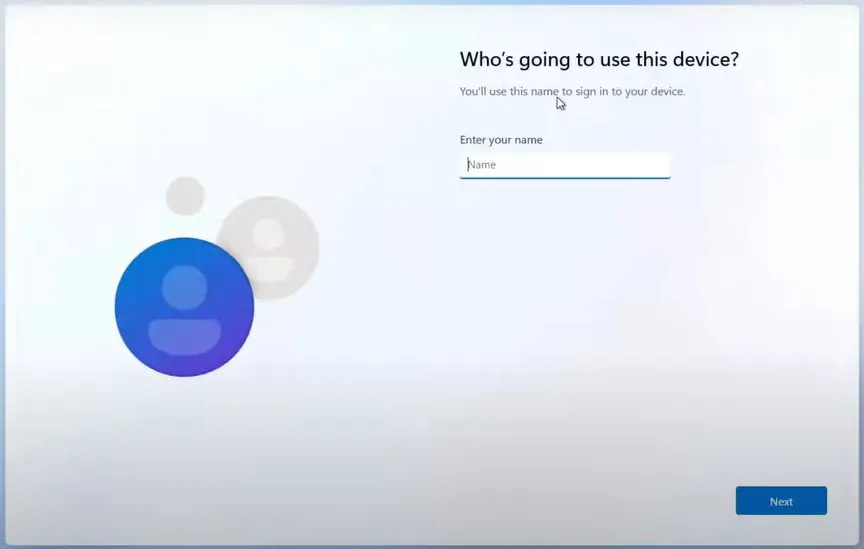
- Ending the Network Connection Flow task will avoid the Microsoft Account and Internet requirement for Windows 11 installation. Enter your name, username, password, and pin to the next prompts.
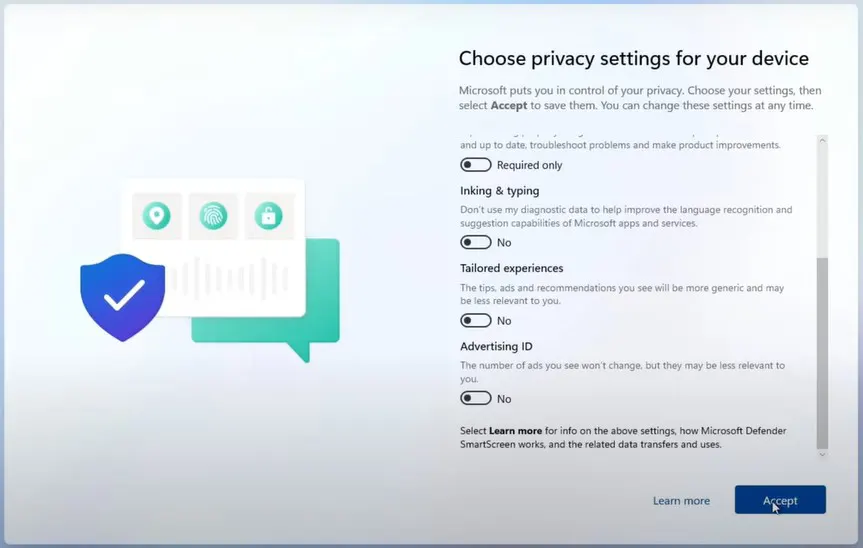
- Also, disable all the privacy settings to not share data with Microsoft.
- Please be patient when Windows 11 is Getting things ready for you and don’t turn off your computer.

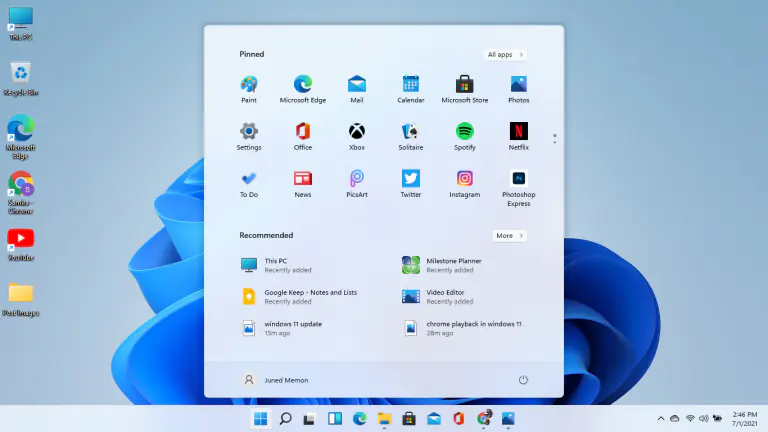
- Windows 11 is successfully installed without Microsoft Account and Internet when you see the new Start Menu on the screen.
So that’s an ultimate method to skip Microsoft Account and Internet on Windows 11 Home and Pro editions.